Honeycomb Dress - Pattern Review
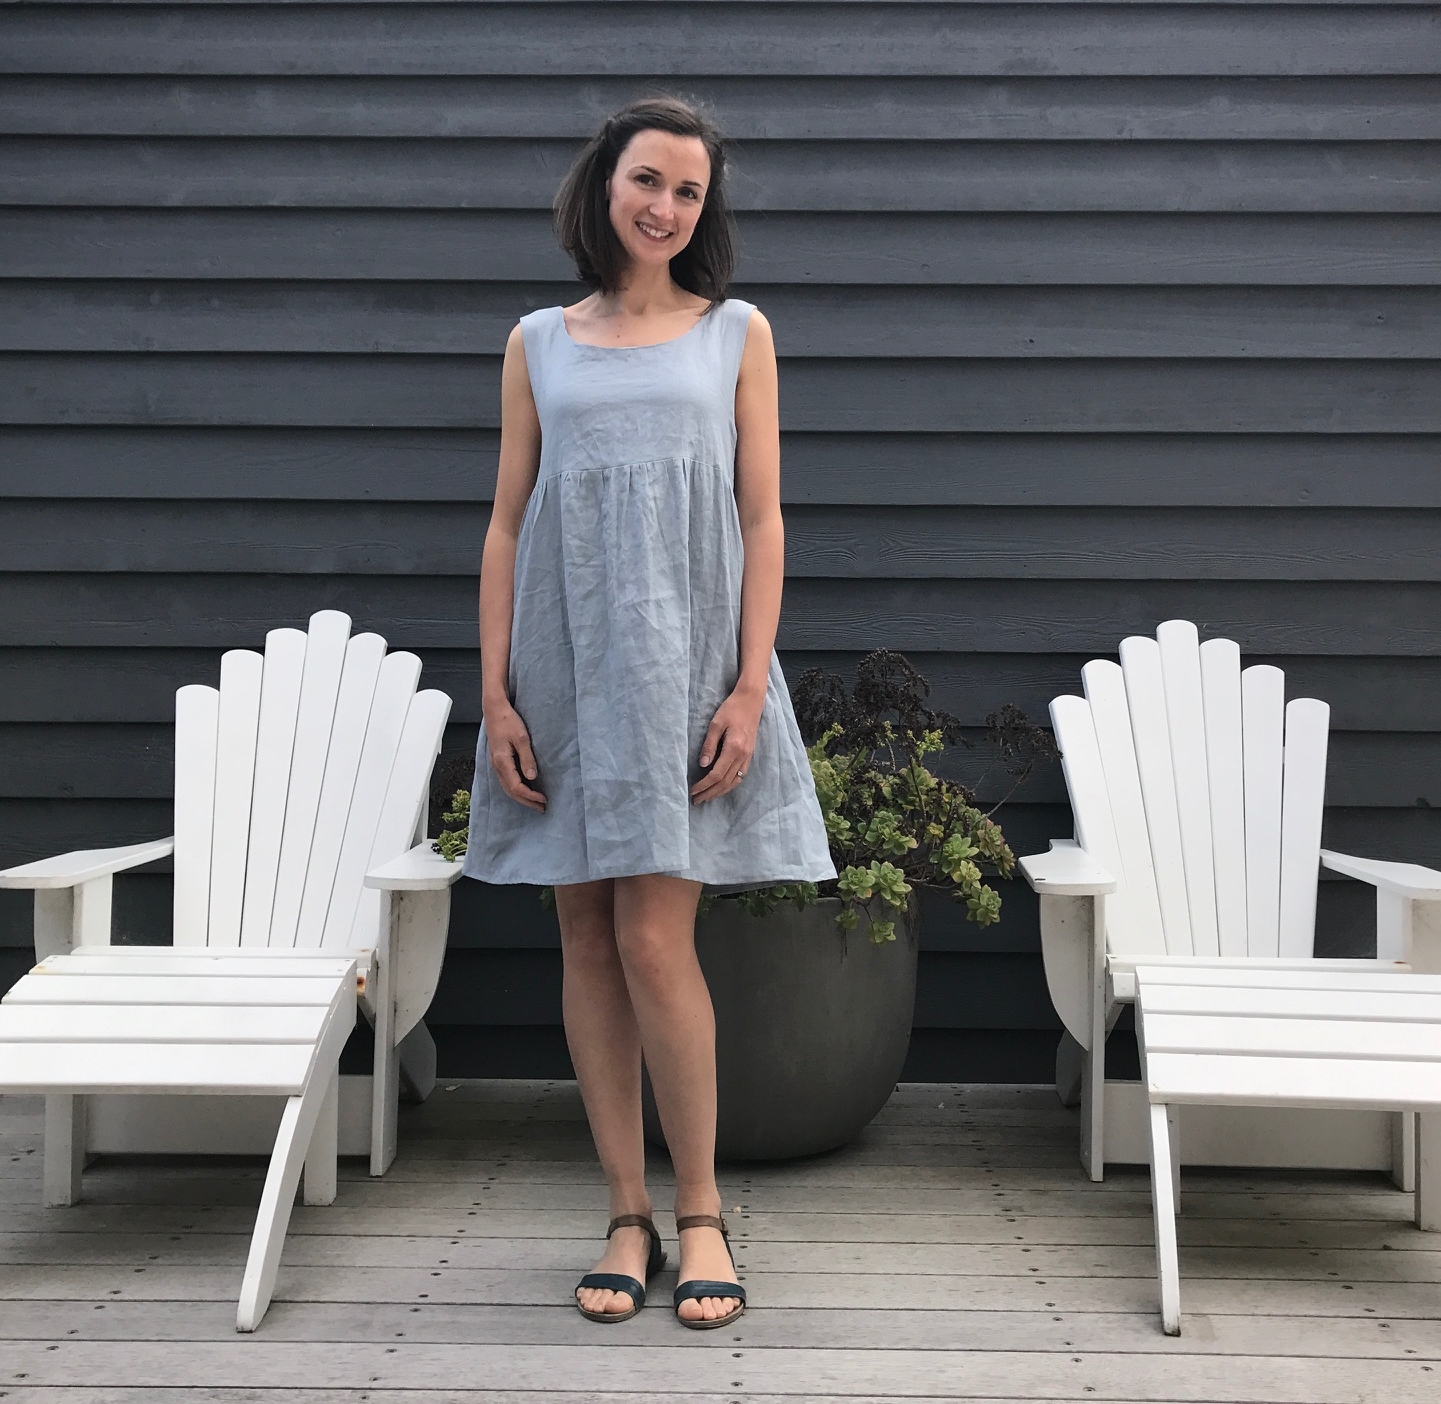
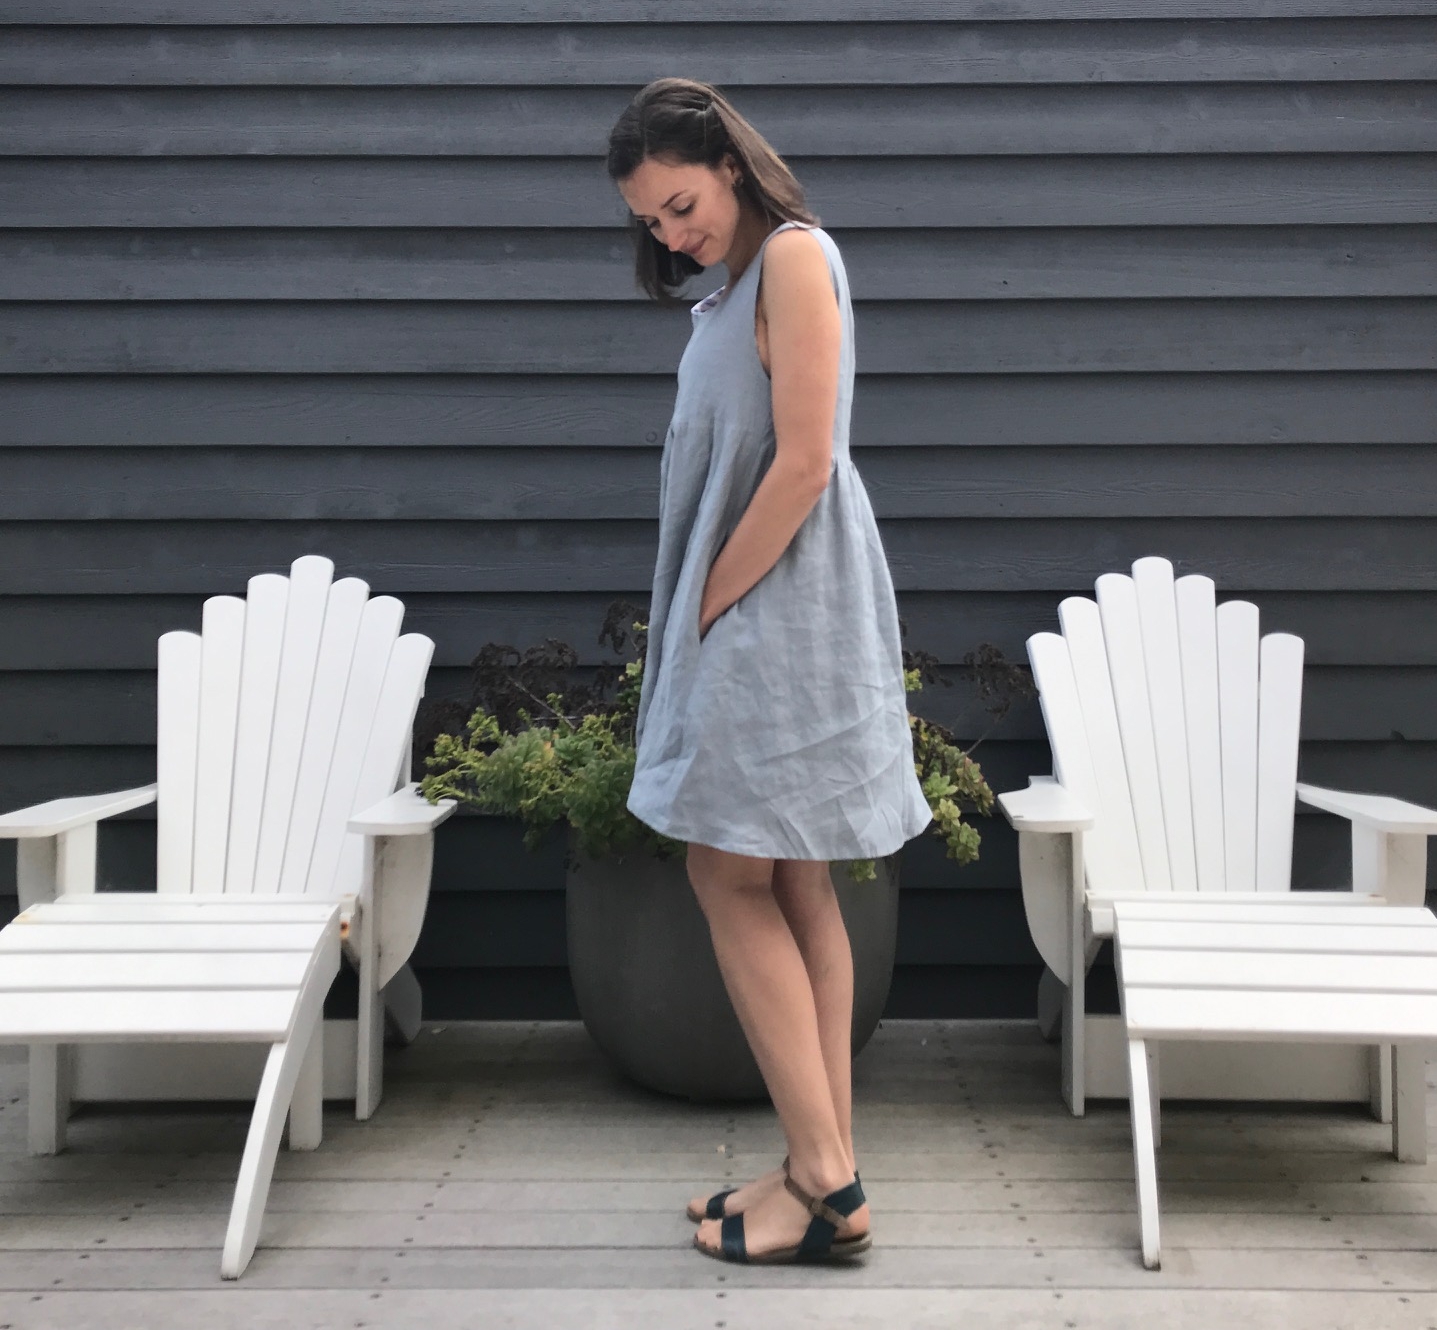
/I made a thing! More shockingly, I blogged a thing! I have been meaning to make this beautiful Cocowawa Crafts Honeycomb dress for months now so having it finally finished is a wonderful feeling.
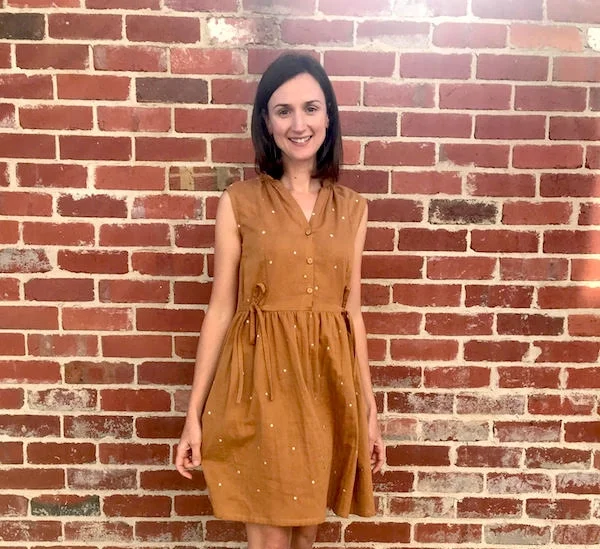
There are so many things to love about this pattern, though the waist ties are particularly special. I decided to make a sleeveless version for summer, although I know it’s going to work really well layered over long sleeve tees on cooler days.

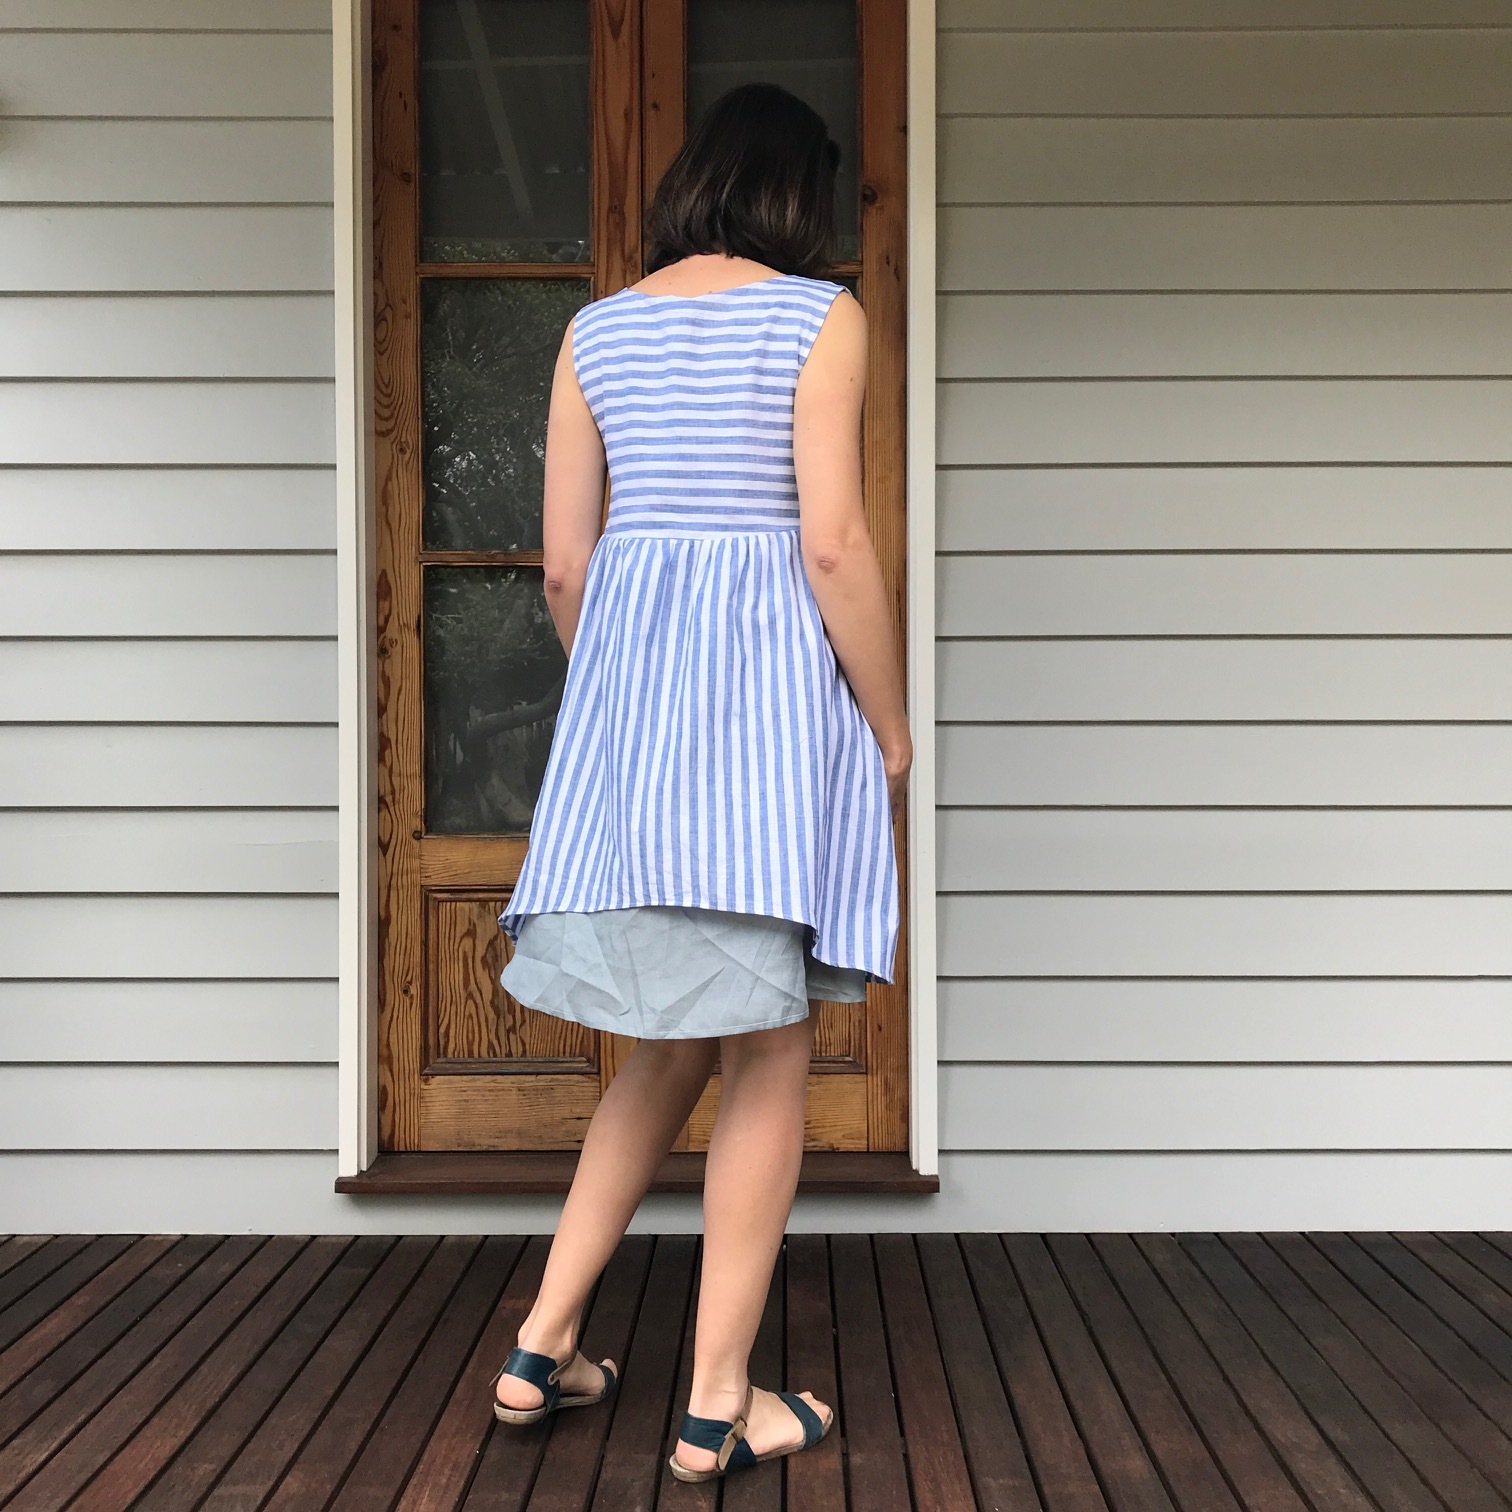
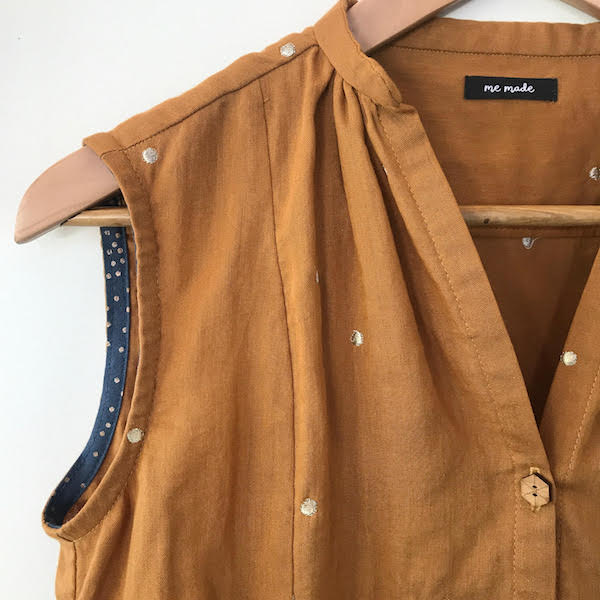
Making it sleeveless also gave me an opportunity to use some gorgeous Japanese cotton bias binding which gives such a lovely finish. I’m a big fan of using ready made bias binding for projects, rather than the main fabric, just because it saves so much on the fabric requirements and means that I usually have enough left over for a skirt or top for my little one too! Better still is using other small, irregular pieces of leftover fabric to make your own bias binding, although I was too lazy in this instance. Or rather, more accurately, I saw these pretty bias bindings at Fibresmith (my favourite Melbourne fabric and supplies store!) and couldn’t resist buying them!

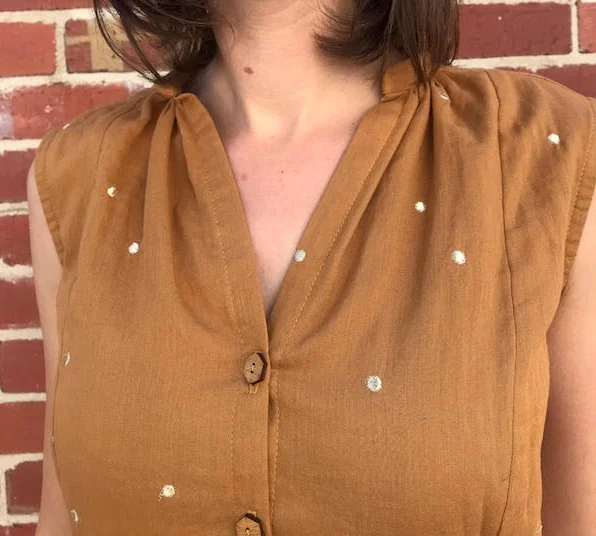
I sewed a size 3 and the fit was pretty good for me, although I did reduce the size of the armholes after making a muslin. The main thing that I changed was to swap the collar for an open style. I’m weirdly unable to stand it when my clothes touch my neck so even though I love the look of the honeycomb collar I knew it wasn’t going to work for me and I didn’t want my dress to end up unworn. So, I took inspiration from Sew Liberated’s Matcha Top and shortened the collar piece, gathering the front bodice to meet it at each side. This adjustment meant that I only needed 3 buttons on my front placket and I also found that I needed to shift the position of the top button (and consequently the others) down a little to give the neckline the open look that I was after.
I feel like this dress is yet another reminder of how your favourite fabric is SO much nicer when you’re wearing it than when it’s just sitting on your shelf, looking pretty and receiving the occasional pat!
I am utterly obsessed with this Atellier Brunette Stardust Double Gauze. I’m sure I’ve raved about double gauze before but to my mind it really is the perfect fabric. Natural fibres, so soft against the skin, drapes beautifully and is a dream to sew with. What more is there?

P.s. don’t you just love those ‘me made’ labels? They’re by Kylie and the Machine and she has so many amazing label designs it’s almost impossible to choose! I bought these on my latest visit to Fibresmith too but they are now happily stocked in lots of stores and also online! yay!