
Tuesday Tee
/


This is a lovely relaxed fit tee. It is a dolman tee with fitted elbow length sleeves and it tapers towards the waist. The fabric is cut on the bias and the back is blocked to make a nice seam detail across the back.
You will need:
- 1.4m of 140cm wide knit fabric
- Matching thread
- Twin Needle (optional)
- Rotary Cutter and Cutting Mat (optional)
I have used my overlocker to sew this Tee but you can easily sew this using your sewing machine. See my ‘Beginners Guide to Sewing with Knits’ if you need more guidance. It has a lovely scooped neckline, just wide enough to fall off the shoulder occasionally but not wide enough to gape.
As before please note that this pattern is completely untested by anyone except for me and the pattern pieces are in one size only (small). Click on the image below to download the pattern pieces.

Sewing Instructions:
Print and Cut Pattern Pieces.
Click the image above to download the pattern pieces. When printing be sure to print at 100% or set scaling to 'None'. There is a 1" test square on page 1 which you can measure to check that your pattern has printed at the correct size. Pattern pieces can be printed on A4 or US letter paper. Once printed they will need to be trimmed along the dotted lines and taped together. Do this following the diagram on page 3 and matching notches.
Pattern pieces are to be cut on the bias. Take your 1.4m by 1.4m piece of fabric and bring 2 diagonal corners towards each other, folding the fabric to form a triangle. The fold will run along the longest edge of the triangle. Place your pattern pieces on this fold, pin in place and cut (ideally with a rotary cutter and cutting mat to prevent stretching of the fabric as you cut.)
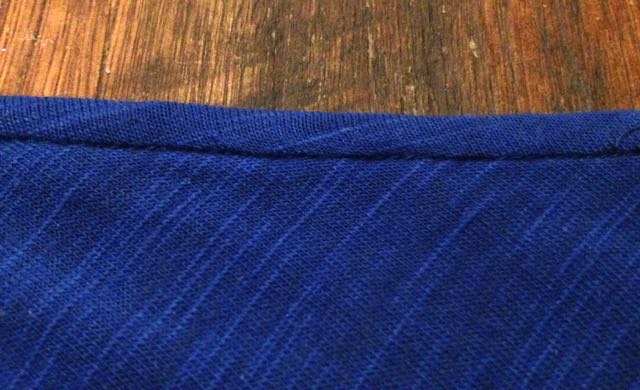
Join Back pieces:
Take the upper and lower back pieces and place right sides together, matching notches. Pin together along the long edge and join with a 1cm seam. Press seam towards neckline. There is no need to use a zigzag stitch here, a simple straight stitch will do as the fit here is loose.


Join Shoulders:
Lay tee front and back on top of one another, with right sides together. Match and pin shoulder seams and then join with a 1cm seam. Once again, straight seams will do. Press seams towards the Tee back.
Hem Sleeves and bottom of Tee.
Press 1cm to the wrong side, then fold over again, pressing another 2cm to the wrong side. Pin in place. Sew hems using a twin needle or a zigzag stitch, sewing 1.5cm from the hemline.


Sew Side Seams:
With right sides together, align side and underarm seams, matching hems. Pin in place and join, using a single seam. Begin at the ends of the arms and sew towards the bottom hem.

Finish the neckline.
I'm afraid that the method i've used for finishing the neckline is very unscientific, which bothers me greatly - being an actual real life scientist. I'll come up with better instructions and update this soon. But, for the time being, cut a strip 4 cm wide and approximately 100cm long.
With right sides together and matching raw edges, position one end of your binding approximately 5cm past the mid point of the centre back of the neckline. Join with a 1cm seam sewing right around the neckline, stretching the neck binding slightly as you go. Stop 5 - 10 cm from where you started your line of stitching.

Lay the ends of the neck binding flat and trim them so that they overlap by 2cm.

Align the ends of the binding so that the right sides are together and join with a 1cm seam. Take care to keep the rest of the Tee out of the way of your stitches.

Press seam open, pressing binding flat against the neckline as you do. Complete the seam that joins the binding to the neckline, sewing across the seam and the seam allowance and backstitching at the start and end of your stitches to secure them.

Press the binding to the right side.

Using a steam iron, press 0.5cm of the raw edge of the neck binding to the wrong side. Press another 1.5cm to the wrong side and pin in place. The neck binding should extend slightly past the seamline. Take extra care to make sure that you have done this accurately. You will be glad you did! Pin in place.

Working from the right side of your Tee, 'stitch in the ditch' right around the neckline. Your stitching should be almost invisible from the front and should catch the neck binding on the back:

And that's it! We're done. That's 2 of 7 Tees complete and i'm already beginning to feel that i might have bitten off more than I can chew with this challenge I've set myself! Oh well, I do love a challenge, but right now I'm off to have a long, hot shower, put on my PJs and snuggle up on the sofa to watch GAME OF THRONES!!! Whoop!
Goodnight. x


