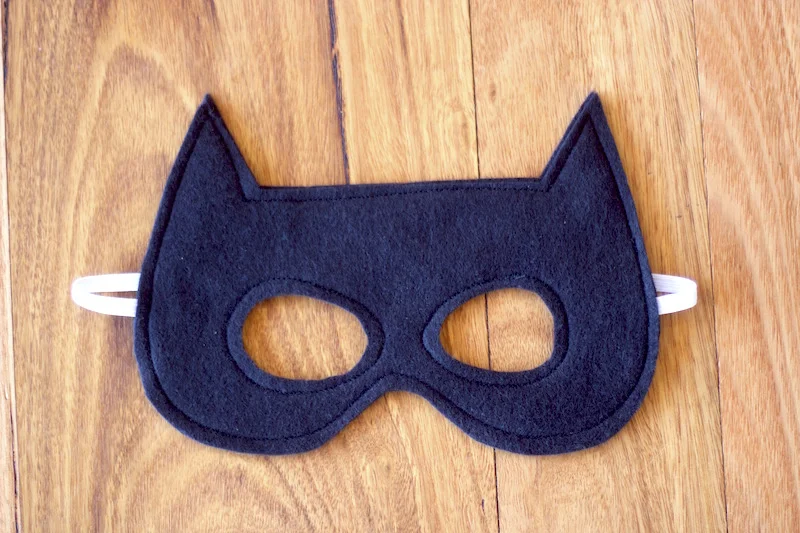
A Free Batman Mask Pattern for you!
/

Bam! Pow! Kaboom! There have been a lot of superheroes racing around my house recently, rescuing dolls and dinosaurs in distress and generally causing well intentioned chaos.
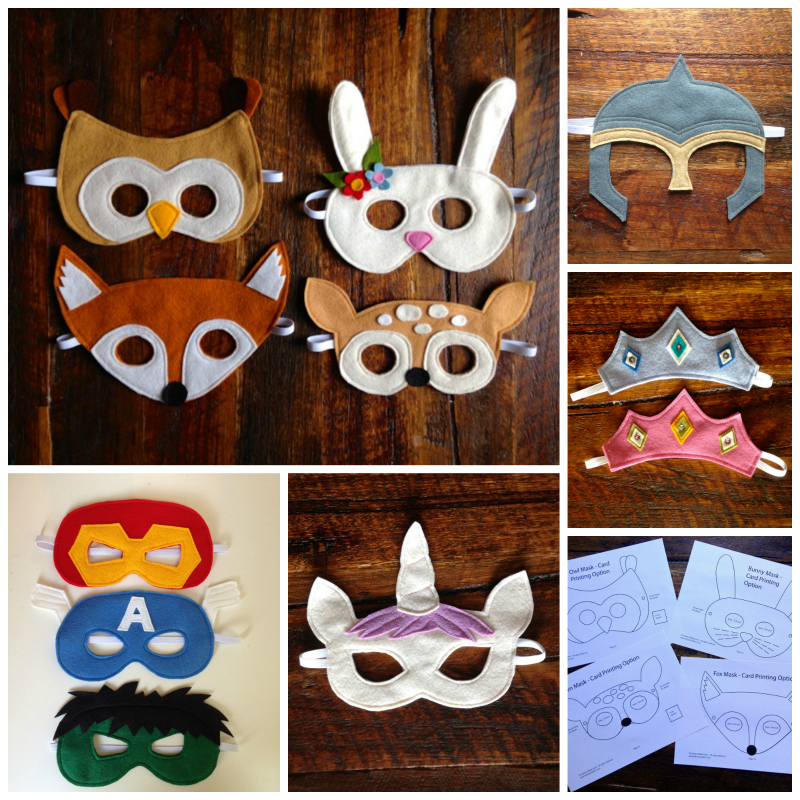
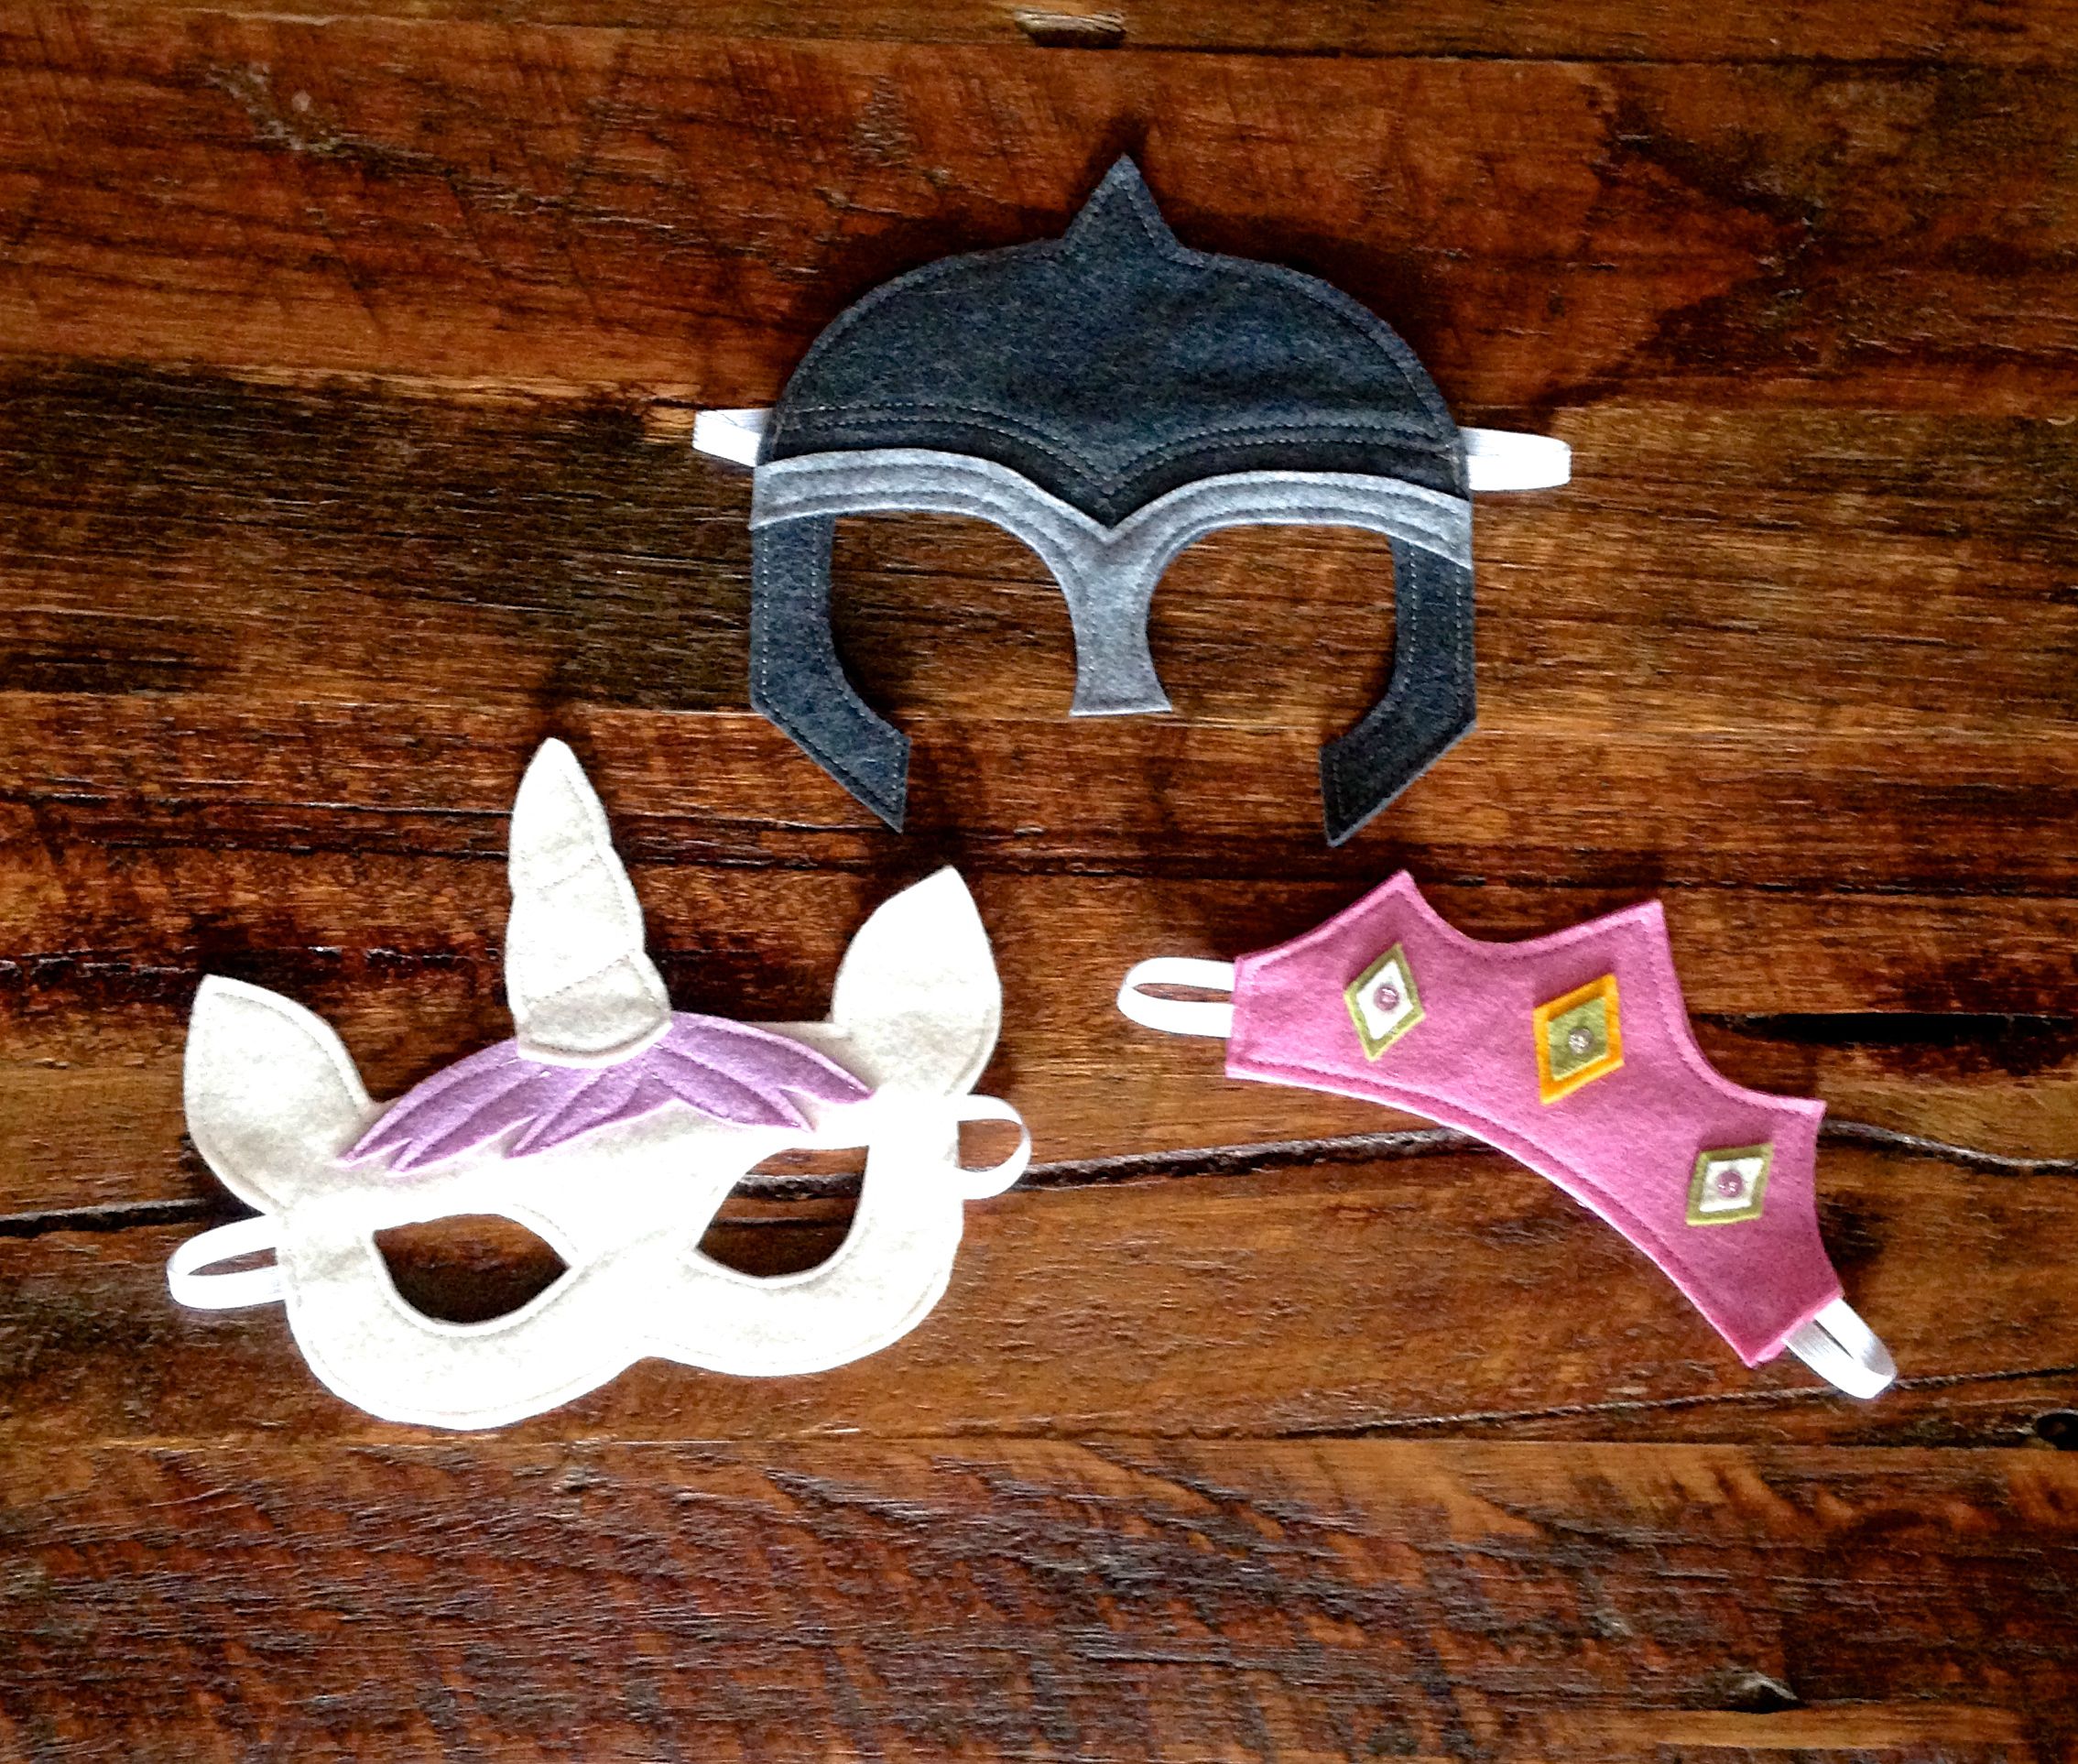
I've been sewing an AWFUL lot of masks in the last month or so, stocking up my Etsy shop and preparing for the Christmas markets, and silly season in general. I'm working on getting my second set of superhero mask patterns up in the Etsy shop soon, but in the meantime I thought you might like a little freebie!
Click here to download your FREE Batman felt mask sewing pattern.
The pattern can also be printed onto cardstock, painted, coloured or decorated and cut out - perfect for entertaining the kids on a rainy day or for children's parties. Be sure to print the pattern at actual size - do not select scaling in your print options.
It's super easy this one; I don't have any photo illustrations for you but you won't need them! This mask should fit most children from around age 2.
You will need:
21 x 30cm (9 x 12") of high quality black felt
Approximately 31cm (12") of 8mm (3/8") wide woven elastic
Black thread
1. Print the pattern piece and cut 2 mask shapes from your black felt. TIP: Draw around the insides of the eyes (with a white pencil or chalk) but do not cut them out yet.
2. Lay the 2 pieces one on top of the other, right sides together. Pin in place. Use a pin to mark the placement of the elastic on each side of the mask.
3. Sandwich the elastic between the two layers of felt, pinning it in place so that it extends approximately 1.5cm (1/2") into the mask at each side.
4. Sew right around the outside of the mask, sewing through both layers of felt, and sewing 5mm (1/4") from the edge. When you reach the spots where the elastic enters the mask sew backwards and forwards a few times to really secure it.
5. Sew around the eye hole markings, sewing at least 5mm (1/4") from the white lines that you have drawn and keeping the lines INSIDE the circle that you are sewing. Take care not to catch the elastic in your stitches.
6. Cut along the white lines to reveal the eye holes. Again; take care with the elastic, this time making sure you don't cut through it! Cutting the eye holes out after you have sewn around them will give you a much neater finish.
Hope you and your little superheroes enjoy this tutorial. I always love to see your creations if you feel like sharing them!