Honeycomb Dress - Pattern Review

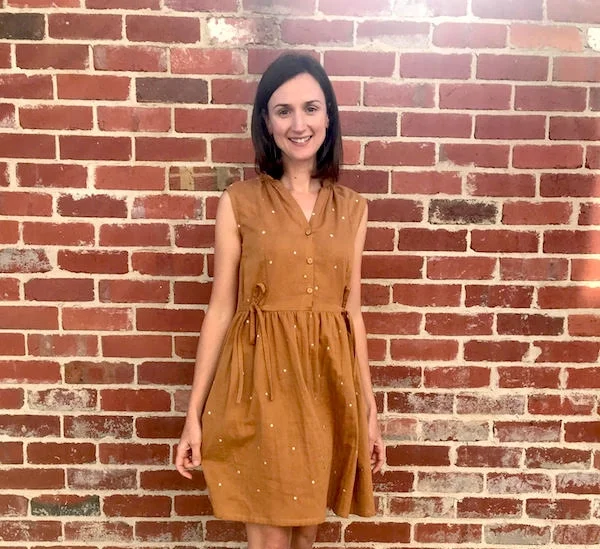
I made a thing!  More shockingly, I blogged a thing!  I have been meaning to make this beautiful Cocowawa Crafts Honeycomb dress for months now so having it finally finished is a wonderful feeling.  

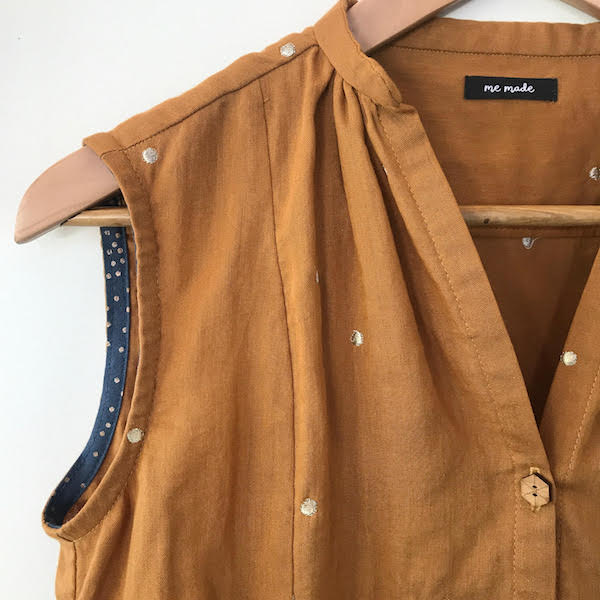
Cocowawacrafts Honeycomb Dress Pattern Review by Willow and Stitch

There are so many things to love about this pattern, though the waist ties are particularly special.  I decided to make a sleeveless version for summer, although I know it’s going to work really well layered over long sleeve tees on cooler days.

Cocowawacrafts Honeycomb Dress Pattern Review by Willow and Stitch

Making it sleeveless also gave me an opportunity to use some gorgeous Japanese cotton bias binding which gives such a lovely finish. I’m a big fan of using ready made bias binding for projects, rather than the main fabric, just because it saves so much on the fabric requirements and means that I usually have enough left over for a skirt or top for my little one too!  Better still is using other small, irregular pieces of leftover fabric to make your own bias binding, although I was too lazy in this instance. Or rather, more accurately, I saw these pretty bias bindings at Fibresmith (my favourite Melbourne fabric and supplies store!) and couldn’t resist buying them!

Honeycomb6.jpgCocowawacrafts Honeycomb Dress Pattern Review by Willow and Stitch
Cocowawacrafts Honeycomb Dress Pattern Review by Willow and Stitch

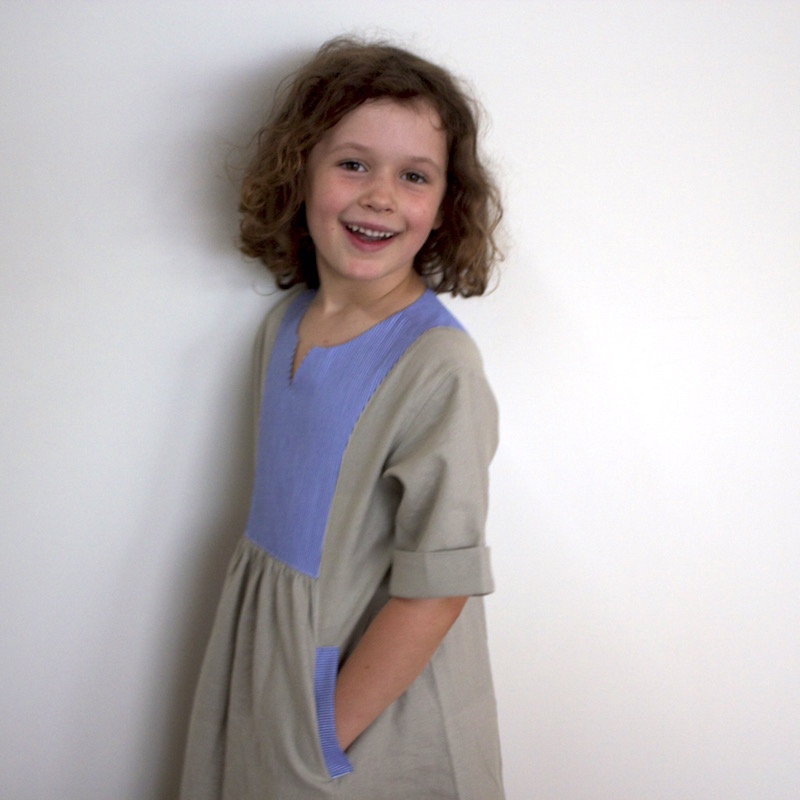
I sewed a size 3 and the fit was pretty good for me, although I did reduce the size of the armholes after making a muslin.  The main thing that I changed was to swap the collar for an open style. I’m weirdly unable to stand it when my clothes touch my neck so even though I love the look of the honeycomb collar I knew it wasn’t going to work for me and I didn’t want my dress to end up unworn.  So, I took inspiration from Sew Liberated’s Matcha Top and shortened the collar piece, gathering the front bodice to meet it at each side. This adjustment meant that I only needed 3 buttons on my front placket and I also found that I needed to shift the position of the top button (and consequently the others) down a little to give the neckline the open look that I was after.

Cocowawacrafts Honeycomb Dress Pattern Review by Willow and Stitch

I feel like this dress is yet another reminder of how your favourite fabric is SO much nicer when you’re wearing it than when it’s just sitting on your shelf, looking pretty and receiving the occasional pat!

I am utterly obsessed with this Atellier Brunette Stardust Double Gauze.  I’m sure I’ve raved about double gauze before but to my mind it really is the perfect fabric.  Natural fibres, so soft against the skin, drapes beautifully and is a dream to sew with. What more is there?

Cocowawacrafts Honeycomb Dress - Pattern Review by Willow and Stitch

P.s. don’t you just love those ‘me made’ labels? They’re by Kylie and the Machine and she has so many amazing label designs it’s almost impossible to choose!  I bought these on my latest visit to Fibresmith too but they are now happily stocked in lots of stores and also online! yay!

Millie Dress International Blog Tour

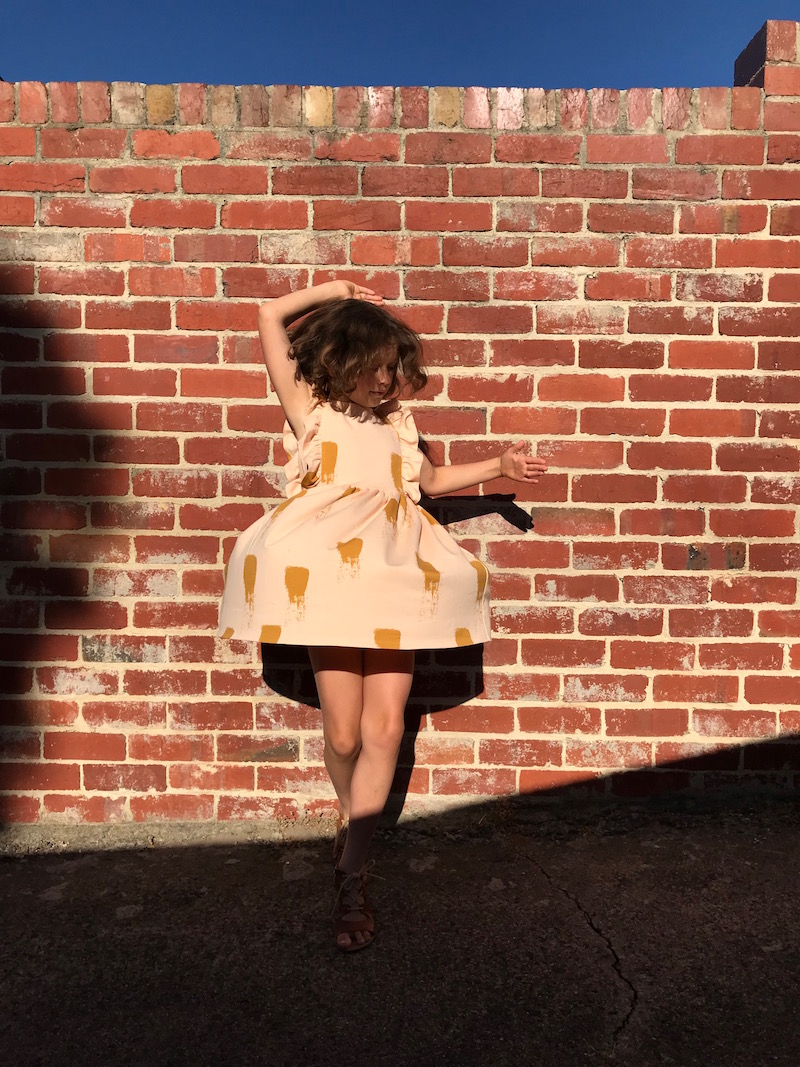
Millie Dress in See You at Six French Terry

I've had my eyes on this beautiful Millie Dress pattern for a while now. I even went and downloaded the original version but my little beanpole of a girl outgrew the size range before I had a chance to make it.  Happily for me the lovely designer, Nicky of Mix it Make it, has updated the pattern and it now comes in sizes 2-12 - Hurrah!  When she asked whether I would like to be part of the international blog tour to celebrate the release of the English version of the pattern I quite naturally jumped at the chance! 

Millie Dress International Blog Tour

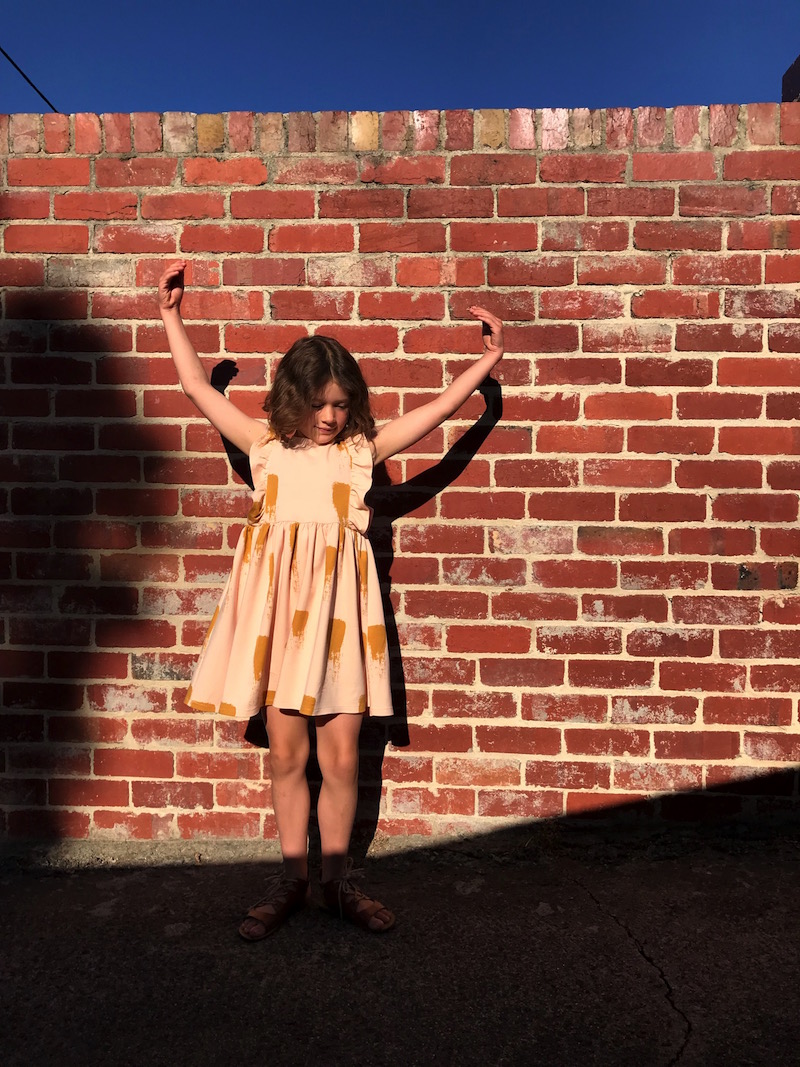
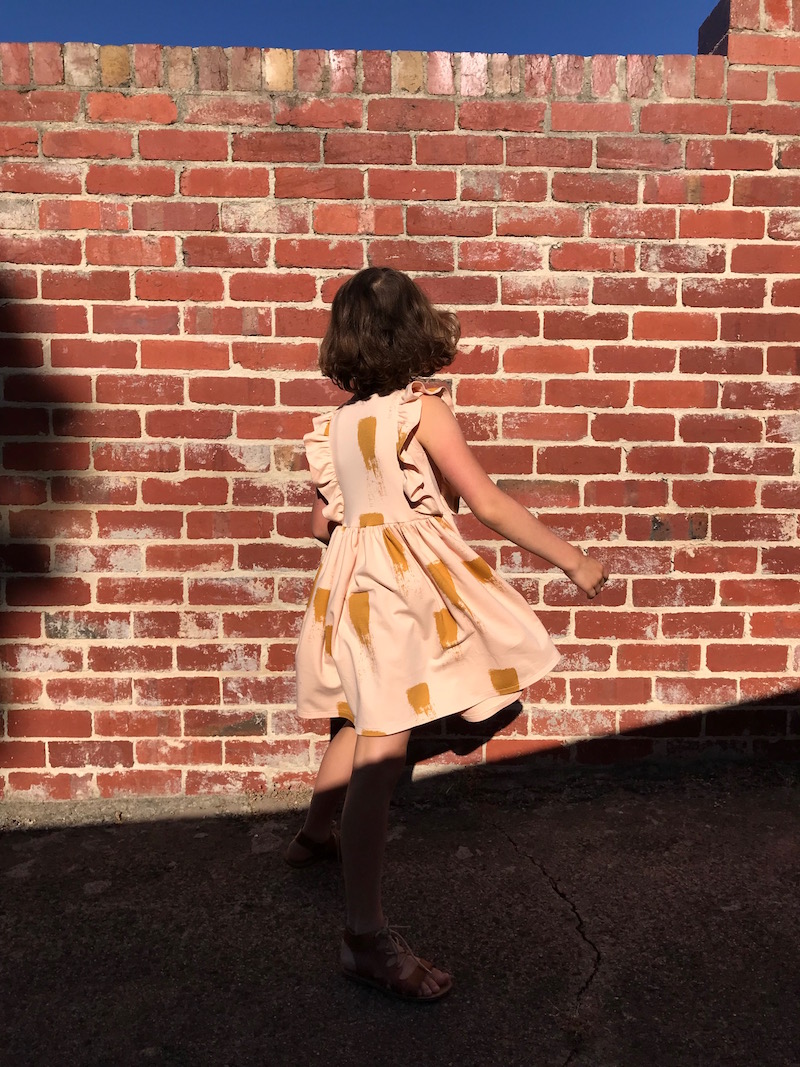
Summer is in full swing down under so I decided to hack my Millie Dress a little to make a sleeveless version.  It was a really simple alteration - I just turned the seam allowance to the wrong side and stitched it down, exactly the same as the neckline.  Super easy.

Millie Dress in See You at Six French Terry

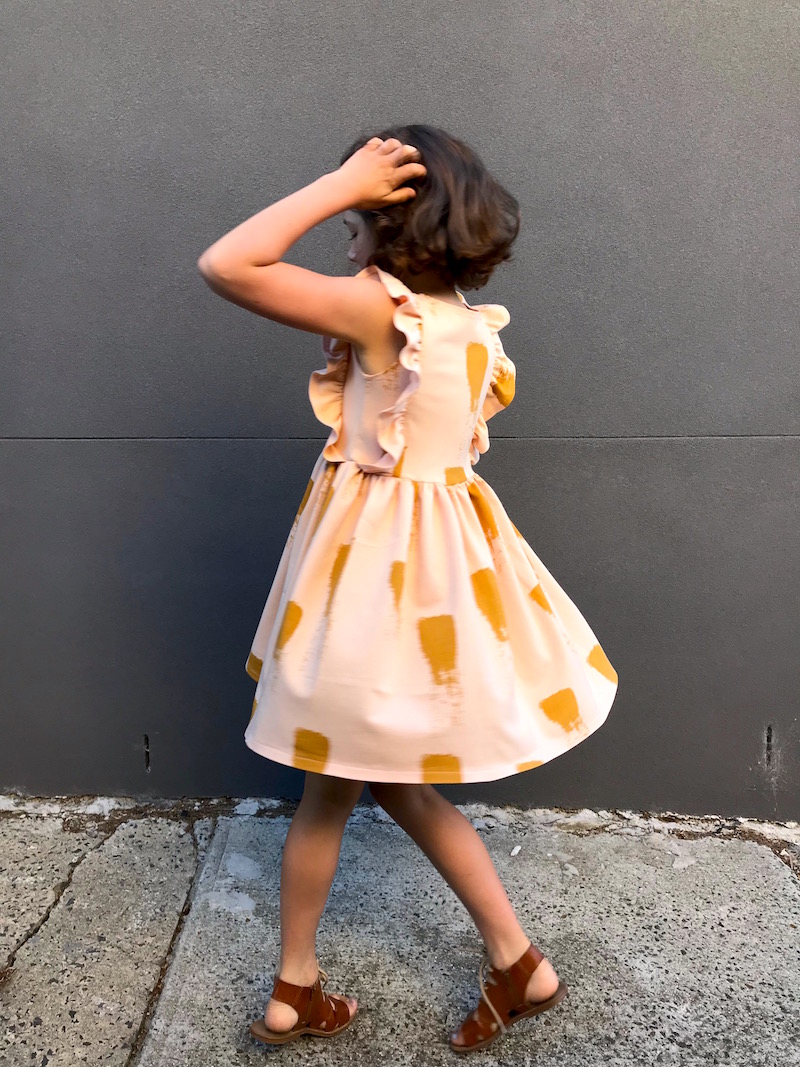
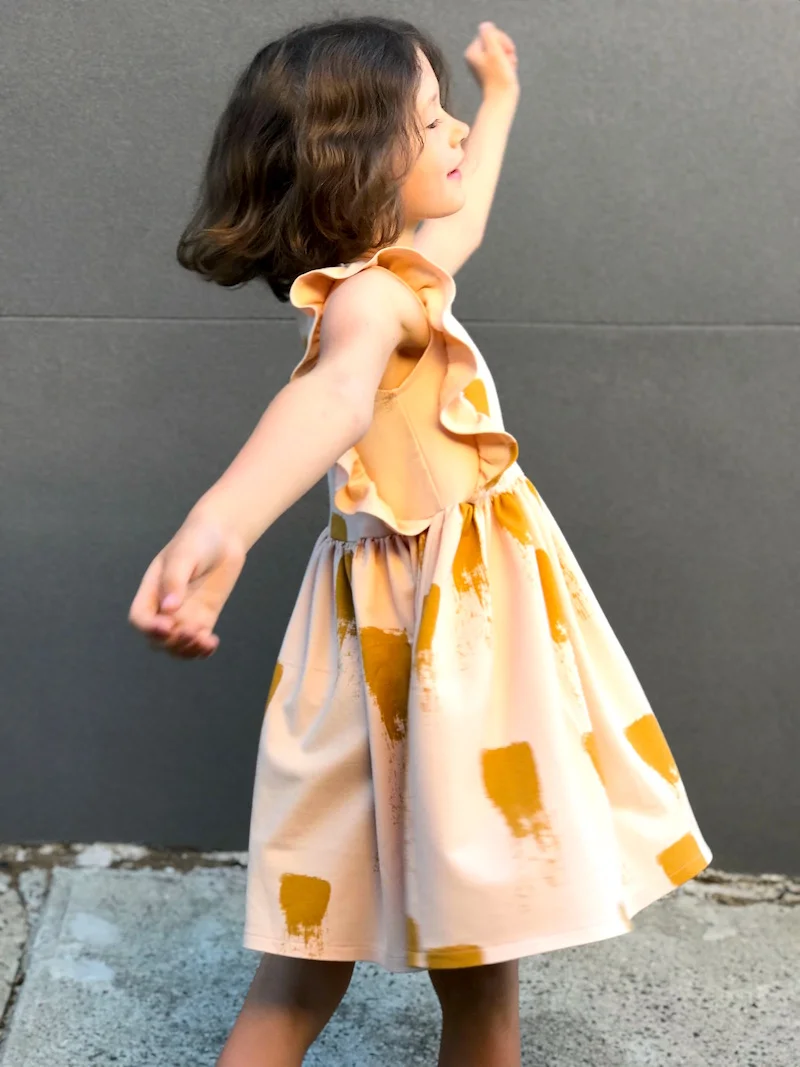
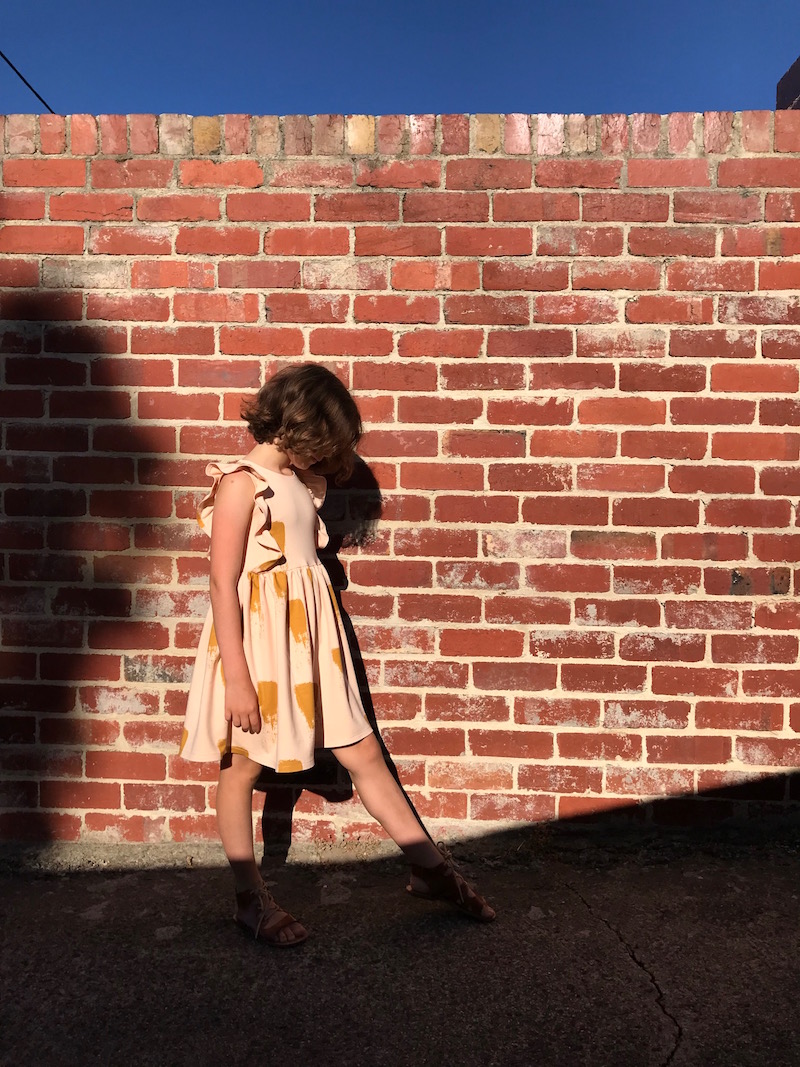
I used a beautiful soft See You at Six French terry which I have recently become completely obsessed with.  I blame MaaiDesign for introducing me to it and enabling my addiction!  It's just so lovely to work with and so heavenly to wear.  Each time I make something from it my kids put the clothes on and say 'Oooooh, yes! I love this one!'  I can't get enough of this beautiful pink with gold paint strokes on it.

Sleeveless Millie Dress in See You at Six French Terry

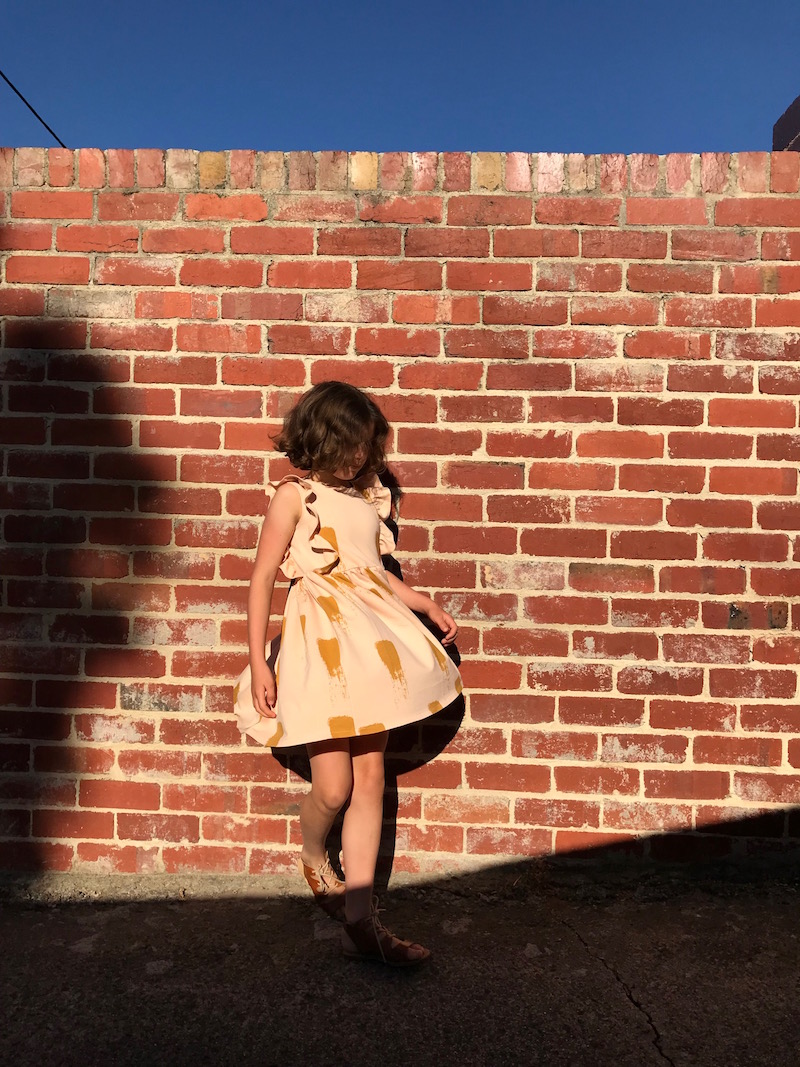
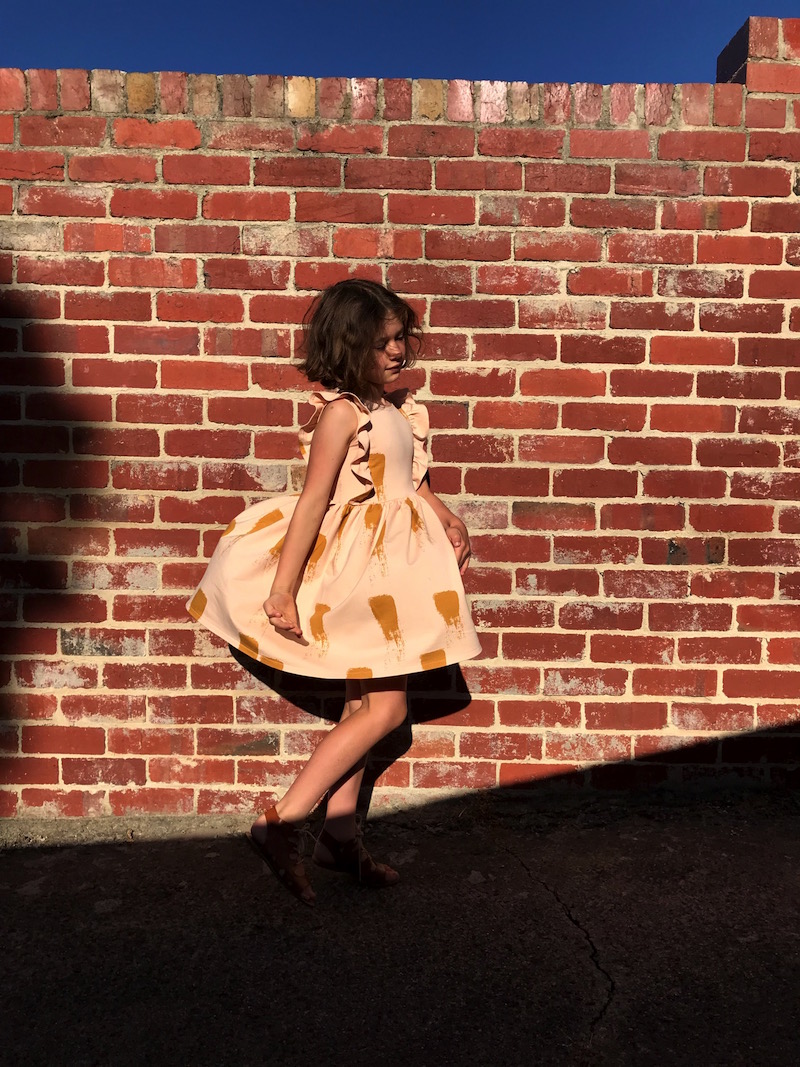
I think this may well be one of Ella's favourite things that I have ever made for her.  Pretty, Twirly, Comfy. What more could a girl want?  

The pattern is beautifully drafted and the instructions are clear and simple.  I made the mistake of getting a little over excited and accidentally cut the front and back bodice along the ruffle insertion lines before joining them at the shoulders.  I spent about 2 minutes kicking myself and then decided to just try sticking them back together with washi tape before sewing and what do you know - it worked a treat!  Washi tape for the win every time!

There will certainly be more Millie Dresses in our future.   I've already got a long sleeved version planned for autumn in this lovely April Rhodes fabric.  Any dress that makes you want to dance and twirl is a winner in my opinion! (Click through the images above to see more dancing and twirling!)

If you'd like to see more Millie Dresses go and take a look at the beautiful creations by the other lovelies on the Millie Dress Blog Tour:

Kneesocks and Goldilocks | Just Add Fabric | Van Jansen

Groovy Baby and Mama | La Folie Sewing Booth | My Petite Sophie

Vogue Deep V Kimono Dress - V9253

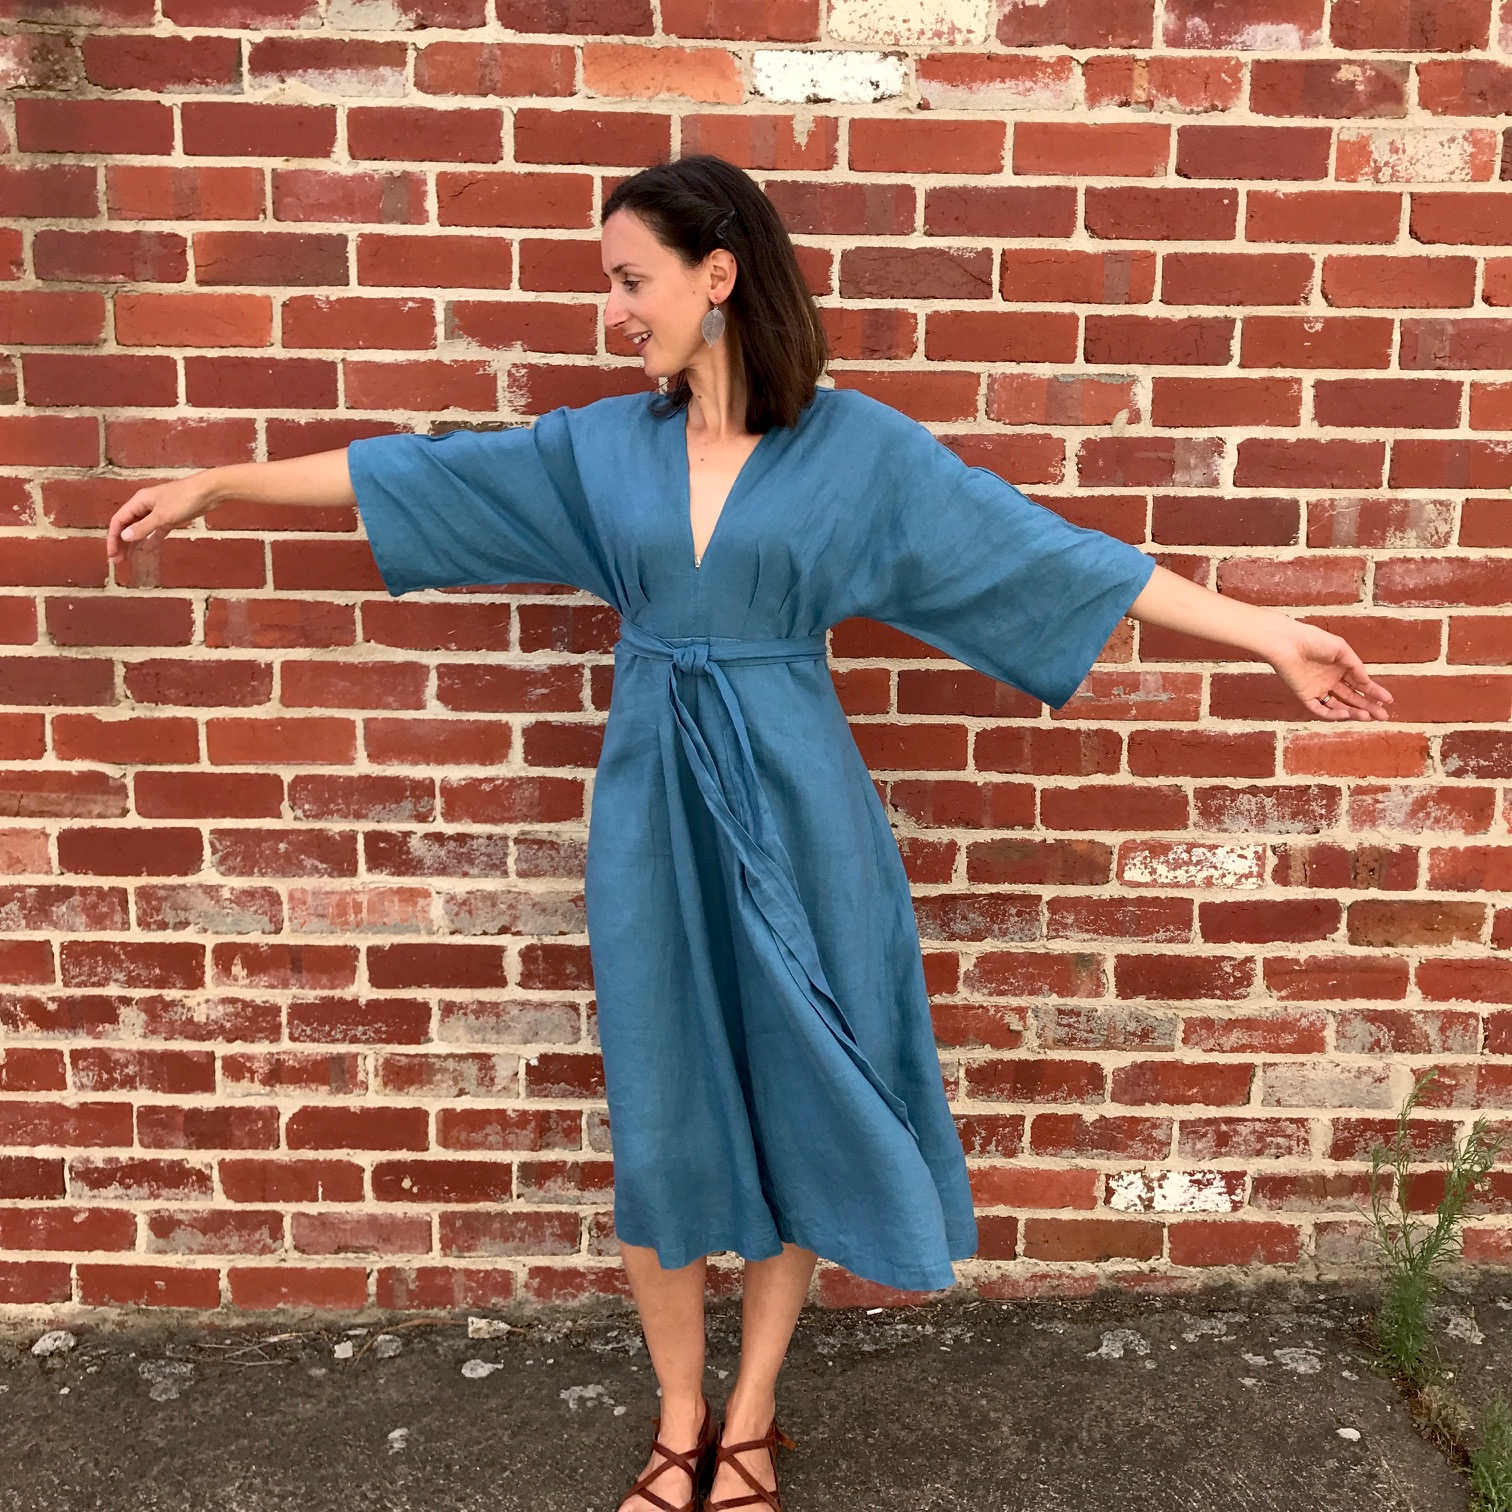
V9253 Vogue Deep V Kimono Dress in Teal Milled Linen

It has taken me so long to get around to photographing and blogging this dress that I can hardly remember any of the making details by now.  So, consider this fair warning if you’re hoping to be informed; this blog post is most likely going to be a combination of pretty pictures and pointless ramblings!

V9253 Vogue Deep V Kimono Sleeve

I made this dress for Melbourne Frocktails after seeing lots of gorgeous versions of it crop up in my instagram feed and becoming completely obsessed with it!

V9253 Vogue Deep V Kimono Dress

I wasn’t brave enough to go for the full deep V, so I just sewed it up to a point where I felt comfortable. I probably should have sewn an extra centimetre or so to stop that pesky bra peeping out, or perhaps I’ll just take it as a sign that I need to spend some time this year learning how to make pretty bras that are worthy of peeping at!

V9253 Vogue Deep V Kimono Dress front pleats

The fabric is a beautiful teal milled linen from The Fabric Store (this shade is called Blue Lagoon), I've already used this fabric for several other projects, and I love the look and feel of it and how easy it is to work with (I’m soon going to have a wardrobe full of this linen in every shade!)

I had a major freak out halfway through making where I became convinced that I didn’t actually like it at all. Fortunately all those fears disappeared when I put it on - I LOVE this dress. It’s so simple yet elegant and I’ve worn it a handful of times already.   

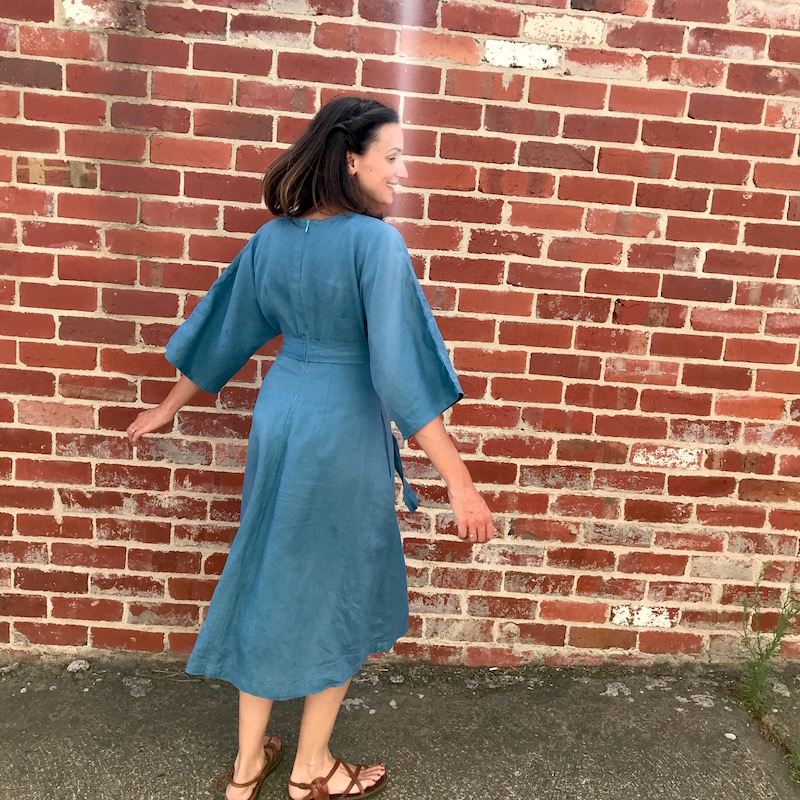
V9253 Vogue Deep V Kimono Dress back zipper

It was actually my first time sewing a vogue pattern - I mostly use indie designer patterns and it really highlighted for me the differences between them and ‘Big 4’ patterns. Firstly it was really expensive ($25!) and also quite hard to find - I had to DRIVE around to SHOPS (say what?!) - no simple internet download for this one.  

I also found the instructions very different, much less detailed and there were no helpful video tutorials or explanations of techniques.  While it wasn't hard to work out what to do, I did spend a lot of time hoping that I was doing it correctly, and not feeling very confident.  It’s made me realise just what a wonderful thing indie designers have done for sewing. I am essentially self taught in my sewing and all of it has come from buying sewing patterns which teach me new techniques, they don’t require you to know those techniques, they teach them! How great is that?! Thank you to all you wonderful designers out there, without you I probably would have given up on sewing before I’d ever even really started to learn!

V9253 Vogue Deep V Kimono Dress front pleats side view

One of the reasons that it's taken me so long to get around to blogging this dress is that I find taking photos really difficult.  I just feel so self-conscious and awkward in front of the camera and it shows in the photos which look awful and that in turn feeds back into a terrible loop of looking and feeling bad about myself! 

One of my resolutions for this year is to learn to feel more comfortable in front of the camera.  One of best ways seems to be to just have a little fun with it and get a bit silly.  I'm going to leave you with this gem because it just cracks me up so bad! Enjoy!

IMG_7182.JPG

Acton Dress

Wow, I haven’t been here for such a long time - things keep getting in the way - ordinary, everyday things:  cooking dinner, trying to stay on top of the mountains of laundry, house guests, and head colds.   

I’m making excuses of course, the truth is that I simply haven’t really felt like sewing or blogging or designing or posting on Instagram so much recently.  I’ve been focused on different things (cooking, baking, gardening, decluttering, reading, watching all seven seasons of Gilmore Girls…)  So, instead of trying to force it I decided to give myself permission to take a break for as long as I needed.

It worked - sort of.  It was good to accept that this just wasn’t where my interest was for the time being, good to take a step back and not to give myself a hard time about it.  I don’t want sewing or writing to become a chore.  I want to do it because I want to do it - otherwise what’s the point?

There’s a catch though (there’s always a catch!) - now that I finally feel inspired to make and write again, I’m freaking out, because breaking a silence is scary.  I mean, surely after taking such a long break I’d better have a good reason to come back to it, I ought to have something exceptional to say, right? Something profound. Or interesting at the very least.  I don’t though. I’m sorry.  Nothing remarkable here, just my ramblings and a realisation that I am happier when I am writing and making and designing.  So without any particular agenda I’m going to try to get back to that.  Here’s a pretty new dress that I made:

Acton Dress

I sewed myself an Acton dress by In The Folds for my lovely husband’s 40th Birthday party the other weekend. I wanted to make it in a soft black linen, with the hope that it wouldn’t look too formal and I would therefore be able to wear it fairly often.  I couldn’t find any nice linen though so I settled on this cotton silk blend instead.  It’s actually really lovely, very floaty and drapey and soft.

Acton Dress

Black fabric is so hard to photograph - sorry for the not very detailed pictures!  Although you can't see it, the dress is beautifully finished inside - lined bodice, french seams etc.  I can certainly see more Acton Dresses in my future, although I have might wait until summer now (it seems a shame to hide that beautiful bodice under layers of winter woolies!)

A Playtime Dress for Ella

Oliver + S Playtime Dress by Willow & Stitch

First make of Kids Clothes Week is complete!  I'm really happy with this lovely little dress.  The pattern is the Playtime Dress and leggings from Oliver + S.  I added these gorgeous little triangular leather elbow patches which I'm pretty sure I've seen somewhere (probably on Pinterest) and shamelessly copied, but I have no idea where I saw it!

Oliver + S Playtime Dress | By Willow & Stitch

The back view.  How cute are those elbows?!  And the gathers!  And the messy curls!

I really liked the topstitched peter pan collar, so much so that I'm almost wishing that I'd done it in more of contrasting colour - you almost can't see it!  (Also, don't judge me on my poor ironing skills...)

Oliver + S Playtime Dress | By Willow & Stitch
Love the silhouette of this dress..

Love the silhouette of this dress..

Molly (who has been renamed 'pillow' for some reason) came for a walk with us, as usual.  (Guess who had to carry her home though....)

Molly (who has been renamed 'pillow' for some reason) came for a walk with us, as usual.  (Guess who had to carry her home though....)

Both the dress and leggings were a big hit with the little lady.  Fortunately, because I cut into my precious Art Gallery Wanderer Knit for the leggings and would have been really annoyed if she hadn't liked them!  I actually cut them upside down (aagghh!) - I didn't realise the print was directional until I spotted those tiny little upside down horses.  So frustrating. Still, I'll probably be the only one who ever really notices!

I have pretty bad outfit envy with this one.  I also reeeeally want a pair of those gold toe capped shoes! 

I have pretty bad outfit envy with this one.  I also reeeeally want a pair of those gold toe capped shoes! 

Also, It's not technically a Kids Clothes Week make because I finished it last week but I finally got some nice pictures of the boy in his 'I solemnly swear I am up to no good' hoodie.  He refused to try it on for days, until I lost patience and practically wrestled him into it.  Once the tantrum was over he decided that actually he REALLY likes it. So much so that he has been sleeping in it and refusing to wear anything else.  Mama always knows best...!

Living up to the quote on his jumper!

Living up to the quote on his jumper!

I solemnly swear that I am up to no good | Harry potter quote stencilled sweater by Willow & Stitch

You May Also Like...

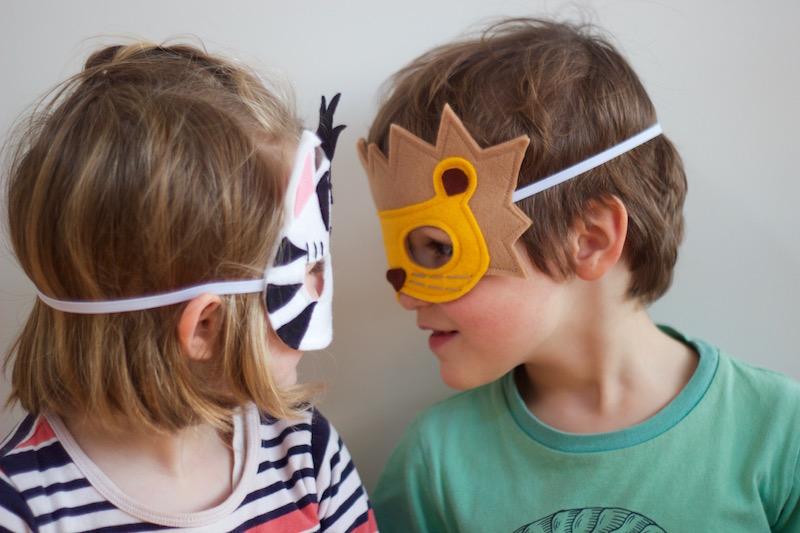
Wild Things - A New Safari Mask Sewing Pattern

Wild Things - Safari Felt Animal Mask PDF Sewing Pattern from Willow & Stitch

Are you ready for the kids to go totally wild?  Want to take a safari without ever leaving home?  Watch your backyard become the African savannah or turn the living room into a water hole with these lovely dress up masks.

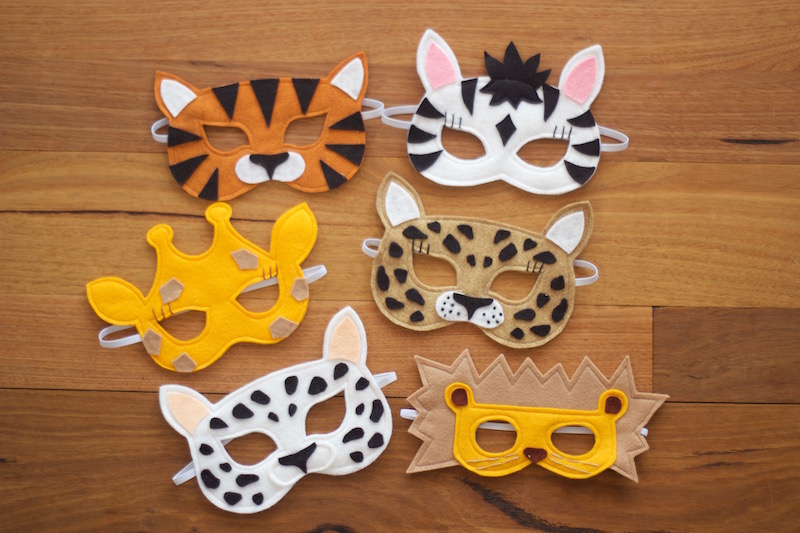
This Wild Things Mask Sewing Pattern features patterns for Lion, Tiger, Giraffe, Zebra and Leopard masks.  You can even make the Leopard into a Snow Leopard for a mountain adventure. 

Wild Things - Leopard Felt Animal Mask PDF Sewing Pattern from Willow & Stitch

I'm so pleased with this pattern.  I think the designs are my favourites so far and I've put a lot of extra effort into the pattern and tutorials.  I've come up with a better (and easier) way of sewing the eye holes, and added whole sections explaining each technique used to make the masks.  There's information on how to resize them to fit dolls (or newborns), printing guides and notes on materials to use.

Wild Things - Snow Leopard Felt Animal Mask PDF Sewing Pattern from Willow & Stitch
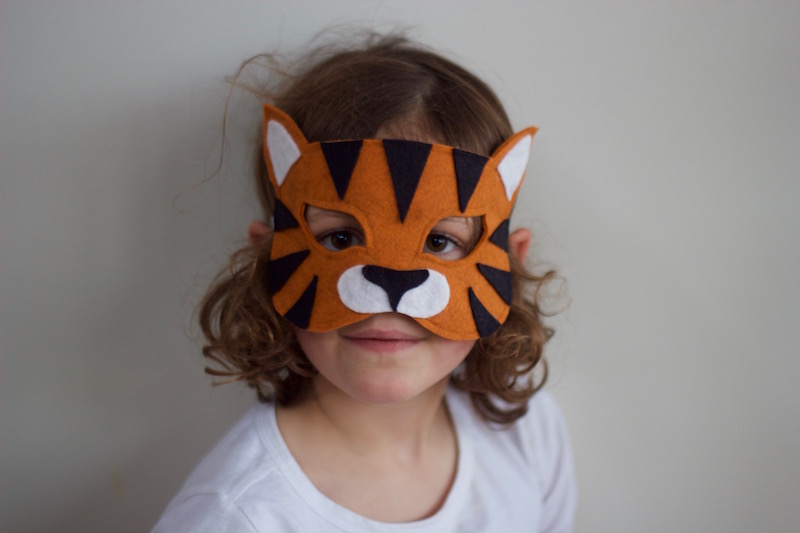
Wild Things - Tiger Felt Animal Mask PDF Sewing Pattern from Willow & Stitch

The patterns are just as easy to follow as ever and are perfect for beginners.  They're quick to sew and make a perfect gift or stocking filler.  I think that practically all of the children Ella's class have gotten a couple of these masks for their birthday this year!  I had a particularly amusing / gratifying experience this last weekend when I took Ella to a 'Superheroes' party for one of her school friends (you can see pictures of her freezer paper stencilled Wonder Woman costume here) - I looked around the room and realised that about half of the kids were wearing masks that I had sewn and Ella had chosen to give to them for their birthday's.  It made me giggle and warmed my heart!

Wild Things - Lion and Zebra Felt Animal Mask PDF Sewing Pattern from Willow & Stitch

Anyway, back to these little wild things; we had so much fun shooting these pictures.  I can tell that these masks are going to get a lot of play time.  The leopard and snow leopard were particular favourites with my little testers. Anything that ROARs was a big hit too of course!  (Any excuse to make a lot of noise really!)

Roooooaaaar!

Roooooaaaar!

Wild Things - Giraffe Felt Animal Mask PDF Sewing Pattern from Willow & Stitch

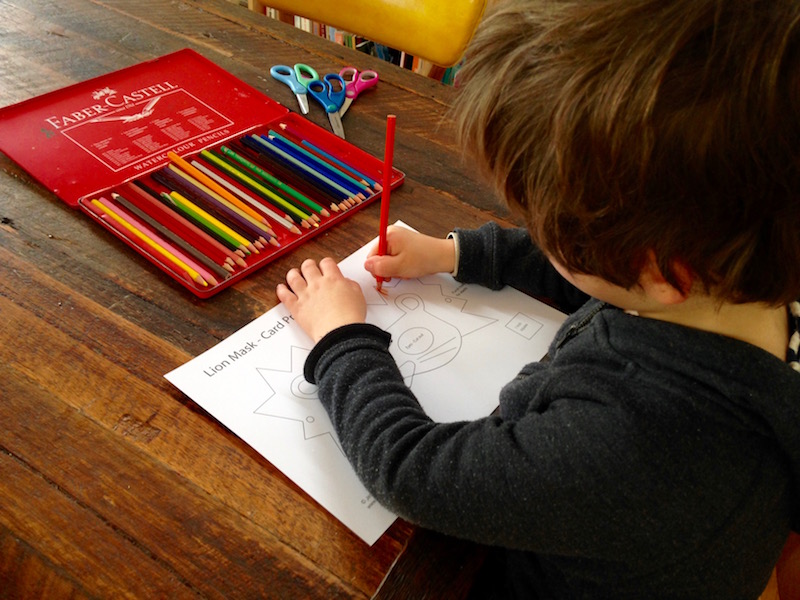
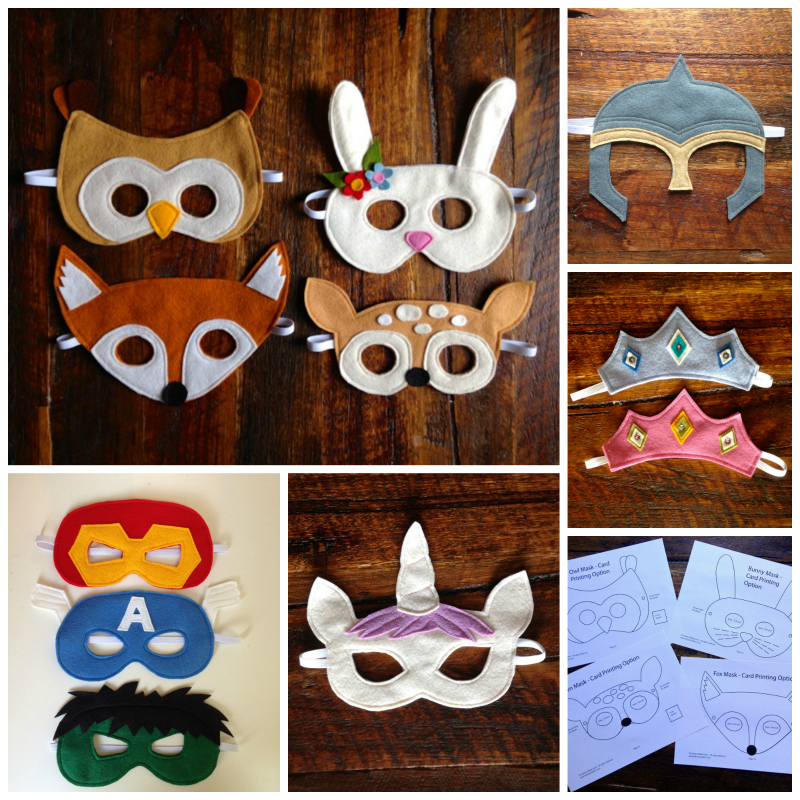
As with all of my other PDF Mask Sewing Patterns this one contains bonus printables of all of the masks.  You can print these at home onto card then let the kids colour, paint or decorate them however they like.  Whey they're finished you simply cut them out and thread them with elastic.  It's one of our favourite rainy day activities and is also great as a birthday party craft activity.

Colour...

Colour...

Cut...

Cut...

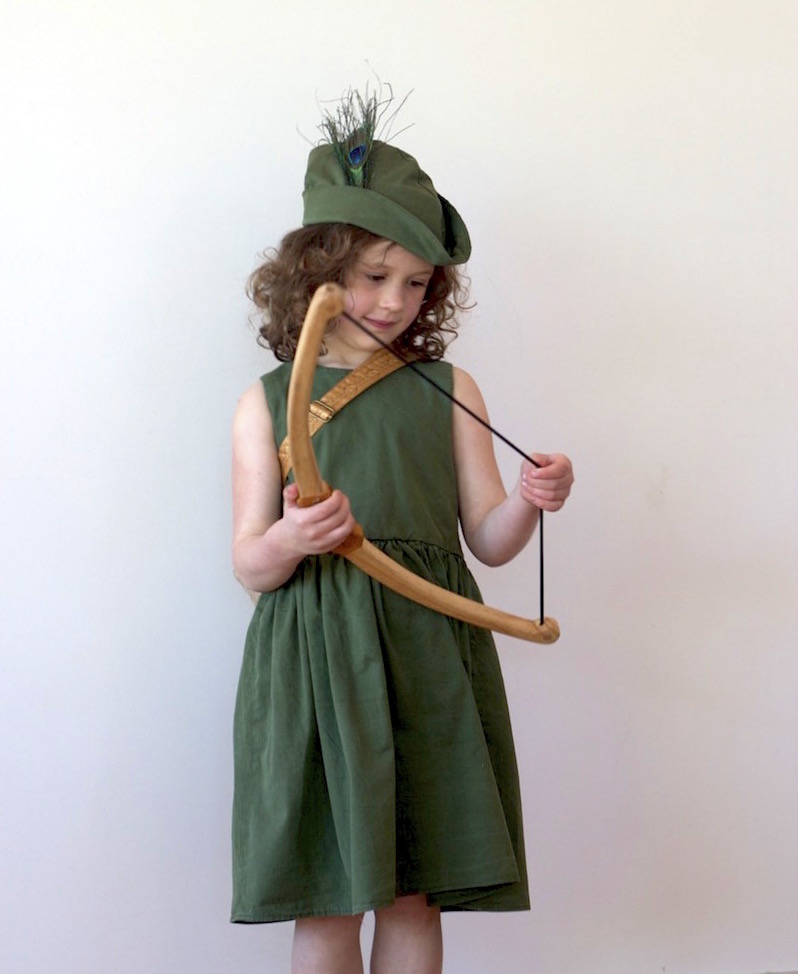
Play!
Play!
To celebrate the pattern release, I'm offering free copies of not only this pattern but the ENTIRE collection of Willow & Stitch mask patterns to two lucky readers.  One here and one over on Instagram.  You are welcome to enter both giveaways as many times as you like.  Good luck!
I made a leather bag!!

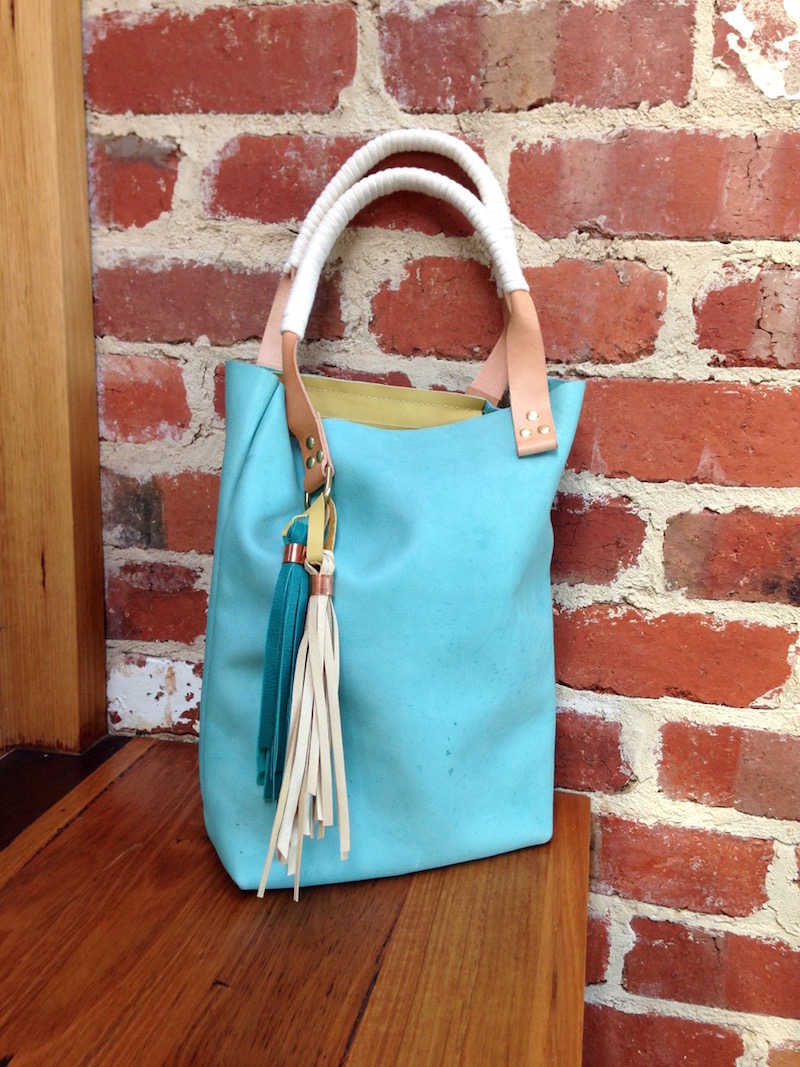
Leather bag making workshop with April Rhodes | Willow & Stitch

Ok, Let me just get this out of the way first of all:

I MADE A LEATHER BAG!

I MADE A LEATHER BAG!

I MADE A LEATHER BAG!

Sorry.  Just a tiny bit excited about this new skill that I’ve learnt!  

If you follow me on Instagram you will have seen that this month I was lucky enough to fly up to Sydney to spend a weekend sewing with the very lovely April Rhodes.  It was such a great weekend - so good to spend the weekend being creative, sewing and hanging out with some beautiful ladies.  

While I thoroughly enjoyed all of the workshops, (we made the Staple Dress and the Pop Over Poncho and also drafted our own skirts), I have to say that the leather bag making session was my favourite.  I’ve never done anything remotely close to sewing with leather before so it definitely fits into the category of ‘Trying Something New’!  

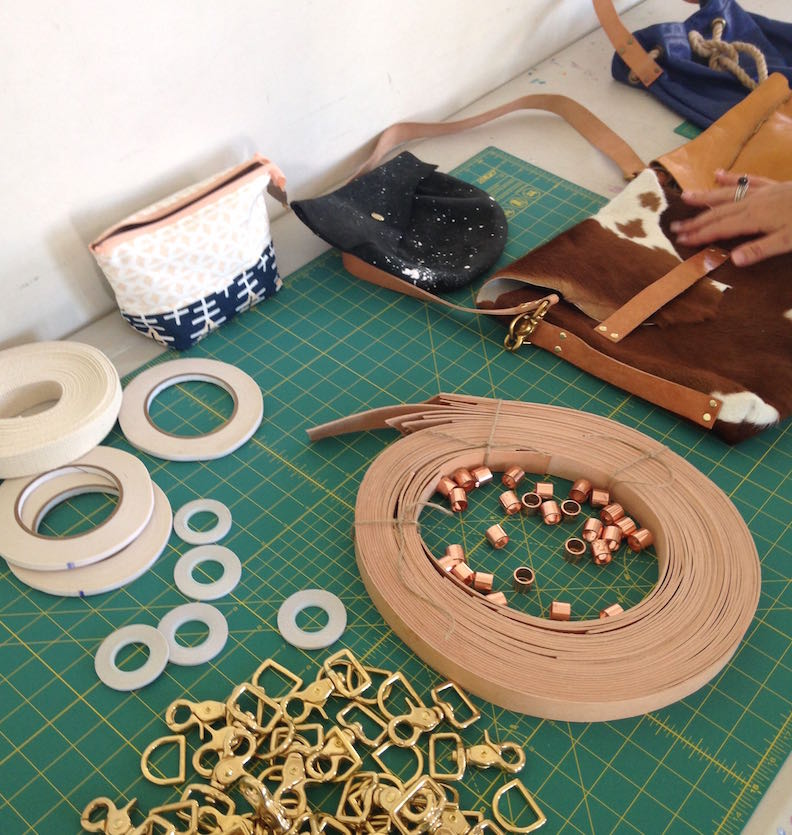
Some of the hardware we used.

Some of the hardware we used.

The beautiful selection of leather to choose from.

The beautiful selection of leather to choose from.

Using clips to pin the leather in place.

Using clips to pin the leather in place.

Some of the many weird and wonderful tools...

Some of the many weird and wonderful tools...

My starting materials.

My starting materials.

There were a lot of new techniques to learn but once you’ve got your head around those the leather was surprisingly easy and satisfying to work with.  The fact that you can leave all the edges raw makes constructing the bag actually pretty easy.  

Probably the trickiest (and most expensive) thing about it was all the hardware required - I’ve already put all the tools on my birthday wish list, although sadly it’s not my birthday until October - I may have to come up with another plan…. I had started to do a little research to find out where I could buy the tools from - until an announcement popped up in my IG feed saying that April Rhodes was going to open her own supply shop which will sell all the materials needed! Excellent - that’s that problem solved then...

Leather Bag Making Workshop with April Rhodes | Willow & Stitch

I’m so pleased with my bag (just in case you haven't guessed that already!). I sewed a little inside pocket to hold my phone and a pen, and we added these fabulous handmade tassels (I can see another obsession developing around tassels but that’s a story for another day…)  I also decided that I would wrap my handles with rope (just to add a little continuity from last month!)  

Leather Bag Making Workshop with April Rhodes | Willow & Stitch

The bag also has a detachable shoulder strap so that I can wear it like a messenger bag if I choose. I won’t tell you how much we struggled to work out exactly how we needed to thread the strap through the fittings to make it adjustable - I think our heads nearly exploded but we got there in the end, and had a lot of fun trying to work it out!

Once again, I have so enjoyed this month’s Try Something New project - and once again I can see it turning into an expensive habit if i’m not careful!  At least I haven’t rushed out and spent hundreds of dollars on leather yet, although that’s not for lack of wanting to!  I have a feeling that all of my nearest and dearest are going to be receiving leather bags for christmas - whether they want one or not!

Leather Bag Making Workshop with April Rhodes | Willow & Stitch


You May Also Like....

A pom pom filled Tutu for Kids Clothes Week

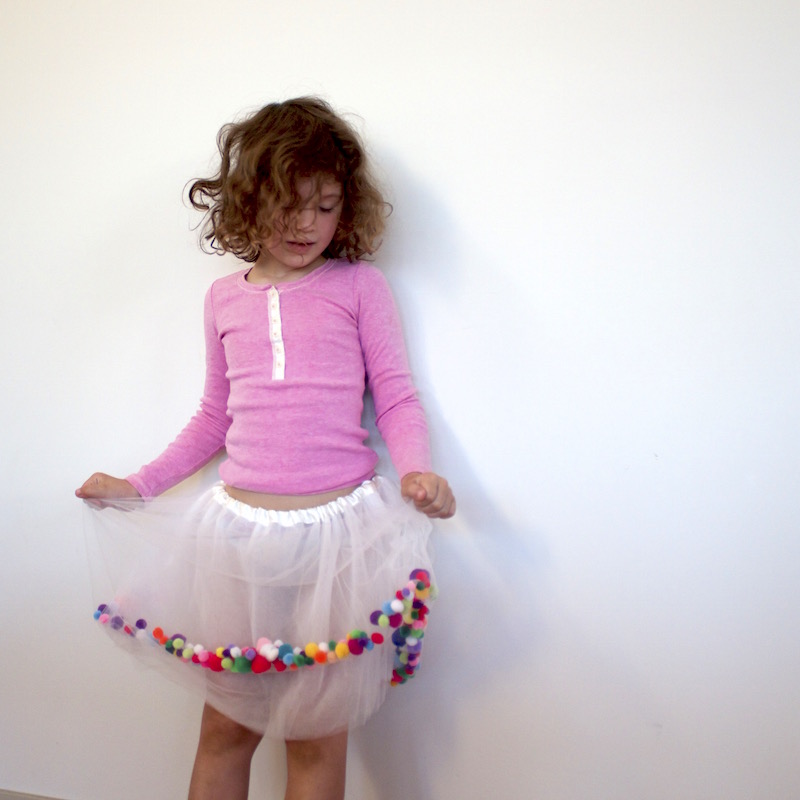
A pom pom filled Tutu for Kids Clothes Week by Willow & Stitch

I wasn't sure that I was going to manage to sew anything within this season's KCW theme of 'Toys' but I think I might have accidentally nailed it with this pom pom filled tutu!

I've had this project in mind for ages.  I bought a huge bag of pom poms ages ago - honestly I have no idea why, quite possibly they were on sale or perhaps I was just attracted by the bright colours, but in any case they have been sitting on my shelf in a big glass jar for about 2 years now, looking pretty, but without my having any idea of what to do with them.  Until I saw these awesome pom pom filled tutus on Pinterest anyway...

Little girl was totally blown away by this skirt.  She kept saying 'Wow!  That's so cool!'  (smug mumma!) and bouncing around and twirling to make the pom poms fly.  I have to admit that I'm a little jealous.  I'm dying to make a tuille skirt for myself but I'm not quite sure I could pull it off.  I'm absolutely certain that I couldn't pull off a pom pom filled one.  Oh well, that's what children are for isn't it?  Living vicariously?!

A pom pom filled Tutu for Kids Clothes Week by Willow & Stitch

You May Also Like...

Sewing Rope Baskets | Try Something New Every Month

Sewing Rope Baskets | Try something new every month by Willow & Stitch

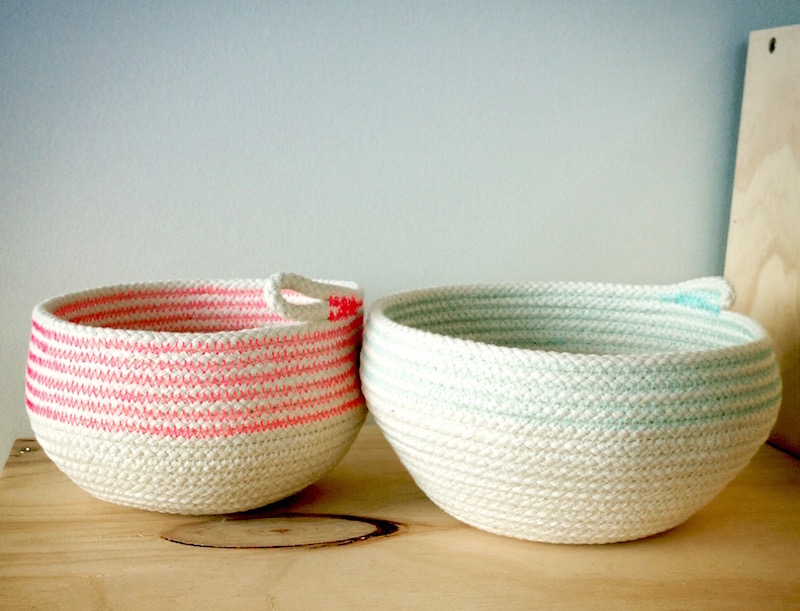
I had SO much fun with this month's project.  I've been dying to try my hand at making these lovely rope bowls for months so TSNEM was just the nudge I needed to get started.  

I can't begin to explain just how satisfying these are to make.  Once I'd got the hang of it I found that the small / medium sized baskets only took around 20 minutes each to make.  There's something very meditative about sewing them, I think it's partly because you're going round and round in circles, and partly because they're so simple that there's really not much thinking involved.  So fun, but goodness me - you wouldn't believe how much thread you'll go through - I've never wound so many bobbins in my life!

Sewing Rope Baskets | Try something new every month by Willow & Stitch

But the thing that I really loved about sewing these baskets is that it isn't really like sewing at all. To me it feels more like sculpting; the angle that you hold the bowl at, the tension on the rope, the variations between different types of rope all contribute to the shape. No two baskets turn out the same (no matter how hard I try) and when I start I often have no idea what the finished thing is going to look like.  It's always lovely surprise to see what comes out the other end.

Sewing Rope Baskets | Try something new every month by Willow & Stitch

I made several baskets using coloured thread to add interest and also had a lot of fun experimenting with paint - both painting the finished baskets and painting the rope before sewing - a la Gemma Patford who has a wonderful little instructional video in case you want to have a go at making some of these beauties yourself!

Sewing Rope Baskets | Try something new every month by Willow & Stitch

I had enormously high hopes for this huge rope market basket, but despite it taking me hours and hours to sew I couldn't help but be a little disappointed with the end result, it turned out pretty wonky and misshapen.  I was all ready to pull it apart and begin again (there must be 30 metres of rope in there!) but actually it's beginning to grow on me and I'm starting to love it despite (or perhaps because of) it's wonkiness. 

Sewing Rope Baskets | Try something new every month by Willow & Stitch

It would be remiss of me not to mention that making these baskets is insanely addictive! Seriously; do not try this if you're not prepared to go out and buy a giant 250 metre roll of rope once you're finished your first basket!  It isn't just me who loves them either - the whole family is obsessed.  Hubby was making requests for baskets to prove his bread in, the kids keep nagging me to make more for them / commandeering my finished baskets.  I found this one full of Jacob's treasures.

Consider yourself warned!

Sewing Rope Baskets | Try something new every month by Willow & Stitch

Have you had a go at making baskets like these? Did you get as addicted as I did?  Want to share any top tips or your favourite uses for them?

You May Also Like...