
Fabric Basket Tutorial
/
Happy New Year!
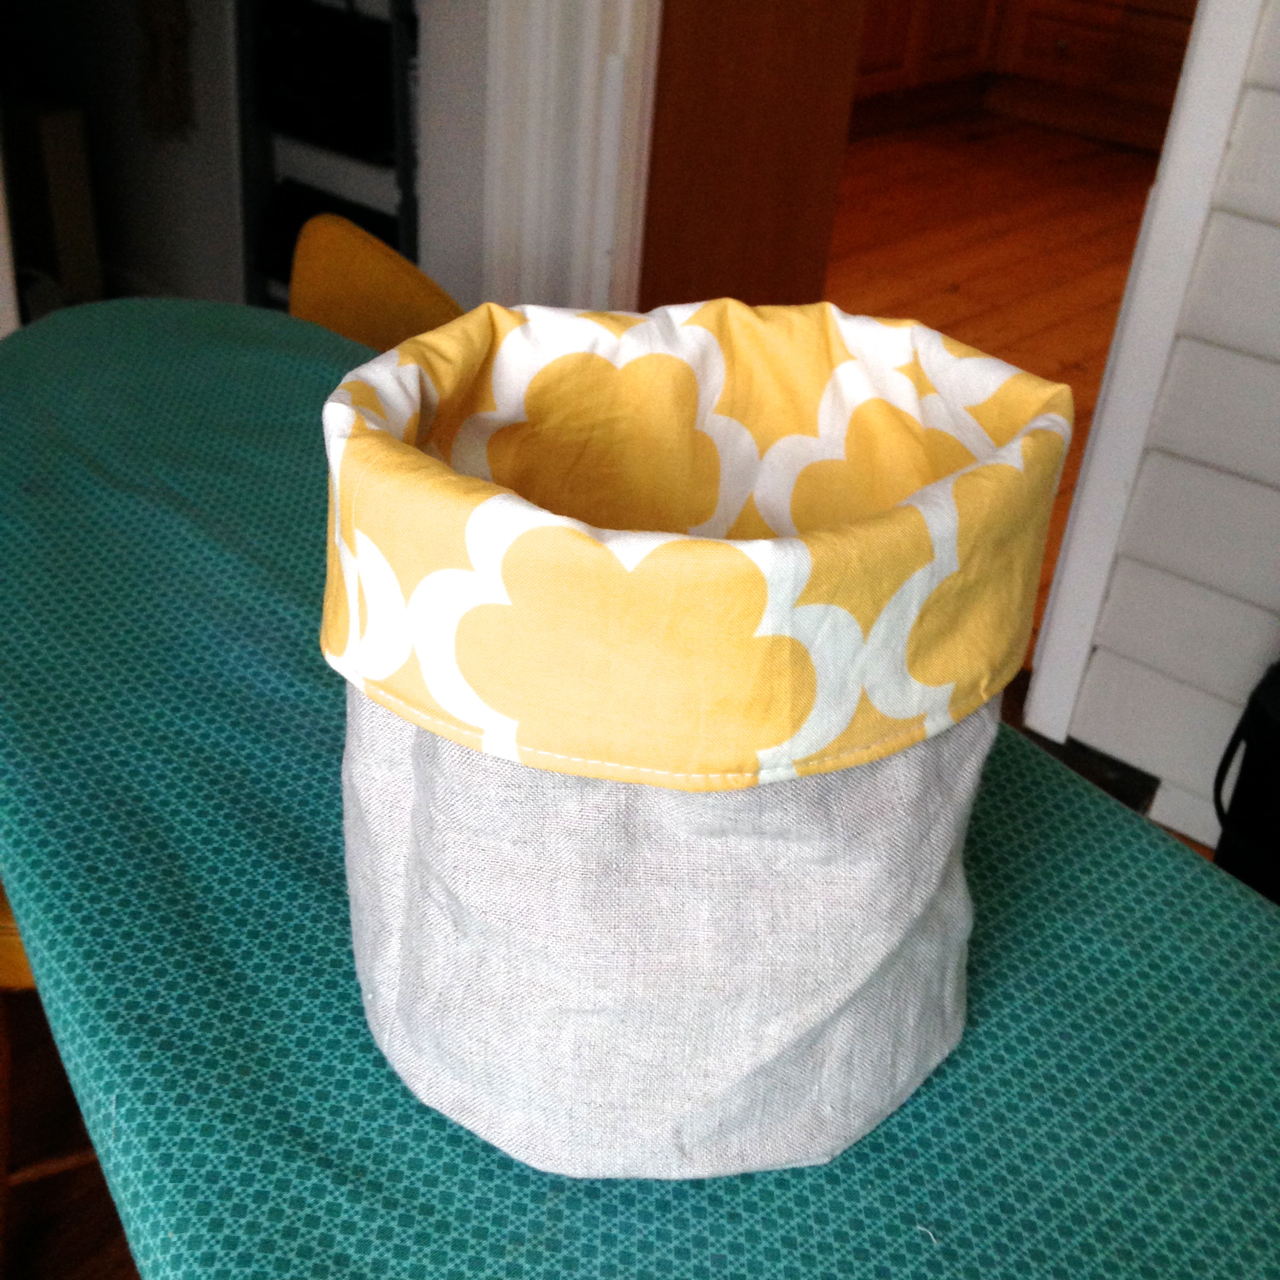
Before Christmas fades into distant memory I thought it'd be nice to share a tutorial for one of my favourite handmade gifts this year; these lovely little fabric baskets. They are very quick and easy to make and there is no pattern needed. The baskets can be made any size - I like them with a 16cm diameter, but the hubby was asking if I could make some which were waste paper basket sized, which of course you could.
I think they are also really nice as a little nested set of 2 or 3, with each one a few centimetres bigger than the one before it. The tops can be folded down once or twice depending on the contents of the basket.
Don't you love this fabric combination? These are actually some bits that I had left over from the Sew Liberated 'Gathering Apron' which I made a few weeks ago for myself - I'll take some pictures and post that soon too.

For the baskets, you will need:
Linen or hessian fabric for the outer
Printed cotton for the lining
Heavy weight fusible interfacing
Step 1: Calculate measurements and cut pattern pieces:
Choose a bowl or plate which is roughly the diameter which you want for your baskets and use it as a template for the base of the basket. Cut one each from the outer, lining and interfacing.
As we will be working with 1cm seam allowances, the base of your basket will eventually have a diameter which is 2cm less than the circle you have cut. Calculate the circumference of your basket by multiplying the the diameter (minus 2) by Pi (3.14). Then add 2cm for the side seam allowance. If only my high school maths teacher could have pointed out that maths would be useful for sewing patterns I might have paid more attention…
For example, I drew around a bowl which had a diameter of 18cm.
My basket diameter is 18 - 2 = 16cm.
The circumference of my basket will need to be 16 x 3.14 = 50cm approx
Add 2cm seam allowances: 50 + 2 = 52cm
So I need to cut a side piece with a length of 52 cm.
The height of the sides will be 1.5 x diameter of finished base; 1.5 x 16 = 24cm. This gives the basket a nice height and allows for the sides to be folded over at the top.
So, for the sides cut 3 pieces measuring 52 x 24, one each from the outer, lining and interfacing.

Step 2: Affix the interfacing and sew the outer and lining baskets.
Using a hot iron with no steam, fuse the interfacing to the outer basket pieces. The linen / hessian tends to stretch significantly on the bias so the interfacing stabilises it as well as adding structure to the basket.
Working first with the basket outer pieces, fold the edge piece along its length to bring both short edges together with right sides facing. Sew along the short edges with a 1 cm seam to form a tube. Press seam open.


Join base to edges. With right sides together, place the base inside the tube, aligning the edge of the circle with the edge of the tube. Join the base to the sides with a 1cm seam. Work slowly, pulling the base around to match the edge of the sides. Lift the presser foot frequently (leave the needle down to keep your work in place) to allow the fabric to relax back into place. Sew all the way around the base.

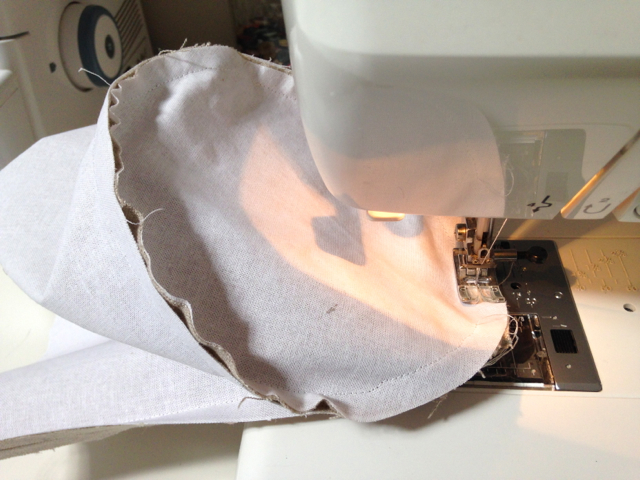

Watch out for stray crocodiles while doing this...

Trim seams to a few mm then repeat to form the basket lining.
Step 3; Join the lining and outer pieces.
Turn the basket lining to the right side and place it inside the outer piece, with right sides together. Push the lining right into the outer, ensuring that the bottom seams align. The outer edges should match up. Sew around the top of the basket leaving a 5cm hole for turning. Backstitch at either side of the turning.


Pull the basket to the right side, through the turning hole. Push the lining into the outer and press the sides, folding the fabric at the turning hole to the inside. Topstitch right around the top of the basket, sealing the hole.
Fold the top of the basket down to show the lining on the outside.

I have deliberately left them un-ironed (which may or may not be a real word) because I love the way they almost look like crumpled paper bags. What do you think? Would you have a go at making these? I'd love to see how you got on. What was your favourite handmade gift this year?


