
Baby's First Soft Block - Free Tutorial
/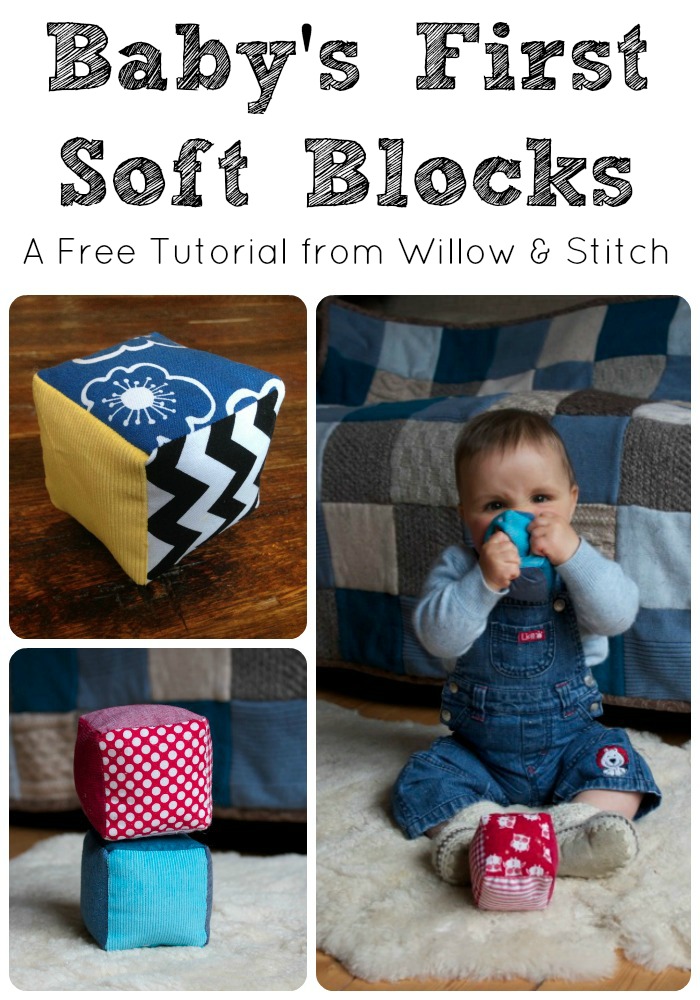
Every baby needs a set of building blocks and these are the perfect first blocks for your baby. They’re just the right size to hold and there are no hard edges (especially good in the early days when your little darling is liable to involuntarily whack themselves in the face with whatever they’re holding!). They also provide a lovely sensory experience for your child as each side uses a different textured or coloured fabric, just waiting to be explored by little fingers – and mouths.
For each block you will need:
- Six 9cm (4”) square scraps of fabric. Try to find as many different textures or colours as possible, think about cotton, silk, satin, corduroy, denim, felt, fleece, wool, linen etc.
- Six 9cm (4”) squares of medium weight fusible interfacing.
- Hobby fill / Toy Stuffing.
Instructions:
Cut your fabric squares and use a hot iron to affix a square of interfacing to each one.
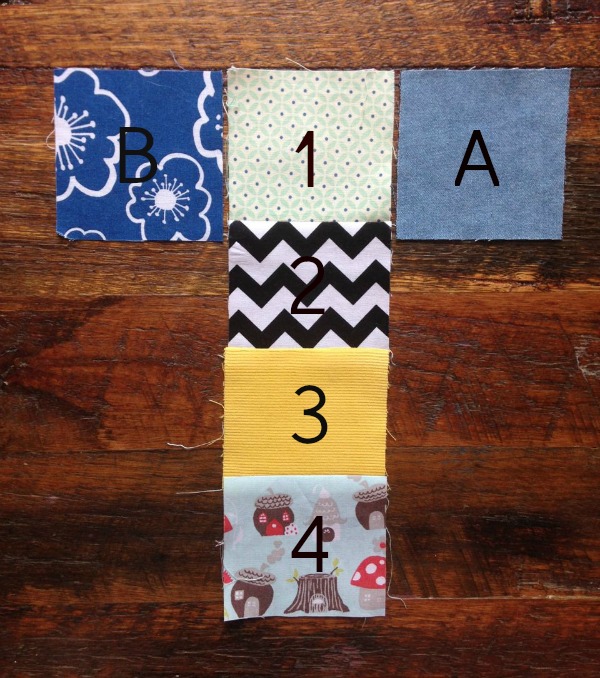
Make a Row:
Take 4 of your fabric squares and place them in a row. Sew a 1cm (1/2”) seam to join each block to the next. Start and stop each row of stitching 1cm (1/2”) from either edge.


Using a hot steam iron, press all seams towards the bottom block in the row.
Place the remaining two squares on either side of the first square in your row of 4.
Join square B to square 1, sewing with a 1cm (1/2") seam and beginning and ending your row of stitching 1cm (1/2") from either edge as before. Repeat to join square A to the opposite side of square 1.

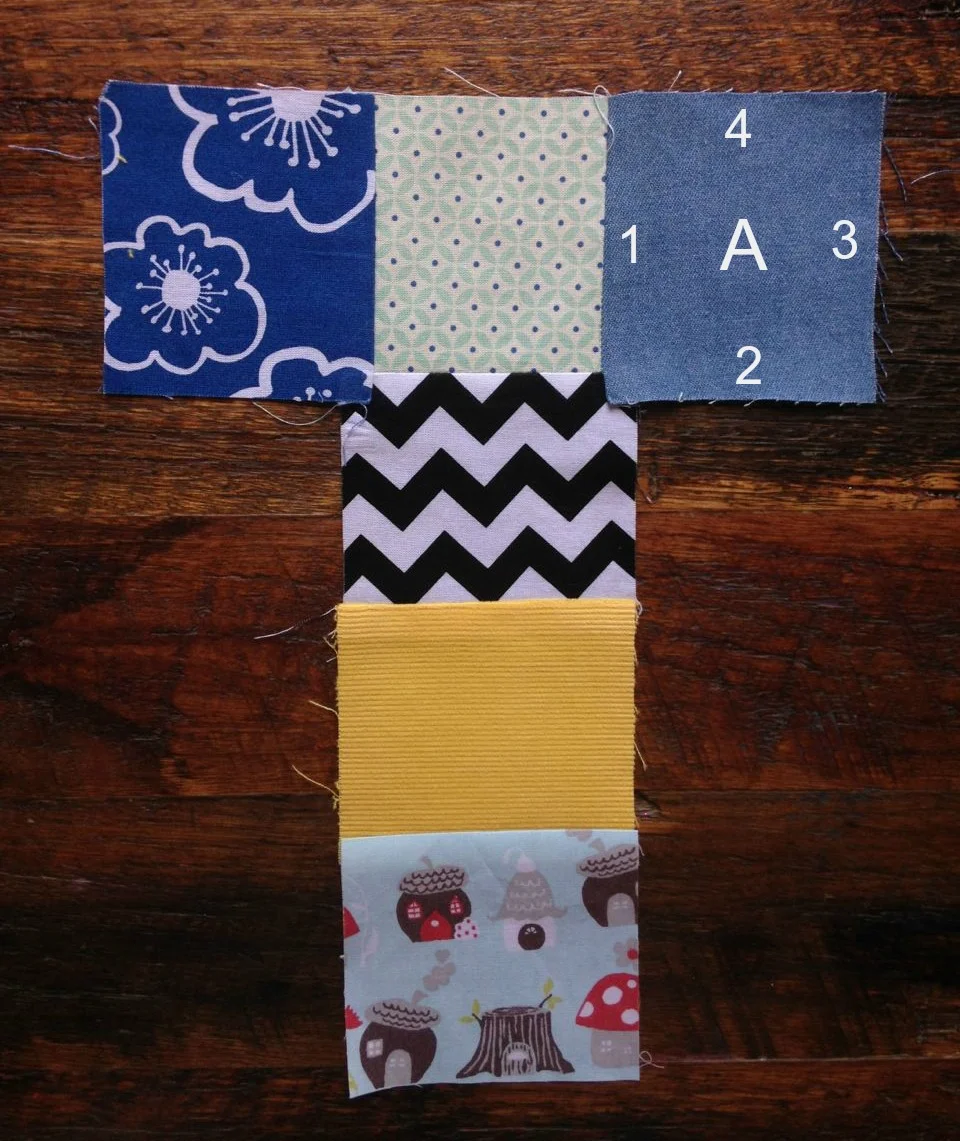
Fold square A down so that side 2 meets the second square in your row. Align the edges, making sure that any other seam allowances are pinned out of the way of your seam. Join with a 1cm (1/2") seam, beginning and ending your stitching 1cm (1/2") from either edge of the square.

Repeat to join side 3 of square A to square 3, and side 4 of square A to square 4. Each time be sure to keep all other squares and seam allowances out of the way and begin and end stitching 1cm (1/2") from the edges.
Join the top edge of square 1 to the bottom edge of square 4 in the same manner to form a box with an open lid. Just like this:

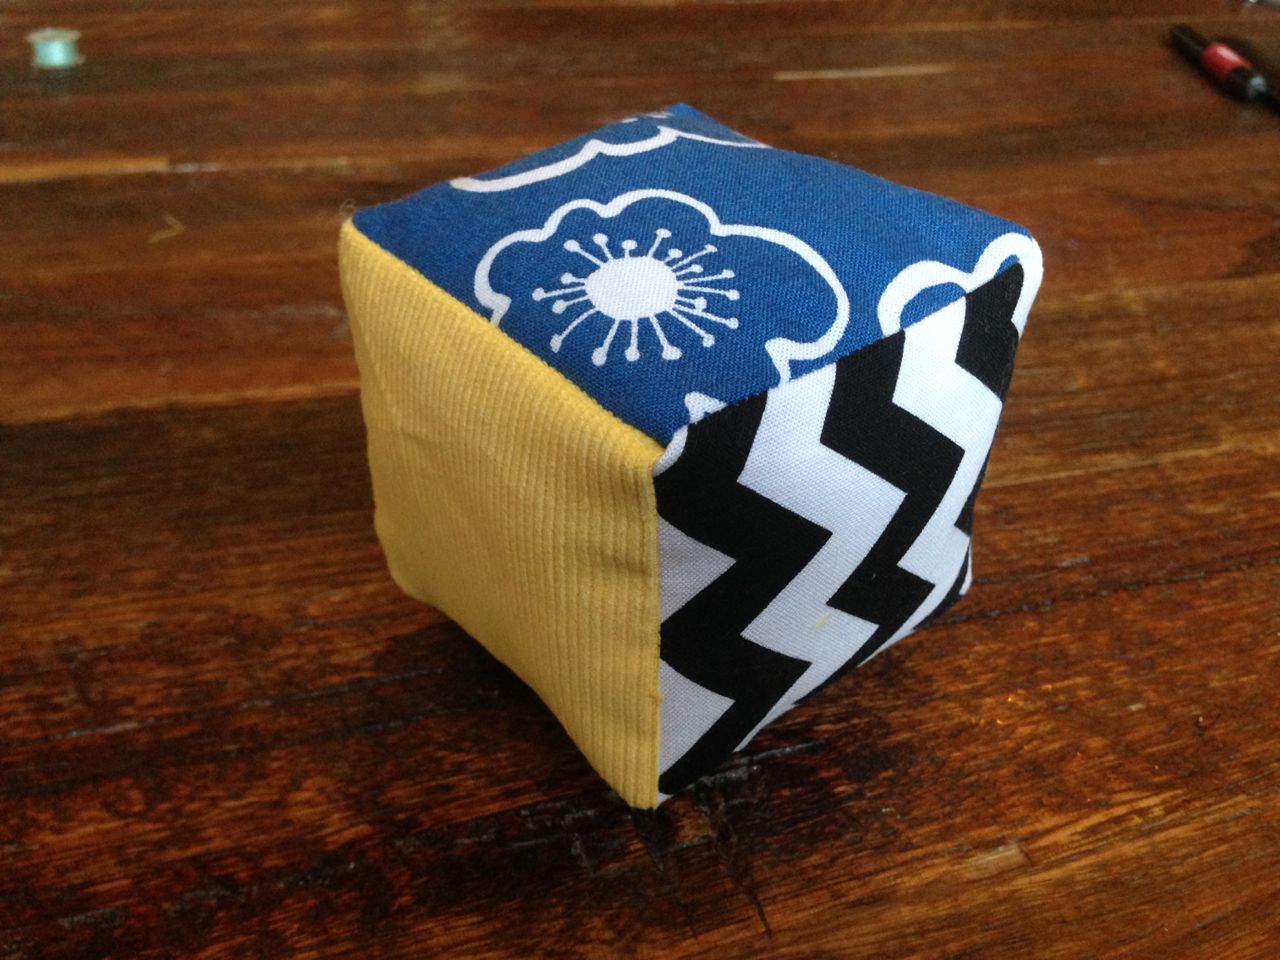
Sew 2 more sides of the lid of the box closed in the same way as before. Leave one edge open. Press the seam allowances on this edge to the wrong side. Turn the block to the right side. Use your fingers to push out the corners.

Fill your block with toy stuffing / hobby fill. Press it into the corners and along the edges but don't over fill the block or it will end up looking more like a ball! Loosely packing the stuffing also means that the block is easier for your baby to grasp.
Seal the last side of your block using an invisible slip stitch and you're done!
I hope you've enjoyed this tutorial. I always love to hear your comments and feedback!


