
Free Wooden Teething Ring Tutorial
/
This simple yet beautiful teething ring provides 3 different textures for your baby to experience, the wooden ring is perfect for sore little gums, while the fabric ears provide something soft to chew on, are easy to grip and have the added bonus of mopping up all that dribble! The fabric can easily be removed and washed. It is simple and quick to make and would be a perfect baby shower gift. Team it with a coordinating feeding bib or burp cloth set for a beautiful gift.
You will need:
- 55 x 12 cm (22 x 5") of towelling
- 55 x 12 cm (22 x 5") of cotton
- 1 wooden teething ring, approx 6cm (2 1/2") in diameter
- Rotary cutter and cutting mat (optional)
- A chopstick or knitting needle to assist with turning fabric to the right side.
Before you start:
- Use 1cm (1/2") seam allowance unless otherwise stated.
- Remember to wash, dry and press all fabrics before cutting.
- Wooden teething rings can be found in many stores on Etsy.com. They’re very inexpensive so buy a few for future projects.
Method:
1. Download the pattern template using the link above. Print at 100%. Set page scaling to 'None' and do not check any options such as 'Shrink to Fit' Printing on A4 or US Letter paper will work fine. There is a 1" (2.5cm) Square on the page which you can measure after printing to ensure that your pattern piece is the correct size.
2. Using the pattern piece provided, cut one from your towelling and one from your cotton. Take care not to stretch the towelling as you cut it (a rotary cutter is helpful here). Place the pieces one over the other, right sides together and pin in place. Join the two pieces by sewing right around the edge. Leave a 10cm (4") gap for turning at the end of one of the long sides.
3. Snip corners and trim seam allowances to 5mm (1/4"). Clip seams at 1cm (1/2") intervals along curved edges, taking care not to cut through your line of stitching.
4. Turn fabric to the right side. This may be quite tight (which is why we trimmed our seam allowances) so work slowly and gently, using a chopstick or similar to push the fabric through. Press with a hot steam iron.
5. Topstitch right around the edge of the teether, closing the turning hole.
6. Knot the fabric around the ring as follows:

7. Fold your fabric in half and pull the looped end half way through the wooden ring as shown above. Fold the ends of the fabric back under the wooden ring and pass them through the looped end of your fabric:

8. Check that the fabric is lying nice and flat and pull tight.
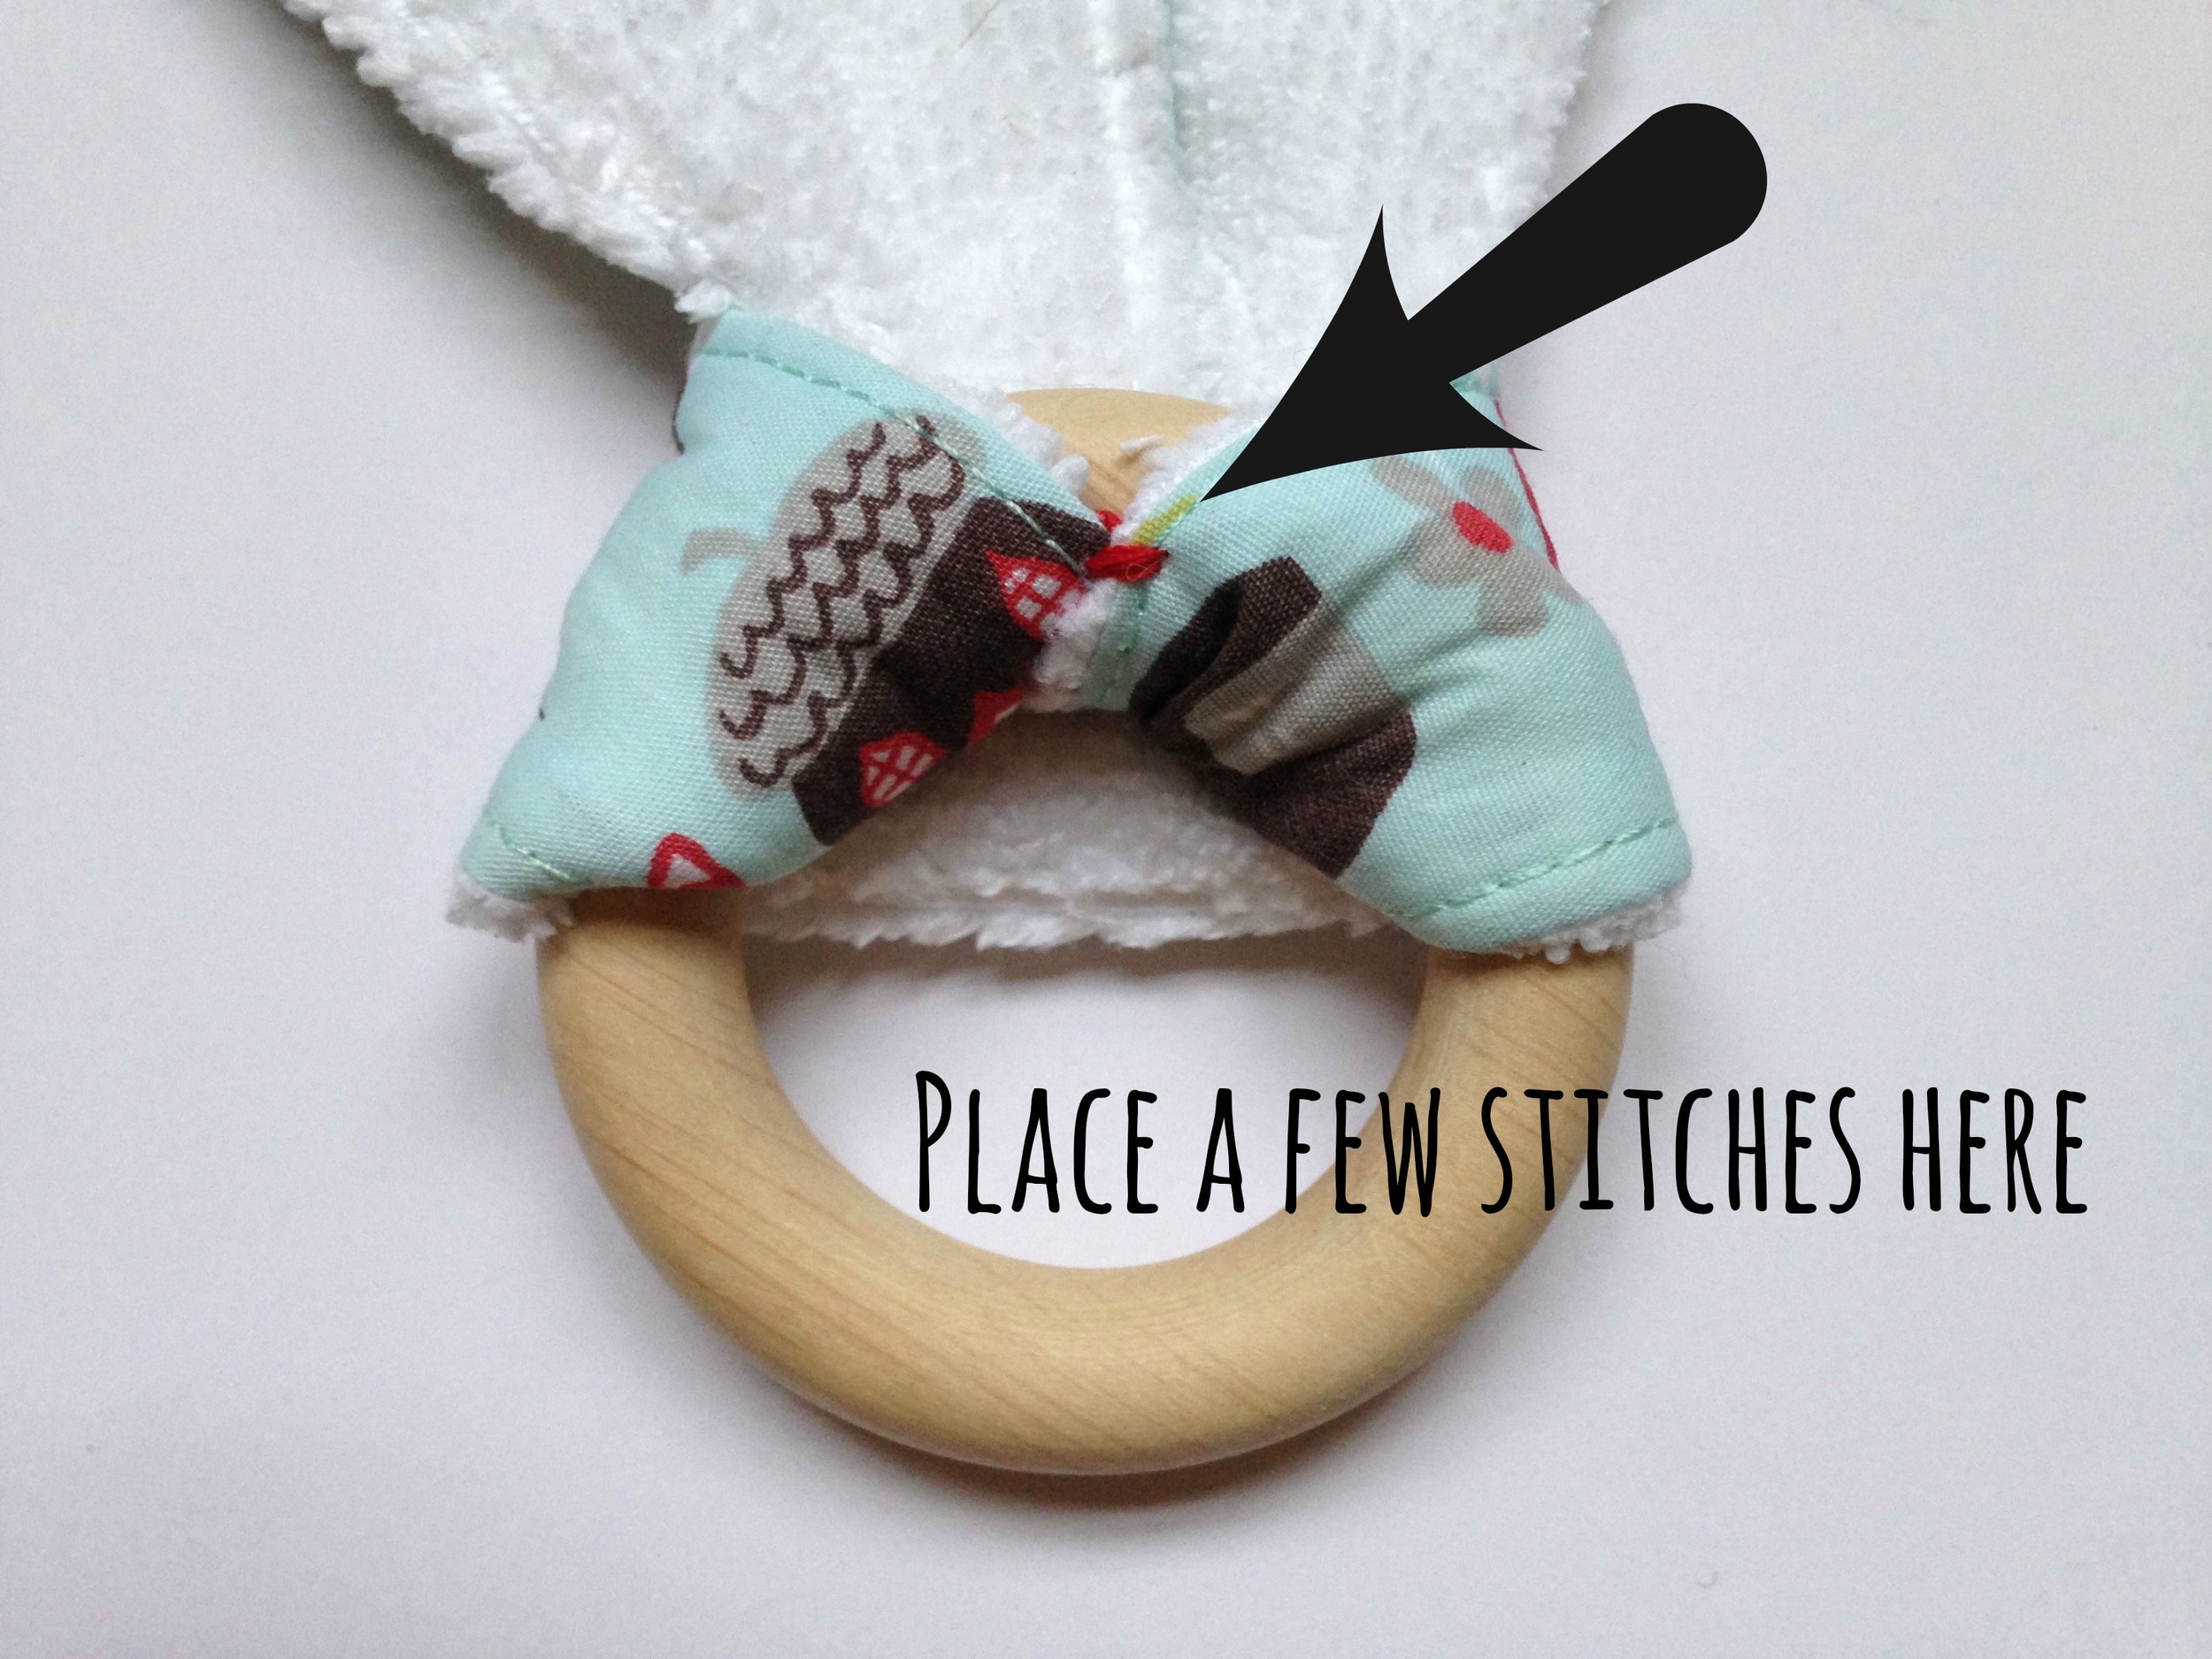
9. Turn the teether over and place a few stitches at the point where the two sides meet (see illustration below). This will stop the fabric from sliding off but will still allow it to be removed for washing.
You're done. All ready for munching!

I hope you enjoyed this tutorial. I always love to hear your comments and see what you have made. Get sharing with #WillowAndStitch on Instagram or add your photos to the Willow and Stitch Flickr pool.


