Making Flower Crowns - and a Fairy Birthday Party
/
I've been dying to have a go at making these gorgeous flower crowns ever since I saw Siobahn Rogers' beautiful crowns on instagram. So, when my big girl announced that she wanted a Fairy party for her 6th Birthday it seemed like a good opportunity to give them a go.

Given that it's the middle of winter here I didn't have a massive choice of flowers at the market, but I managed to find some pretty pinks and yellows and some lovely native Australian greenery to go with them.
I didn't think that Ella's party guests' attention would stretch to making the crowns from scratch so I wanted to prepare as much of it as possible in advance. There is a great tutorial here on Siobhan's website. I bent the wires into shape and made loops at the ends through which they could be fastened with ribbon and I trimmed all the stems and arranged the flowers into little bunches so that the girls could choose 5 or 6 to wind onto their crowns. (This was the point at which I began to regret the whole exercise...!) Anyway, finally, about 2 hours later I had enough bunches for all of our little fairy friends to make a themselves a crown.


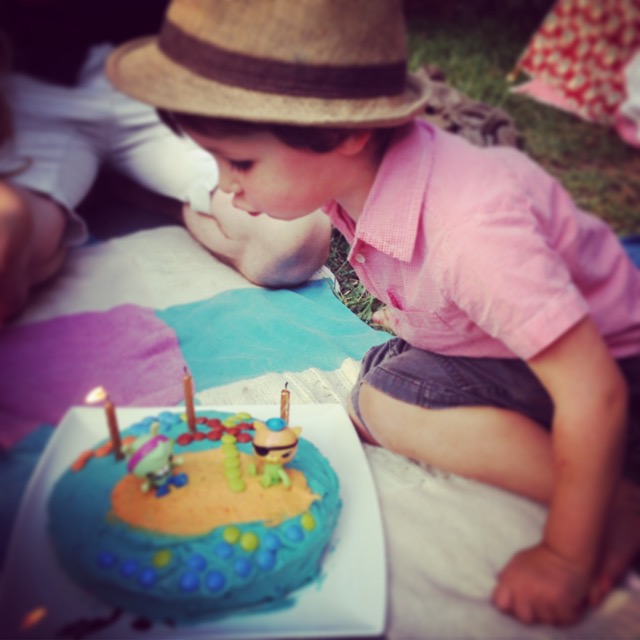
We even had a few bunches left over which I popped onto the top of the birthday cake. I'm going to be doing this for every little (and big!) girl's birthday cake from now on. It was quite incredible - the cake went from being very ordinary to amazingly special in about 10 seconds flat!

Just put a flower on it.

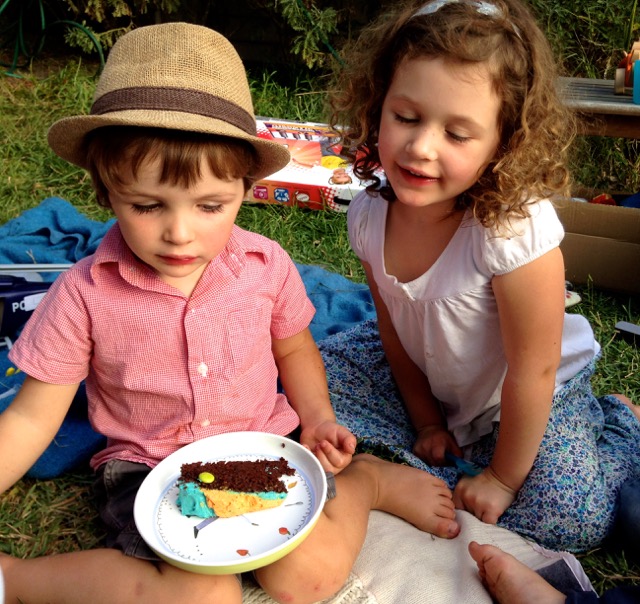
A happy little Birthday Fairy in her Flower Crown.
As one of the party games we had about 50 balloons which we filled with confetti and silver stars. We gave each of the children a pin and let them go nuts. Literally. It was complete madness. The balloons lasted about 10 seconds, vanishing in an explosion of pops, bangs, glitter, confetti and delighted squeals.

I had thought I might get some cute photos of children being showered in confetti. Wrong. What I actually got was 10 seconds of insanity. When I looked up from comforting the poor kid in the corner who turned out to be terrified of balloons popping, all that remained was a few shrivelled pieces of rubber and an almighty mess.


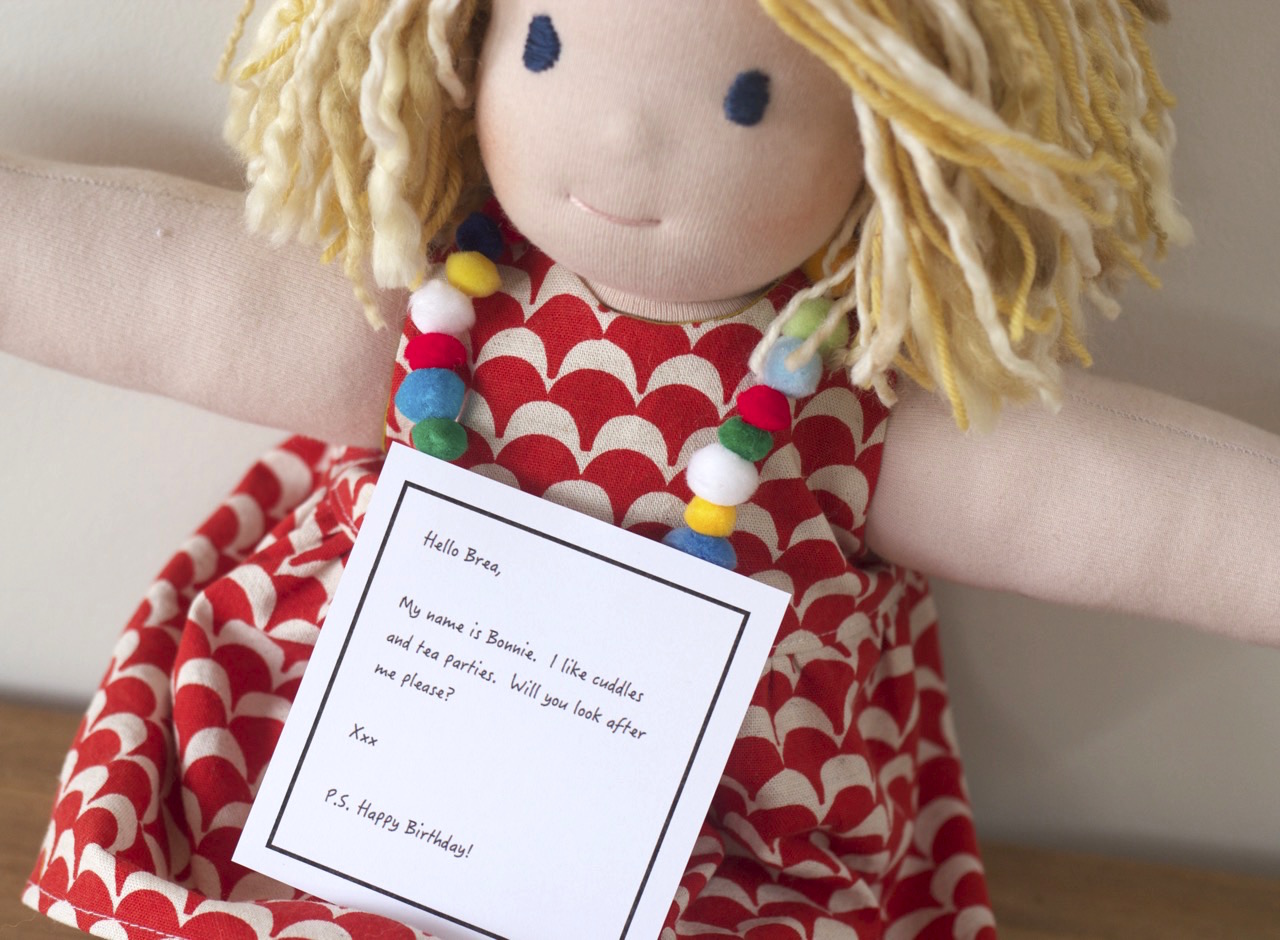
One of our little fairy's handmade birthday presents - her very own fairy garden.
I really loved this project, it made me wish I was 6 years old so that I could run around wearing flower crowns every day. We'll definitely be making these again, particularly now that I have all the supplies, perhaps we'll go for a nature walk and try making one out of wildflowers next time.

You May Also Like...