Our Favourite Playdough Recipe

playdough

Today was a playdough kind of day.  Everyone was a little bit grumpy, everything was turning into an argument and we were on a downwards spiral.  So we made playdough, and as is often the case, everything began to turn around.  The kids love measuring out the ingredients, choosing colours and scents and kneeding the warm dough.  The kneeding is like a kind of therapy, It slows your heart and deepens your breathing. And then of course there are the endless play possibilities.  

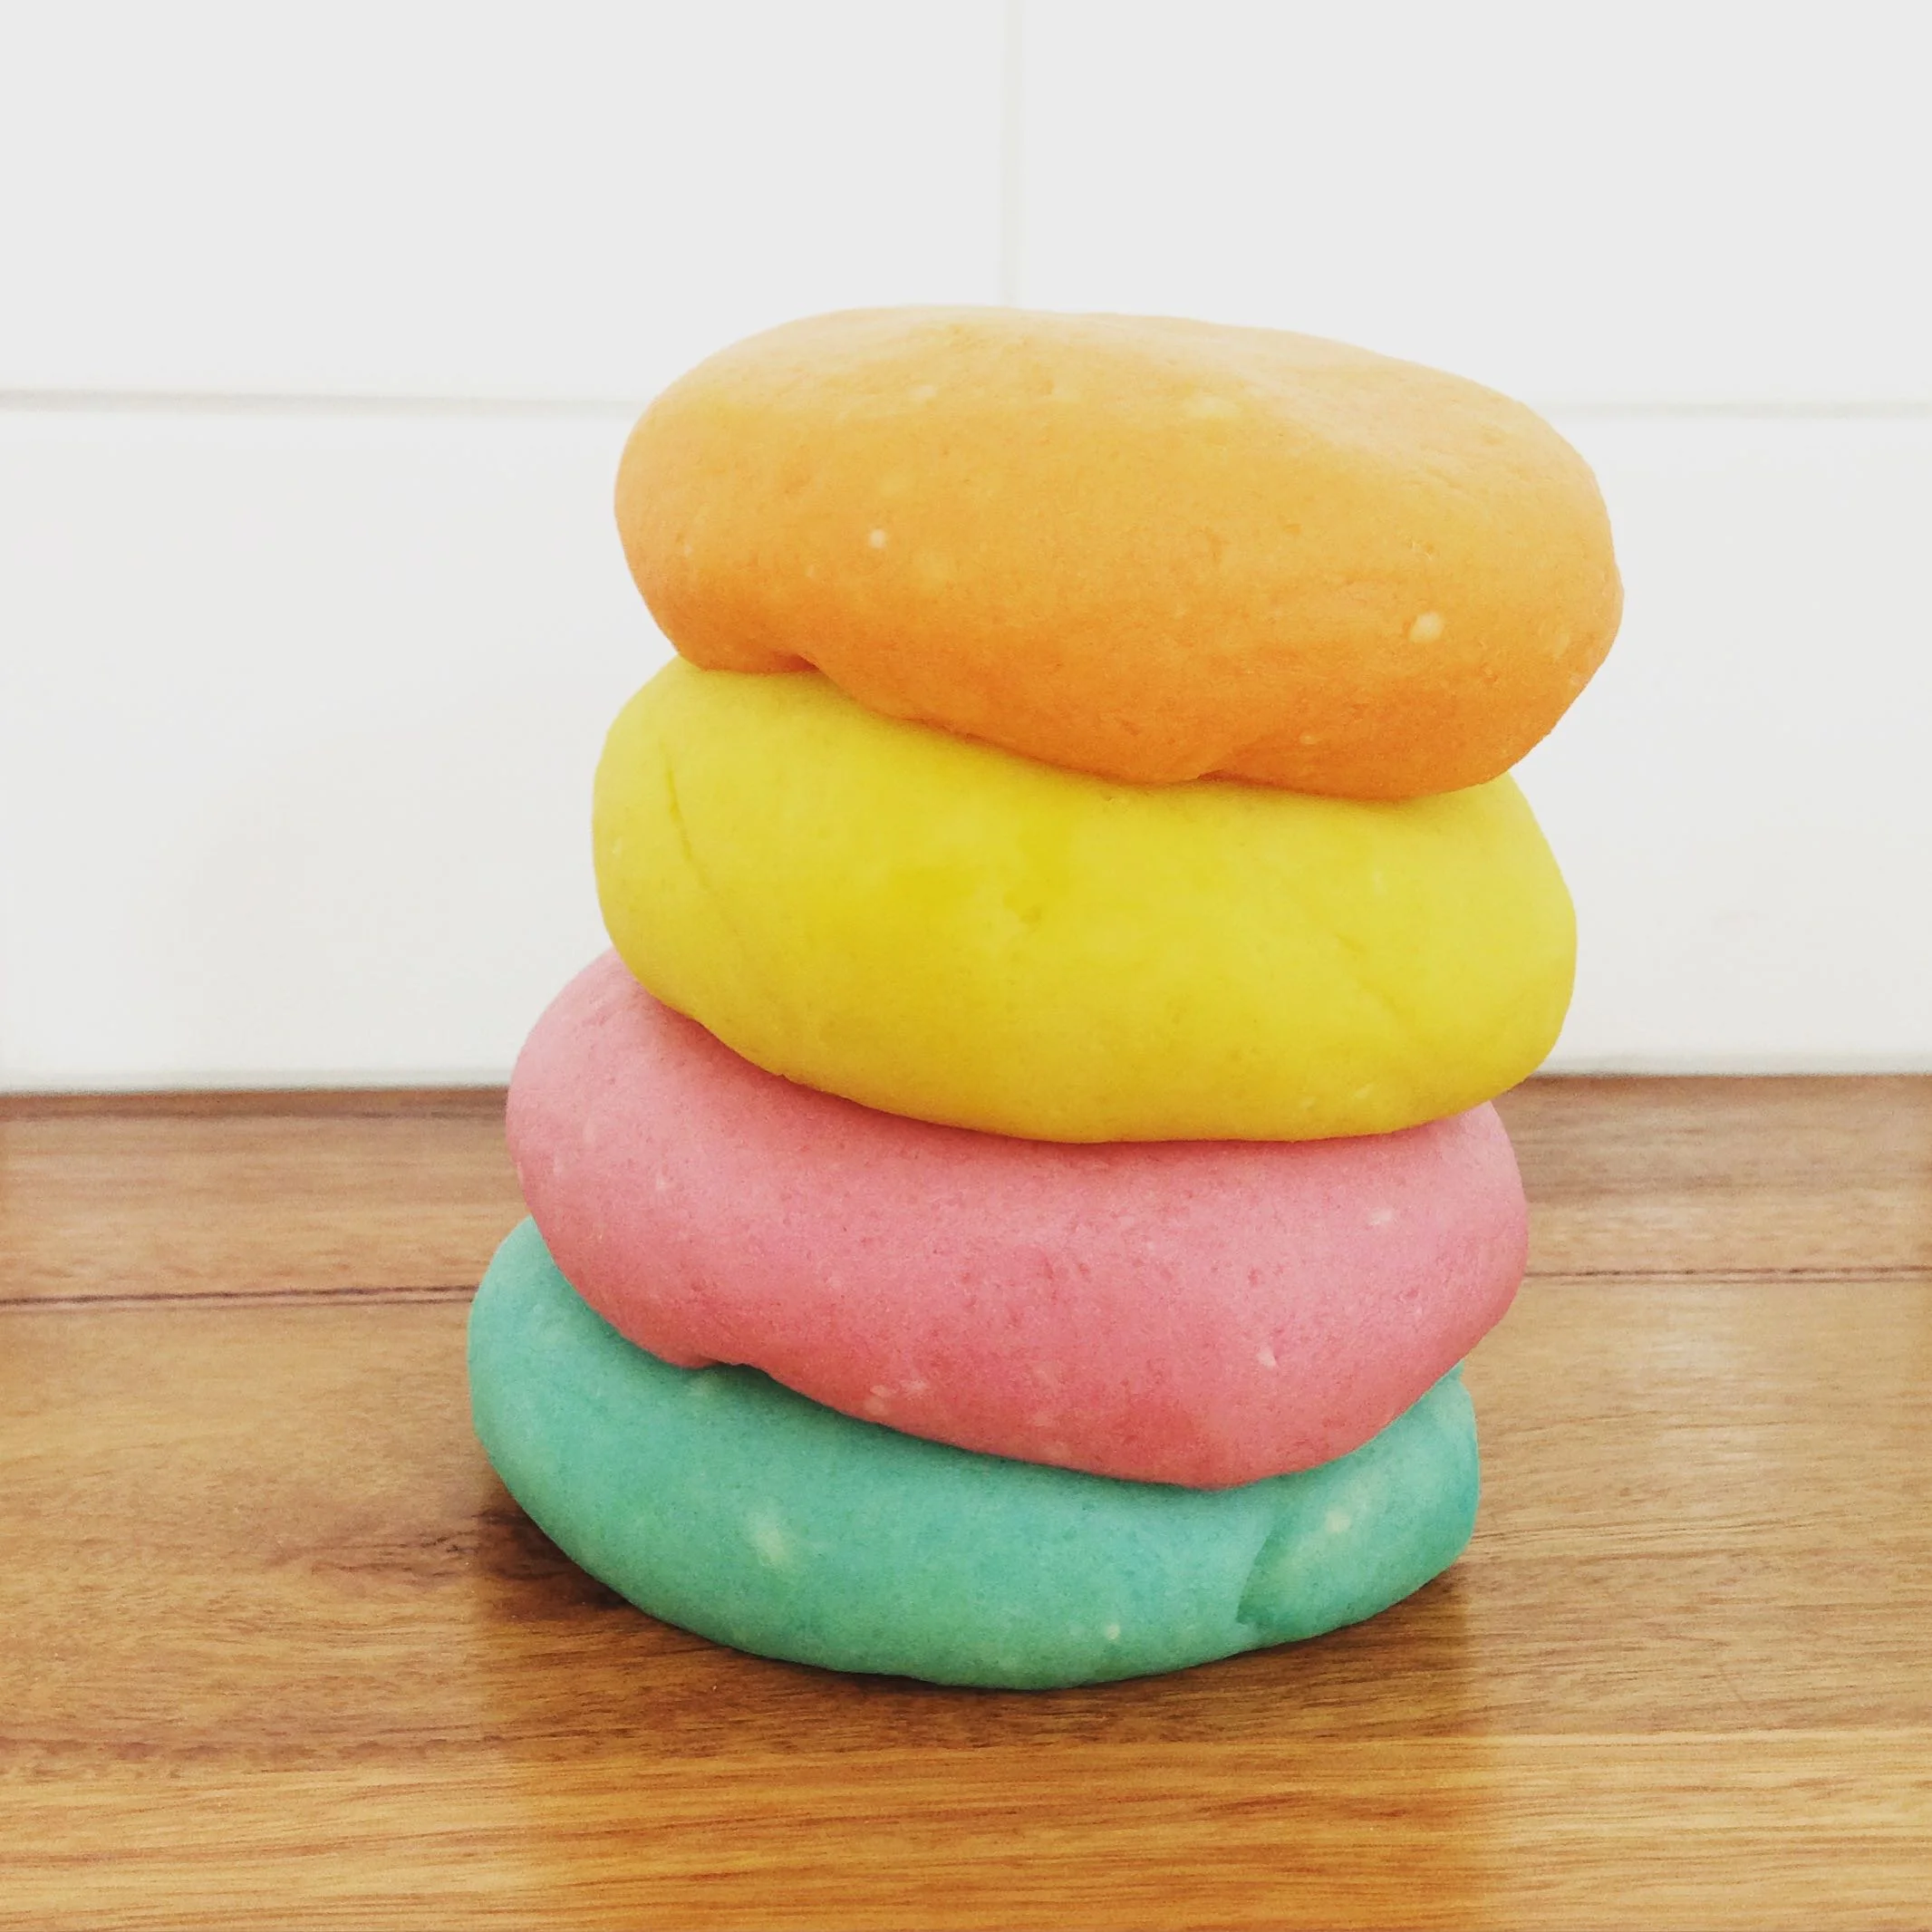
This is our favourite playdough recipe.  It's quick and easy and makes beautiful silky soft playdough which will keep for months in an airtight container.


Ingredients:

2 cups plain flour

1 cup salt

1 tablespoon cream of tartar

1 tablespoon of oil

2 cups of water

Add all the dry ingredients to a saucepan.  Add the water and heat, stirring continuously until the mixture begins to thicken and pull away from the sides of the pan.  It can get to be a pretty good arm workout but continue to heat and stir for another minute or so.

Tip contents out onto the work surface, allow to cool a little and kneed until smooth.

playdough

Variations

Colour:  If you want to make only one colour, you can add a few drops of colouring to the water at the start.  If you want to make a couple of different colours then add the colouring to the dough once it has cooked and you have portioned it.

Scent:  I love adding essences to playdough to make it a truly sensory experience.  This time we added a teaspoon of coconut essence, but try adding lavender oil for a calming experience, or a tablespoon of coco powder (although that does increase the chance that the little ones are going to try to eat it!)

Sparkles:  Add a tablespoon of glitter to the dough.  Ella's favourite version of playdough is blue with silver sparkles - unsurprisingly she calls it 'Elsa playdough'.

Do you have a favourite playdough recipe?  Do you go for a cooked or no cook recipe?  Have any fun variations?

You May Also Like...

Handmade Linen Bedsheets Tutorial - Part 1: Duvet Cover

Handmade linen bed sheets tutorial

Linen sheets. Everywhere I look recently I have been seeing linen bed sheets.  And they just look so wonderful, so soft, so cozy, that I have been craving a set for months.  But at over $400 a set it's just not going to happen.  So; when I saw this gorgeous grey linen at my local designer clearance fabric store for $7 a metre I went a little crazy and bought 10 metres of the stuff.  

Sheets and duvet covers are basically just 2 squares sewn together right? How hard could it be? Well, the huge pieces of fabric are pretty tricky to handle but really it turned out to be not so difficult at all.  The main problem I found was that no fabric will be wide enough to enable you to use a single width which means that you always have to sew 2 or more pieces together and with a duvet cover that's supposed to be super cozy, you don't really want seams where you're going to feel them.

This was the solution that I came up with - a large top section with a smaller contrast piece at the foot of the bed.  Linen is great in that you can use it in either orientation which meant that I didn't have to have to sew any vertical seams which might be uncomfortable.

I sewed the duvet cover with french seams, which I haven't done before.  They're lovely, no doubt, but goodness me they didn't half keep on freaking me out.  Quite literally every 20 minutes I would have a minor heart attack thinking that I'd done it wrong!  Because of the amount of fabric involved this was probably the most expensive thing I've ever sewn - hence the jumpiness I suppose!  

I was about to say that I'm not entirely sure the french seams were worth the extra stress since I'm never really going to see the inside of the duvet cover; but since I was moaning only a few days ago about how much I hate changing bed covers and how I always end up inside them trying to figure out what on earth has gone wrong, perhaps that isn't true!  Still, I can confidently say that no-one ELSE will end up inside my duvet cover and therefore the french-ness or lack thereof of my seams can remain entirely up to me!  Suffice to say that I think next time I wouldn't bother.

Still, all's well that end's well and I'm so pleased with how this came out.  I quite literally cannot wait to jump into bed tonight!

Handmade linen bed sheets tutorial

If you'd like to sew your own, here is how I did it (in a nutshell).  Instructions include sewing a french seam to join the two front and the two back pieces together, but regular seams everywhere else for ease.


You will need:  (For 1 duvet cover and 2 pillow cases)

6 (or 7 for a king) x 20mm (approx) buttons

430cm (Queen) / 470cm (King) each of 2 different coloured linens (150cm wide)

Cut each piece in half to give two 215cm (235cm) long pieces of each linen.

Take one of these pieces and cut it in half along the length to give two 75cm x 215cm (or 235cm) strips of fabric.  Set one of these aside, we will use it later to make the pillow cases.  Repeat for the contrasting fabric.


Sew the Duvet:

Align the long edges of one full width piece and one contrasting half width piece.  Place WRONG sides together and join, sewing with a 1cm seam.  

Trim the seam to 5mm then press open.  Fold the fabric along the join so that the seam is hidden between the two layers of fabric and the RIGHT sides are now together. Press.  

Sew along the joined edge, sewing a presser foot's width (7-8mm) from the edge and so enclosing the raw edges of the join in your new seam.

NOTE: Unless you are sewing with printed linen, you very likely don't have a right and a wrong side to your fabric (I think this is one of the reasons that I found it all so confusing!) Just remember that once you have sewn your french seams, you WILL have a right and a wrong side. (the wrong side is the one where you can see the french seam.)

Press the seam allowances towards the foot of the duvet (towards the shorter strip of contrasting fabric) and then, from the right side, topstitch along the seam - sewing through the hem, a few mm from the join.

Repeat to join the two back pieces of the duvet cover.

Find a large expanse of floor and lay out your duvet front and back pieces on top of one another, with RIGHT sides together.  Pin along the top edge and both sides.  Sew these seams with a 1.5cm seam. Finish seams with an overlocker or a zigzag stitch.

Hem the duvet by pressing 1cm to the wrong side right around the open mouth at the base of the duvet.  Press another 2cm to the wrong side and pin in place.  Sew right around the base of the duvet.

Place a button every 30cm along the hem to close the duvet cover.  (If you have sewn a king size duvet cover, place the buttons every 30cm, starting and ending 10cm from each edge.)

Handmade linen bed sheets tutorial

Next up - Part 2: Sewing the pillow cases.

You May Also Like...

5 tips for getting the most wear out of your handmade clothes.

Make do and Mend

Happy Wednesday people! 

Today I'm guest blogging over at Sew Thrifty as part of the 'Savings by Sewing' series. I'll be sharing my thoughts on the philosophy of 'Make do and Mend' and my top 5 tips for getting the most wear out of your handmade clothes.  

If you haven't seen this series yet make sure you look through the other posts - there are heaps of really great ideas in there and I'm definitely going to be making use of some of them!

You May Also Like...

Tutorial: How to lengthen pants by adding a cuff.

How to add a cuff to pants

This is a great way to get a little more wear out of pants which have become too short.

1.  Measure the width of the pant leg.  Multiply by 2 and then add 2 cm (or 1") for the seam allowances.

e.g. Width is 10 cm:  (10 x 2) + 2 = 22cm

OR Width is 4": (4 x 2) + 1 = 9"

2.  Decide on the length of the cuff that you want to add.  5 cm (2") is a good size if you are unsure.  Multiply by 2 and then add 2.5 cm (1 1/4") for the seam allowances.

e.g. Cuff length will be 5cm:  (5 x 2) + 2.5 = 12.5 cm

OR Cuff length will be 2":  (2 x 2) + 1 1/4 = 5 1/4"

3. Cut 2 pieces of fabric in your required size.  For the example above you will need to cut 2 pieces which are 22 cm wide and 12.5 cm high. (OR 9" wide and 5 1/4" high)

4. With wrong sides together, fold each cuff along it's width, bringing long edges together. Press, then open up again.

How to add a cuff to pants

5. If your fabric has a directional print then take the bottom edge and press 1 cm (1/2") to the wrong side. Once pressed, open up again.

How to add a cuff to pants

6. Fold each of the cuff pieces in half along the length, bringing short edges and right sides together.  Sew along the short edges with a 1 cm (1/2") seam allowance to form 2 tubes.  Press seams open.

How to add a cuff to pants

7. Re-fold and re-press the 1cm (1/2") which you pressed to the wrong side along the bottom edge in step 5.

How to add a cuff to pants

8. Take one of your cuff tubes and, with right sides together, slide it over one of the pant legs, aligning one of the raw edges of the cuff tube with the base of the pant leg.  Align the side seam of the cuff with the in-leg seam of the pants. 

How to add a cuff to pants

9. Sew right around the bottom of the pants, joining the two pieces with a 1.5 cm (3/4") seam.  You should be sewing just above the original hem of the pants.  If your pant legs are too skinny to fit over the arm of your sewing machine, try sewing from the inside, like this:

How to add a cuff to pants

10. Fold the cuff down to the right side and press the seam allowance towards the bottom of the pants.

How to add a cuff to pants

11. Turning the pants to the wrong side, fold the pants cuff up along the pressed fold.  Pin in place, ensuring that the folded edge of the cuff extends about 0.5 cm (1/4") past the seam joining the cuff to the pants.

How to add a cuff to pants

12.  From the right side of the pants, 'stitch in the ditch' of the join between the cuff and the pants, making sure that you catch the inner edge of the cuff in the underside of your stitches.  I have done this in white so that you can see what's going on but you will want to match the fabric of your pants legs.  Again, if the leg of the pants won't fit over your sewing machine arm, you may need to do this by turning the pants to the wrong side and sewing from the 'inside' of the leg.

How to add a cuff to pants

This is also a really nice technique if you simply want to add some interest to a pair of plain pants.  Even if the pants don't need to be lengthened, sew exactly as above and turn up the cuffs so that when your child grows you can simply fold them down for extra length.

I hope you have found this tutorial useful.  Do you have any favourite tips for getting a little more wear out of your clothes?

You May Also Like...

Fairytale Felt Mask Patterns now in my Etsy Store!

Willow and Stitch Fairytale Mask Pattern

New things in my Etsy Store today.  Most exciting is this fairytale mask pattern.  I've been meaning to finish it for aaaages, but you know....  

The PDF pattern includes a Princess Tiara, a Knight's Helmet and (best of all) a Unicorn.  You heard - a friggin' UNICORN!! Seriously, if I could walk around all day wearing a unicorn mask I absolutely would.  And now so can you.  

As always the pattern includes bonus printable masks so you can print them onto card stock and let your little ones colour them to their heart's content before they wear them.  I always think this would be a great party activity, or just a nice way to spend a rainy afternoon.  

Find them in my Etsy Store now for just a few dollars.

Unicorns BABY!!!!

Unicorns BABY!!!!

You May Also Like...

Kids Clothes Week Roundup

Kids Clothes Week Summer 2015 Traveling

Wow.  Well this is very late, but here is the second outfit that I made for Kids Clothes Week.  I honestly did make it during Kids Clothes Week but have been struggling to getting any photos as we are seriously lacking in natural light at the moment – its dark when we get up and dark when we get home.  I’m really very envious of all of you in the Northern Hemisphere at the moment, enjoying sunshine, swimming pool and ice creams.  I shall have to console myself with stew and mulled wine and other winter goodness  (fruit crumble, hand knitted scarves, open fires, frosty mornings and hot chocolate).. am I making YOU jealous yet?  - I doubt it somehow!

With the ‘Travelling’ theme of Kids Clothes Week, one of the first things that sprang to mind was our recent trip to Europe and I wanted to find a way that I could somehow capture some of those wonderful memories in an outfit. 

One of the things that I love most about England is the countryside and on this trip we took many walks through beautiful summer meadows.  This amazing field of Buttercups was one of my favourites. 

image.jpg
image.jpg
image.jpg

The colour was just magical and the kids had an absolute ball wading through, skimming their fingertips through the flowers, running around and frolicking generally. 

I wanted to capture the essence of this beautiful field and when I saw this gorgeous Leah Duncan - Art Gallery knit fabric I though it was perfect.  I paired it with this amazing remnant of yellow wool flannel that I found in the Fabric Store.  The skirt and top are both self drafted.  The tee is a batwing top with banded cuffs.

The skirt is a simple gathered skirt with a waistband and cute little rounded pockets.  I didn’t quite manage to finish the button hole on the back before my sewing machine packed up – possibly in protest at being made to work so hard! I suppose this is the first problem I’ve had with it in 5 years of practically constant use so I won’t curse it too much. Still, it means that the Mama Clothes Week that I had planned for this week will have to wait!   

I also managed to finish off this blue tee which has been sitting in my WIP pile since before we went on holiday.  Happily it also goes very nicely with the new yellow skirt.

Kids Clothes Week
Kids Clothes Week

Not much of a one for standing still this one....

Kids Clothes Week

"Enough photos now mum!  I want to go and watch Star Wars!"

Kids Clothes Week - Going Japanese

Wildflower Kimono and Japanese Pants
Wildflower Kimono

It's Kids Clothes Week again! I'm not sure why I love Kid's Clothes Week so much; I mean it's not like I can't just sew for my kids whenever I feel like it; I think it's the feeling of participating in something bigger; of sharing my experiences and making connections with new people.

The theme this time is 'Travelling'; a bit of a tricky one don't you think?  I'm on a mission to sew only with fabric from my stash at the moment so going out and buying some 'travel' themed fabric is not an option.  Also, I don't really get much time to just sit down and sew for my kids so when I do I want to make sure that I'm sewing things that will get lots of use, and not just sew novelty items.

When I saw the Wildflower Kimono Cardigan from Striped Swallow Designs on Instagram this week I fell in love with it instantly and thought the Japanese style would fit perfectly with the 'Travelling' theme of Kid's Clothes Week.  It's a pretty great pattern, with no pieces to print and stick - It's just made out of rectangles! You've got to love that!

Dana at Sew Thrifty wrote a great post recently on how to decide whether a pattern is worth purchasing and this one definitely ticked several boxes for me; It comes in Sizes Newborn to Women's XXXL so I'm pretty sure that neither Ella or I will ever (hopefully!) grow out of It. Also, I love it so much that right now I want to make one for pretty much everyone I know!   I'm sure its going to be great value.  Actually, for the first time ever, I'm bummed that it's kids clothes week because all I want to do is sew about 10 for myself.  Next week is going to have to be Mama's Clothes Week...

Wildflower Kimono and Japanese Pants

The Wildflower Kimono was a pretty quick sew, I managed to cut the pieces and sew it in one evening, but most importantly It was a BIG hit with the girl who loved it because it's so big and soft and snuggly; perfect for winter in Australia.  She also discovered within about a nanosecond that if she spreads her arms she gets WINGS!!  Or she can be a superhero.  Or cover herself up entirely.  Big bonus points for that!

Wildflower Kimono

In keeping with the Japanese theme I decided to make this pair of Japanese Inspired pants from a (slightly modified) Ottobre Pattern.  I really loved how they turned out and thought that they looked great, but unfortunately the little lady had other ideas and instantly hated them.  I really had no idea why! Kids can be so irrational sometimes.  Fortunately they're also really easy to buy and I managed to bribe her with a few smarties to get these photos! Mwah ha ha ha ha ha....


That handmade scarf may just save the world after all (OR why I love to sew)

We love handmade

Thank you so much to everyone who entered my Sew Mama Sew giveaway day.  I had such fun reading all of your comments.  It was great to hear all of the reasons that everyone gave for why they love to sew.  One of the comments that has got me thinking was regarding sewing to save money.

If I'm being totally honest I would have to tell you that, for me, sewing isn't really about saving money.  I have a little too much of a fabric obsession for that. Although that doesn't stop me from using 'saving money' as a justification for my fabric purchases (particularly when talking to my husband!) And it doesn't mean that I don't love a bargain and get enormous pleasure from making 3 T-shirts from a $5 remnant (take that Kmart!) but it isn't really my main motivation. When you can shop online and buy a (very cute) mass produced dress for around $5 without ever leaving your sofa; when it takes you no more than 5 minutes to search, choose and buy; sewing to save money alone simply isn't enough.

I read an interesting article this morning entitled "Sorry, Etsy.  That Handmade Scarf won't Save the World."  The author makes the point that buying handmade has, in some circles, come to "connote moral virtue, signifying an interest in sustainability and a commitment to social justice.... but thinking of it as a social good is problematic".  I have to disagree.  She suggests that we can't expect people to spend $50 on a handmade scarf when they can get one for $5 from Kmart.  That the Kmart scarf is good value and that is why people choose it. Well; yes and no.  On the face of it the $5 Kmart scarf is good value.  But therein lies the problem. It's such good value (or at least, so cheap) that many of us wouldn't think twice about spending $5 on it.  We see it. We like it. We buy it. We wear it for a while, but then next month we see another scarf in Kmart that we like better.  It's a nicer colour. It's only $5, we buy that too. The scarf gets a hole in it, or it goes bobbly.  Doesn't matter; It was only $5 - it'd be easier to buy a new one than to mend it.  Into the bin goes the scarf, off to join all the other $5 Kmart purchases in landfill.

Compare this to the $50 handmade scarf.  Would you buy it without thinking very carefully about it in the first place? No, because $50 is a lot to spend. Would you look after it - treat it gently, wash it by hand, mend any holes in it?  Of course you would. Because handmade things are special, they were made with love and we treat them accordingly.  And therein lies the true 'value'. When it comes to handmade we don't buy something unless we need it and / or truly love it.  We are more considered in our purchases and much less likely to impulse buy. 

But perhaps talking about BUYING handmade is missing the point somewhat.  An overwhelming majority of you said that you loved sewing because you found it relaxing, because it was a way to unwind and de-stress. There certainly is something wonderfully therapeutic about sewing (or knitting, or any other sort of handcraft).  It’s the perfect antidote to our usually busy, fast paced, consumer driven lives.  Using our hands to create something is a wonderful opportunity to slow down, to escape the everyday, to indulge our creativity and to make something that can’t be undone. 

So; what if we stopped talking about buying handmade and started talking about making our own instead. I consider myself very fortunate to have spent my childhood with my mum always digging in the vegetable garden, making play-dough on the stove, sewing many of our clothes and mending our favourite toys.  I grew up knowing that things can, and should, be mended, that food and clothes don’t just materialise from the supermarket or the mall; that I can make these things by hand and that if I don’t know how to do this then I can learn.  A belief in your ability to do just that is a very special thing.  My 4 year old, Ella, seems to already be absorbing this lesson.  She often tells her friends that she likes their dress, or their soft toy and then asks if their mama made it for them. This fills my heart with happiness, not because I am proud of having made things for her, but because I am proud to have taught her that such things can be handmade.

Handmade things are always loved the best!

Handmade things are always loved the best!

We live in a throwaway society, the amount of waste that we produce is unbelievable, and I believe that the handmade movement encourages people to get back to the ‘make-do and mend’ attitude that our grand parents held.  If we can make things by hand then we can begin to comprehend the true value of them; our eyes are opened to the resources required to make everyday objects and the effort involved in creating them and we begin to understand that they have a value far beyond the $5 price tag assigned to them by Kmart.

If we can begin to consume less. If we can begin to discard less, If we can change the way we think about the things we buy and use, then we may find that we can make a very real difference to the world.  Even if I’m wrong and all our efforts are nothing more than a drop in the ocean, even if the actions of a few can do nothing to counteract the overwhelming majority, it doesn’t matter in a way, because it’s a start.  It’s a step in the right direction and, along with trying to spread the word, it’s all we can do for now. And every day that we spend working on our quiet revolution we find ourselves becoming happier, calmer and more fulfilled.

That handmade scarf may not save the world, but it might just save me.