Handmade Linen Bedsheets Tutorial - Part 1: Duvet Cover
/
Linen sheets. Everywhere I look recently I have been seeing linen bed sheets. And they just look so wonderful, so soft, so cozy, that I have been craving a set for months. But at over $400 a set it's just not going to happen. So; when I saw this gorgeous grey linen at my local designer clearance fabric store for $7 a metre I went a little crazy and bought 10 metres of the stuff.
Sheets and duvet covers are basically just 2 squares sewn together right? How hard could it be? Well, the huge pieces of fabric are pretty tricky to handle but really it turned out to be not so difficult at all. The main problem I found was that no fabric will be wide enough to enable you to use a single width which means that you always have to sew 2 or more pieces together and with a duvet cover that's supposed to be super cozy, you don't really want seams where you're going to feel them.
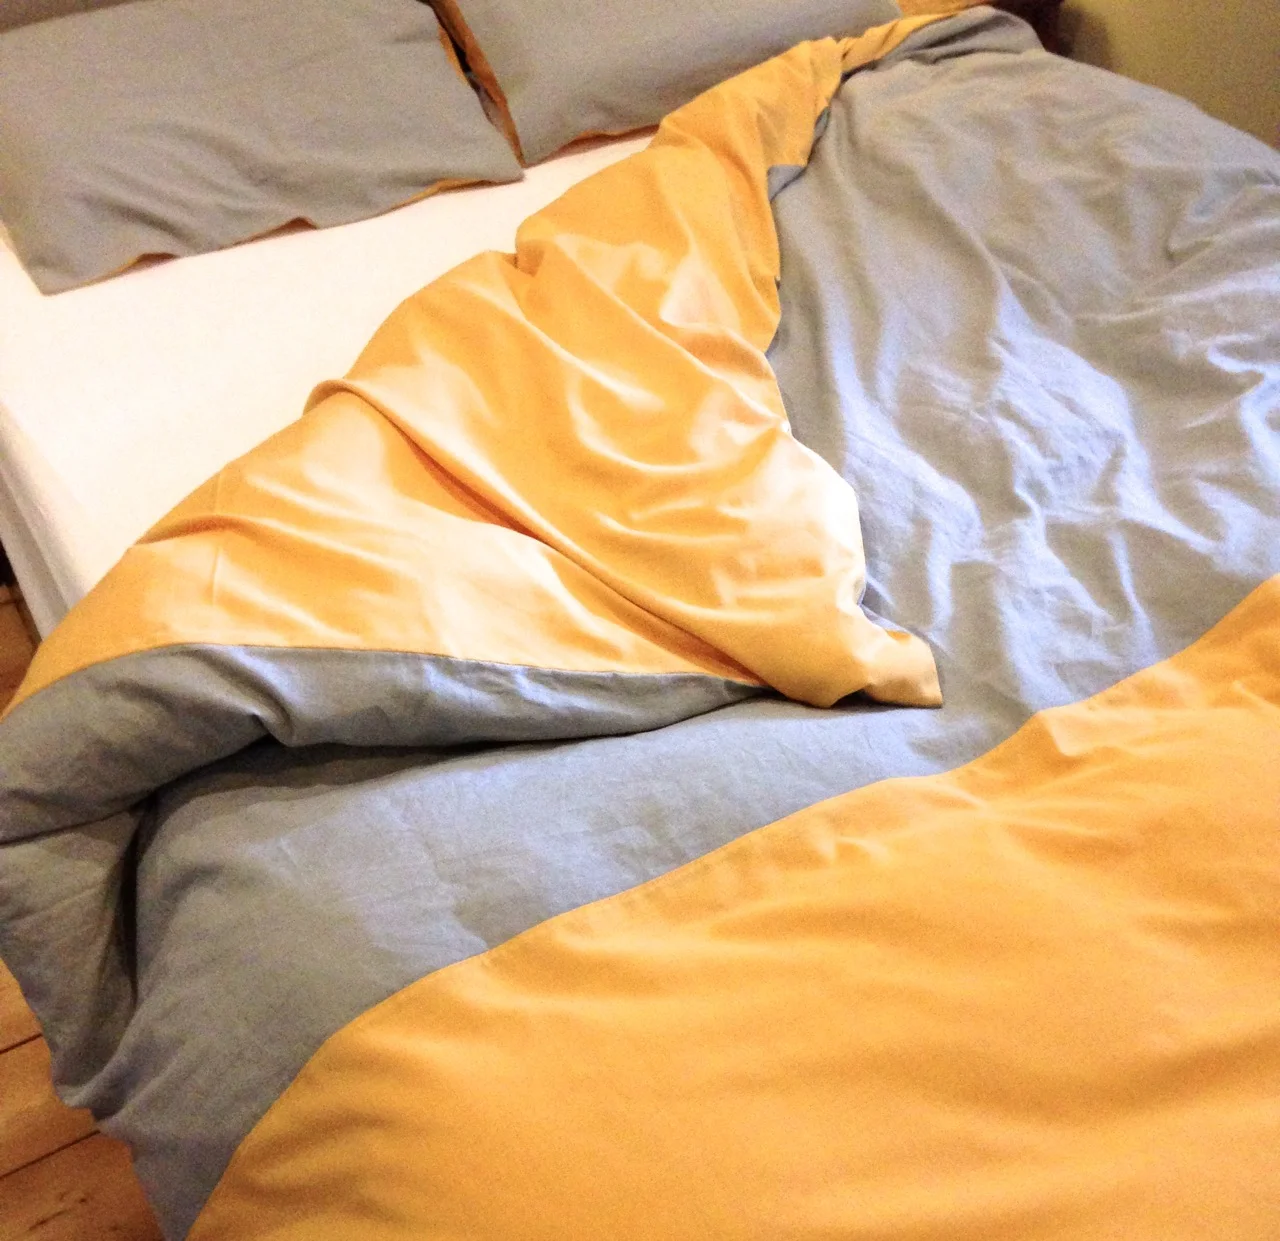
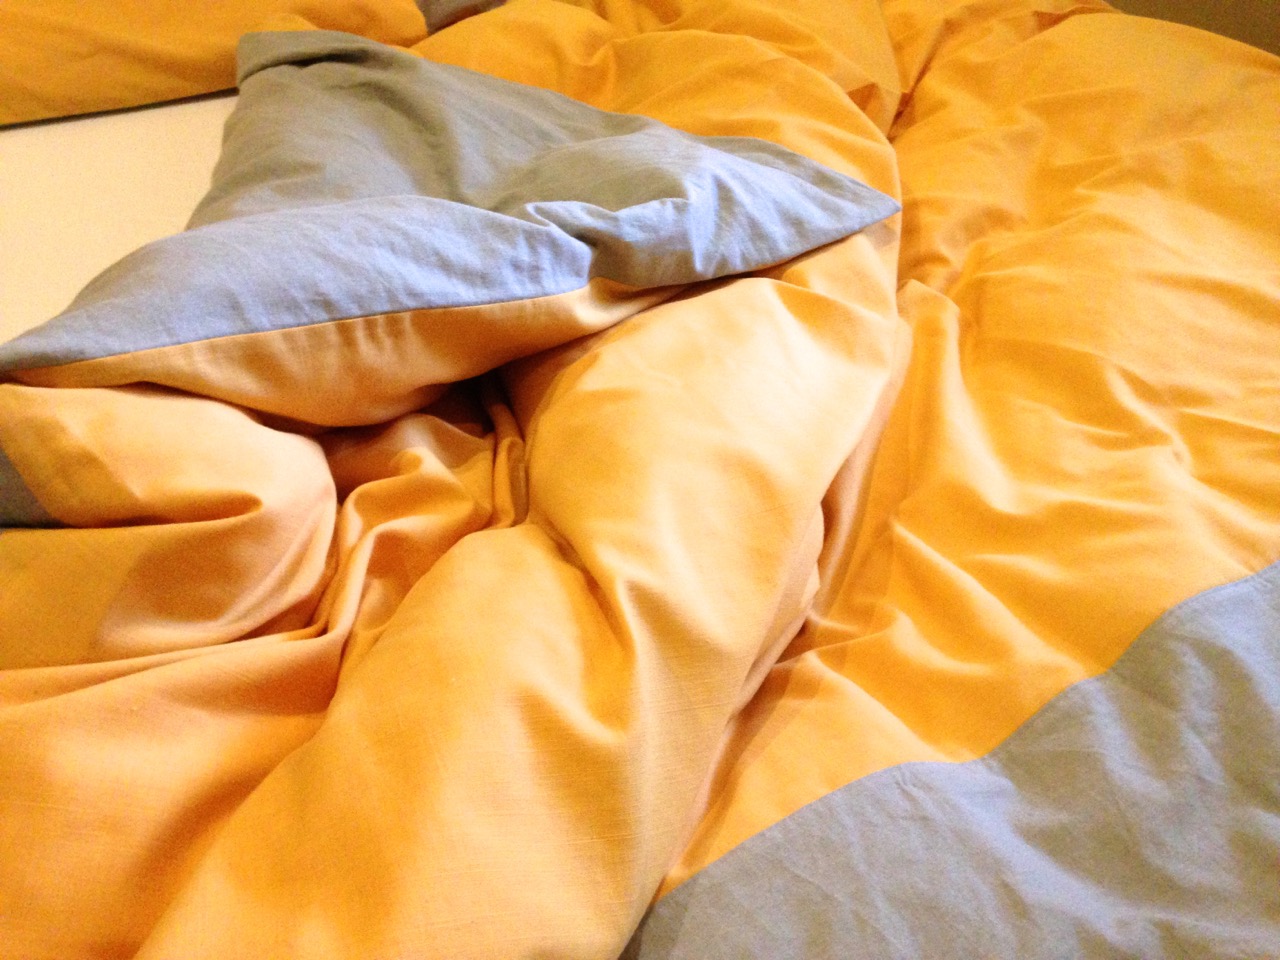
This was the solution that I came up with - a large top section with a smaller contrast piece at the foot of the bed. Linen is great in that you can use it in either orientation which meant that I didn't have to have to sew any vertical seams which might be uncomfortable.
I sewed the duvet cover with french seams, which I haven't done before. They're lovely, no doubt, but goodness me they didn't half keep on freaking me out. Quite literally every 20 minutes I would have a minor heart attack thinking that I'd done it wrong! Because of the amount of fabric involved this was probably the most expensive thing I've ever sewn - hence the jumpiness I suppose!
I was about to say that I'm not entirely sure the french seams were worth the extra stress since I'm never really going to see the inside of the duvet cover; but since I was moaning only a few days ago about how much I hate changing bed covers and how I always end up inside them trying to figure out what on earth has gone wrong, perhaps that isn't true! Still, I can confidently say that no-one ELSE will end up inside my duvet cover and therefore the french-ness or lack thereof of my seams can remain entirely up to me! Suffice to say that I think next time I wouldn't bother.
Still, all's well that end's well and I'm so pleased with how this came out. I quite literally cannot wait to jump into bed tonight!
If you'd like to sew your own, here is how I did it (in a nutshell). Instructions include sewing a french seam to join the two front and the two back pieces together, but regular seams everywhere else for ease.
You will need: (For 1 duvet cover and 2 pillow cases)
6 (or 7 for a king) x 20mm (approx) buttons
430cm (Queen) / 470cm (King) each of 2 different coloured linens (150cm wide)
Cut each piece in half to give two 215cm (235cm) long pieces of each linen.
Take one of these pieces and cut it in half along the length to give two 75cm x 215cm (or 235cm) strips of fabric. Set one of these aside, we will use it later to make the pillow cases. Repeat for the contrasting fabric.
Sew the Duvet:
Align the long edges of one full width piece and one contrasting half width piece. Place WRONG sides together and join, sewing with a 1cm seam.
Trim the seam to 5mm then press open. Fold the fabric along the join so that the seam is hidden between the two layers of fabric and the RIGHT sides are now together. Press.
Sew along the joined edge, sewing a presser foot's width (7-8mm) from the edge and so enclosing the raw edges of the join in your new seam.
NOTE: Unless you are sewing with printed linen, you very likely don't have a right and a wrong side to your fabric (I think this is one of the reasons that I found it all so confusing!) Just remember that once you have sewn your french seams, you WILL have a right and a wrong side. (the wrong side is the one where you can see the french seam.)
Press the seam allowances towards the foot of the duvet (towards the shorter strip of contrasting fabric) and then, from the right side, topstitch along the seam - sewing through the hem, a few mm from the join.
Repeat to join the two back pieces of the duvet cover.
Find a large expanse of floor and lay out your duvet front and back pieces on top of one another, with RIGHT sides together. Pin along the top edge and both sides. Sew these seams with a 1.5cm seam. Finish seams with an overlocker or a zigzag stitch.
Hem the duvet by pressing 1cm to the wrong side right around the open mouth at the base of the duvet. Press another 2cm to the wrong side and pin in place. Sew right around the base of the duvet.
Place a button every 30cm along the hem to close the duvet cover. (If you have sewn a king size duvet cover, place the buttons every 30cm, starting and ending 10cm from each edge.)

Next up - Part 2: Sewing the pillow cases.