Monday Tee Tutorial

I'm really pleased with this tee.  It's such a simple style, but I do love the shape.  It has a lovely neckline, dropped shoulder seams, tapered waist and perfectly cosy long sleeves.

First of all, let me please state that this pattern is untested by anyone except for me!  It is also a single size pattern, approximately size Small.  The bottom is quite tightly fitted and will fit those with a high hip measurement of approximately 92cm / 36".  The rest of the pattern is quite a relaxed fit however so if you wanted to have a go and just increase the width at the bottom a little to fit then I think it would probably work pretty well.

Download the pattern pieces by clicking on the image above. Printing Instructions can be found on page 12.

For tips on sewing with knits click here

Sorry for some of the poorly lit diagrams below - the only time I really get a chance to sew is once the kids are in bed!

You will need:

  • 1.4m of knit fabric
  • Coordinating Thread
  • Twin needle (optional)
  • Rotary cutter and mat (optional)

Monday Tee Sewing Instructions:

Hem Pieces:

Hem the sleeves and the bottom edge of the front and back pieces.  Fold 1cm to the wrong side and press.  Fold another 1.5cm to the wrong side and press again.  Pin in place.  Stitch the hem with a zig-zag stitch or with a twin needle, sewing 1.2cm from the edge. 

IMG_2621.jpg

 Join the front and back:

Lay the Tee main front and back pieces on top of one another, with right sides together and align shoulder seams.  Join with a 1cm seam.  Press seam open, or if you have serged your seam, press it towards the back of the Tee.

Join the sleeves:

Pin sleeves in place, placing sleeve and body of tee right sides together and aligning centre notches of sleeves with shoulder seams.  Join with a 1cm seam. Repeat to join second sleeve.

Sew Underarm Seams:

Fold tee so that right sides are together and join the underarms and sleeves in one long continuous seam.  Pin in place first and make sure that the wrists, hem and underarm seams all match.  Begin stitching at the wrists and sew towards the bottom hem. 

Finish Neckline.

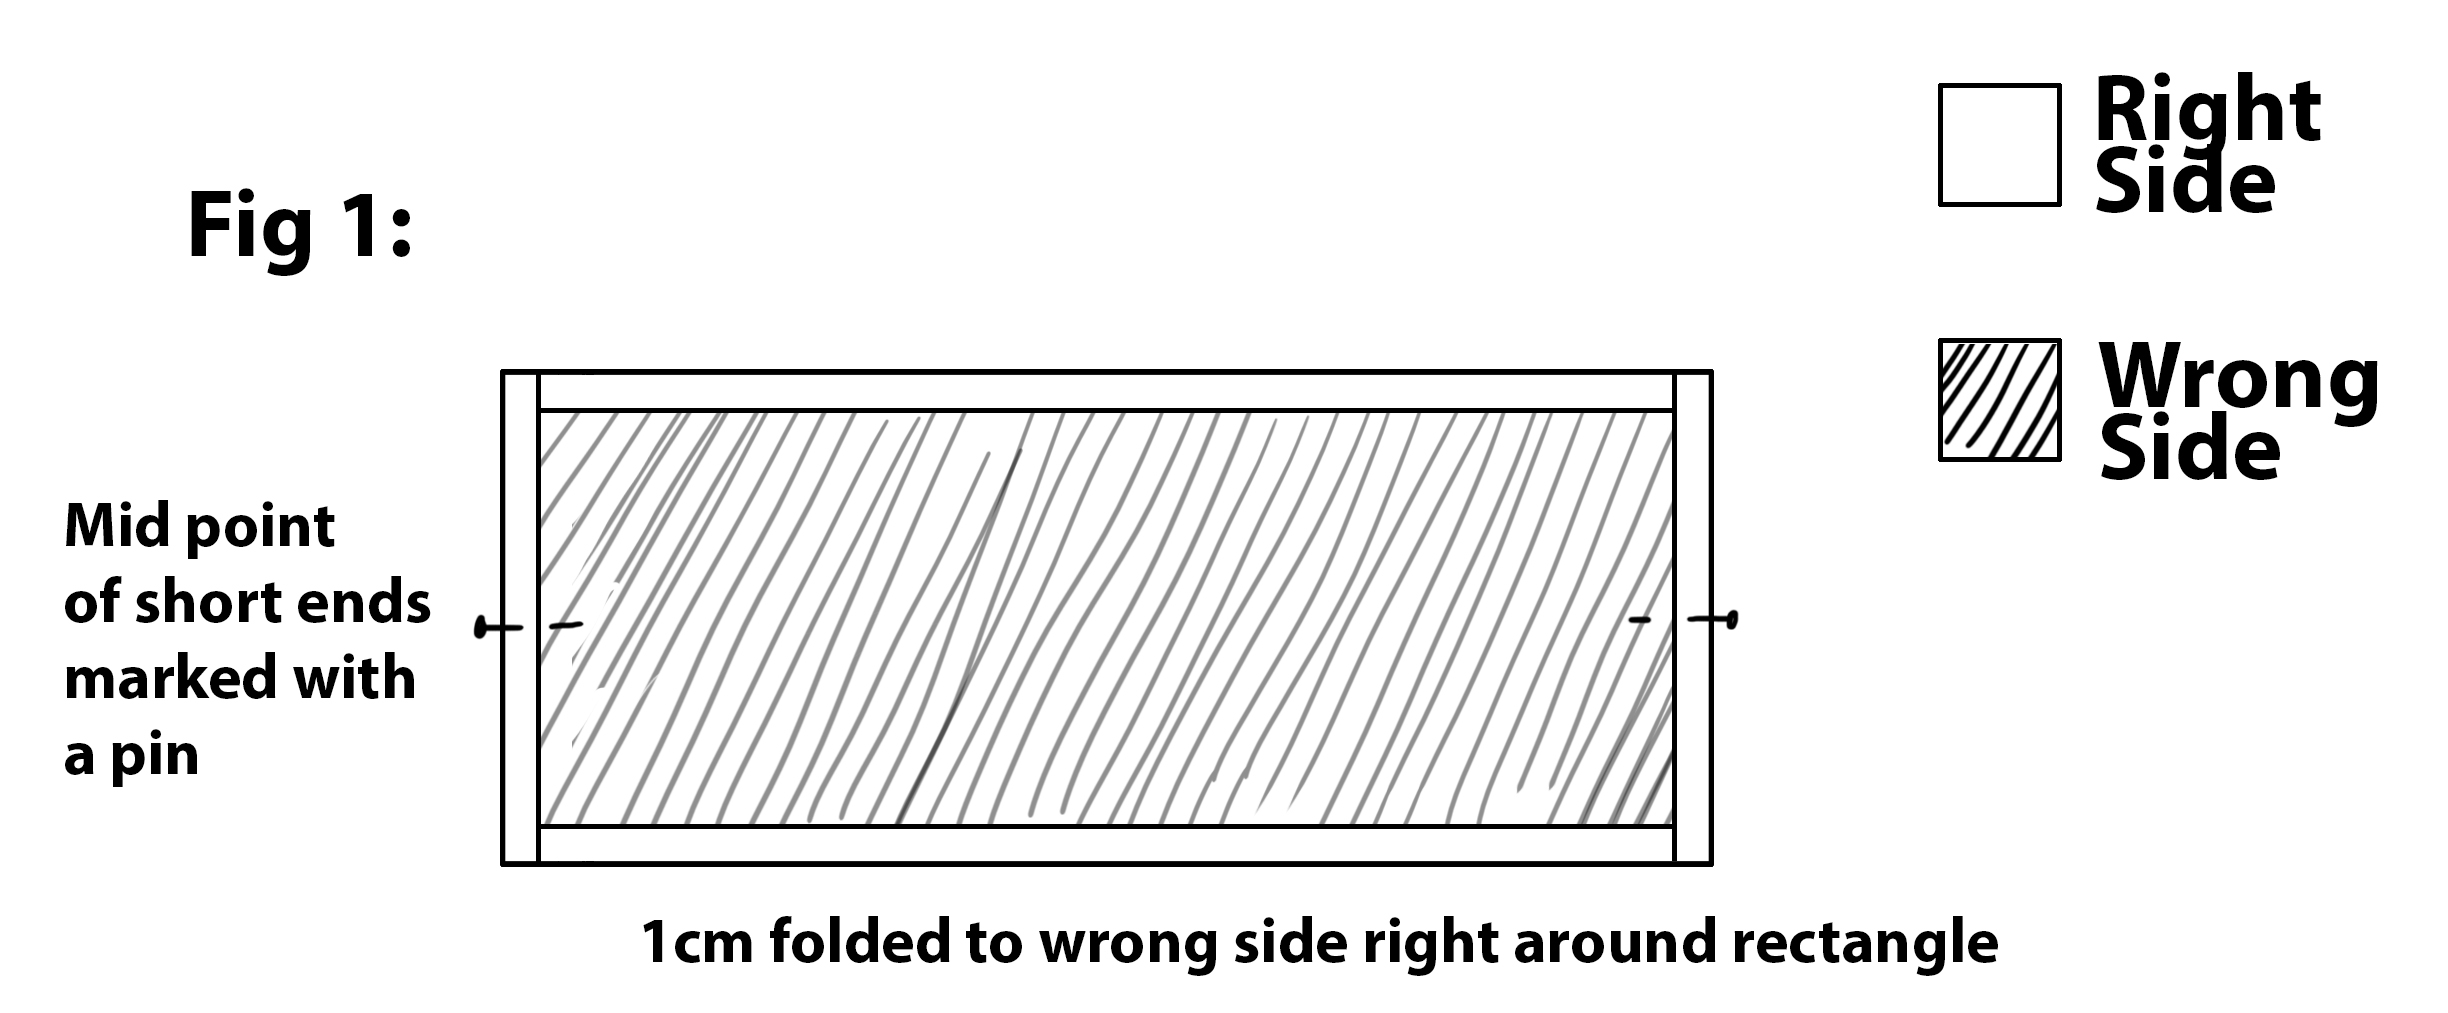
To finish the neckline, cut a piece 67cm long and 4cm wide.  Fold along it’s width, aligning short edges and placing right sides together. Join the ends with a 1cm seam. Press seam open.

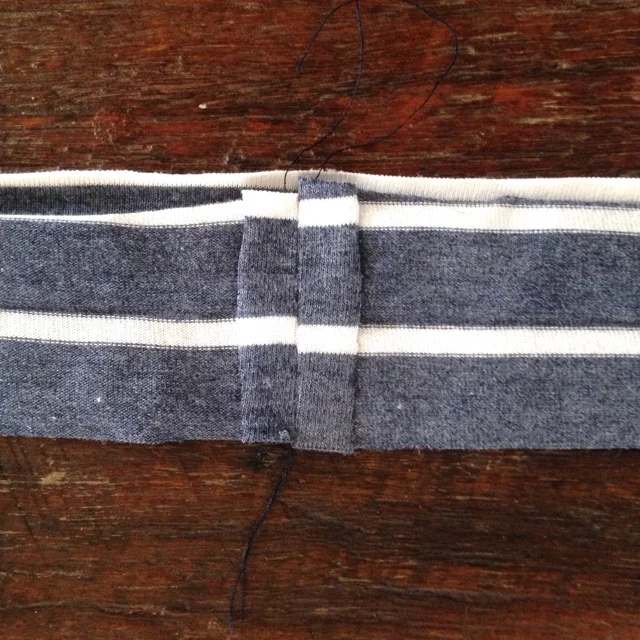
Fold the neck binding in half along it’s length this time with wrong sides together. Press.

IMG_2624.jpg

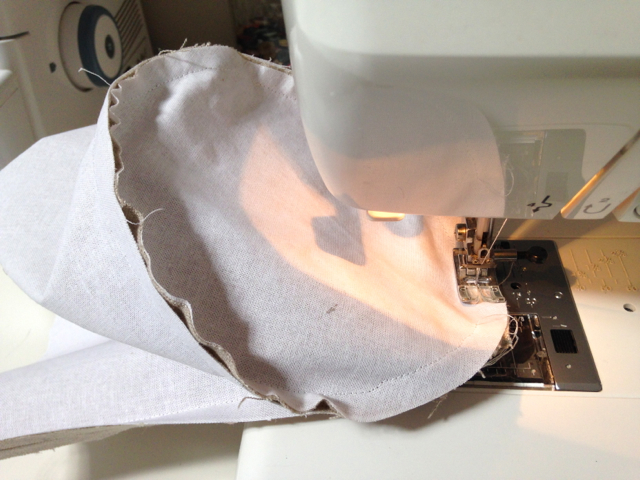
Pin the neck binding to the neck of the Tee, right sides together and placing the seam of the binding at the centre back of the neck.  You will need to stretch the neck binding slightly as you pin to make it fit.  This helps the neckline to sit nicely without puckering.

Join (sew or serge) the binding to the neck of the tee, sewing with a 1 cm seam.  Fold binding over to the right side and press. 

And you're finished!

I hope you have had fun with this tutorial and that you love this tee as much as I do.  Please feel free to get in touch if you have any questions - I always love to hear from you!

The Best (And Easiest!) Burp Cloth Tutorial.

Burp Cloth Tutorial

There’s nothing that says ‘new mum chic’ like milky stains on your shoulder, and while we wear them like a badge of honour, it’s sometimes nice to have your clothes stay clean for more than 5 minutes; and it’s always nice to cut down on the laundry a little.  Protect your clothes and add a touch of beauty to your day at the same time with these lovely (and very functional) burp cloths.

This project is so, so easy. In fact, given that they are made from old-fashioned cloth nappies I’m not even sure it really counts as sewing, but I’ve spent a lot of time trying out different designs and I’m convinced that these are the best. They’re big enough to protect from largish pukes, super absorbent and soft for wiping little chins. The fact that they’re so easy is just an added bonus.


You will need:

1 packet of cloth towelling nappies (you can buy these online or from most baby supplies stores)

1 62cm x 20cm piece of printed cotton fabric per towel

Note: These measurements work for standard sized cloth nappies: 60x60cm. If your nappies are a different size then calculate the size of fabric needed as follows:

The length is the length of your nappy plus 2cm.

The width is the width of your nappy divided by 3.

Cutting mat, rotary cutter and ruler (optional)


Before you start:

Use a 1cm seam allowance unless otherwise stated.

Remember to wash, dry and press all fabrics (and the cloth nappies) before cutting.


Directions:

1. Cut your decorative cotton rectangle(s). It is easiest to do this using a rotary cutter and cutting mat as you can ensure that your edges are straight and your corners are right angles.

2. Using an iron, press 1 cm to the wrong side along each edge of your fabric. Measure and mark the midpoint of each short end with a pin. Fig 1.

Burp Cloth fig 1

3. Find and mark the midpoint of 2 opposite sides of your cloth nappy.  With both pieces right side up, centre the fabric rectangle on one of the cloth nappies, aligning the middle of the fabric with the mid point of each edge of the cloth nappy. Pin in place right around the fabric.

4. Using a complementary coloured thread on top and a white thread underneath, topstitch a few millimetres from the edge right around your decorative fabric to secure it to the nappy.

A Problem.. and a Solution

IMG_1149.jpg

So, this is my problem.  You all know the score.  You make dozens of felt masks and end up with a massive pile of offcuts that are too small to do anything with because you're incapable of throwing stuff away. Right?  No? Just me then… Oh well, that's fine because I've come up with a very nifty and frankly awesome way of using them up!

felt confetti

Cut them into small circles and use them to make gorgeous confetti garlands!  I know.. I'm a genius! And so modest too… *ahem!

Anyway; To celebrate this wonderful discovery and all of the new masks in my Etsy store, I'm going to give away one of these fantastic Rainbow Confetti Garlands! All you have to do is share my page and sign up for the Willow and Stitch newsletter (see sidebar).  The winner will be selected on Sunday 8th February. I promise not to bombard you with emails and will only send out a newsletter when something really exciting is happening (I'm anticipating every couple of months). Plus, if I start to bore you then you can, of course, unsubscribe at any time.

The Garlands measure approximately 2.5 metres in length and have extra long cotton at each end for fastening.  They make beautiful nursery decorations or hang them over a window, mirror or mantle piece, or anywhere really that could do with a splash of fun and colour.  If you don't happen to win this one then they are for sale in my Etsy shop for $19.95 AUD.

Link to my Etsy Store here and in the sidebar.

Thanks for visiting!

rainbow confetti garland

Fabric Basket Tutorial

Happy New Year!

Before Christmas fades into distant memory I thought it'd be nice to share a tutorial for one of my favourite handmade gifts this year; these lovely little fabric baskets.  They are very quick and easy to make and there is no pattern needed.  The baskets can be made any size - I like them with a 16cm diameter, but the hubby was asking if I could make some which were waste paper basket sized, which of course you could.

I think they are also really nice as a little nested set of 2 or 3, with each one a few centimetres bigger than the one before it.  The tops can be folded down once or twice depending on the contents of the basket.

Don't you love this fabric combination?  These are actually some bits that I had left over from the Sew Liberated 'Gathering Apron' which I made a few weeks ago for myself - I'll take some pictures and post that soon too.

For the baskets, you will need:

Linen or hessian fabric for the outer

Printed cotton for the lining

Heavy weight fusible interfacing


Step 1: Calculate measurements and cut pattern pieces:

Choose a bowl or plate which is roughly the diameter which you want for your baskets and use it as a template for the base of the basket. Cut one each from the outer, lining and interfacing.

As we will be working with 1cm seam allowances, the base of your basket will eventually have a diameter which is 2cm less than the circle you have cut. Calculate the circumference of your basket by multiplying the the diameter (minus 2) by Pi (3.14). Then add 2cm for the side seam allowance. If only my high school maths teacher could have pointed out that maths would be useful for sewing patterns I might have paid more attention…

For example, I drew around a bowl which had a diameter of 18cm.

My basket diameter is 18 - 2 = 16cm.

The circumference of my basket will need to be 16 x 3.14 = 50cm approx

Add 2cm seam allowances: 50 + 2 = 52cm

So I need to cut a side piece with a length of 52 cm.

The height of the sides will be 1.5 x diameter of finished base; 1.5 x 16 = 24cm. This gives the basket a nice height and allows for the sides to be folded over at the top.

So, for the sides cut 3 pieces measuring 52 x 24, one each from the outer, lining and interfacing.

Step 2: Affix the interfacing and sew the outer and lining baskets.

Using a hot iron with no steam, fuse the interfacing to the outer basket pieces. The linen / hessian tends to stretch significantly on the bias so the interfacing stabilises it as well as adding structure to the basket.

Working first with the basket outer pieces, fold the edge piece along its length to bring both short edges together with right sides facing. Sew along the short edges with a 1 cm seam to form a tube. Press seam open.

Join base to edges.  With right sides together, place the base inside the tube, aligning the edge of the circle with the edge of the tube. Join the base to the sides with a 1cm seam. Work slowly, pulling the base around to match the edge of the sides. Lift the presser foot frequently (leave the needle down to keep your work in place) to allow the fabric to relax back into place. Sew all the way around the base.

Watch out for stray crocodiles while doing this...

Trim seams to a few mm then repeat to form the basket lining.


Step 3; Join the lining and outer pieces.

Turn the basket lining to the right side and place it inside the outer piece, with right sides together.  Push the lining right into the outer, ensuring that the bottom seams align. The outer edges should match up. Sew around the top of the basket leaving a 5cm hole for turning. Backstitch at either side of the turning.  

Pull the basket to the right side, through the turning hole.  Push the lining into the outer and press the sides, folding the fabric at the turning hole to the inside.  Topstitch right around the top of the basket, sealing the hole.

Fold the top of the basket down to show the lining on the outside. 

I have deliberately left them un-ironed (which may or may not be a real word) because I love the way they almost look like crumpled paper bags.   What do you think?  Would you have a go at making these? I'd love to see how you got on.  What was your favourite handmade gift this year?