Freezer Paper Stencilling
/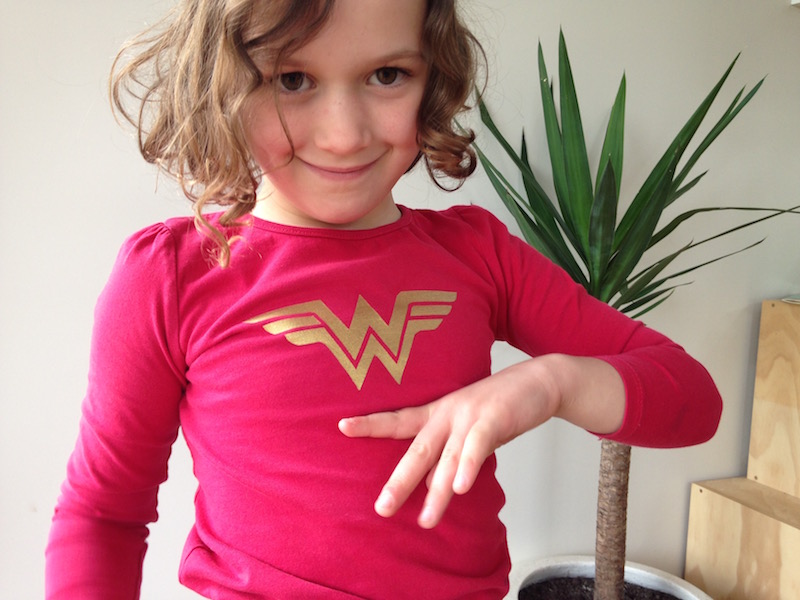
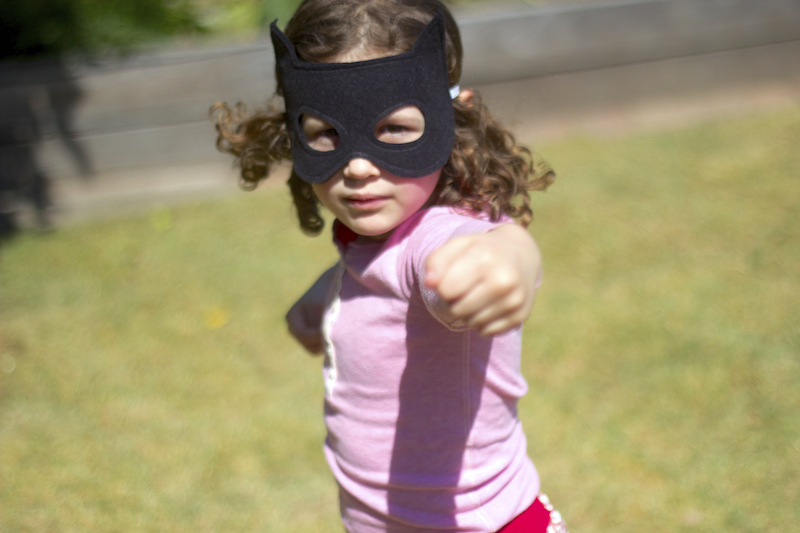
Is it a bird? Is it a plane? No! It's Wonder Woman! Someone is very pleased with my first efforts at Freezer Paper Stencilling! Ella had a superhero party this weekend so we dug out one of the Wonder Woman headbands from my Etsy store stock, rustled up a blue star spangled skirt and jazzed up an old red T-Shirt by adding the Wonder Woman logo.
The Try Something New Every Month theme for July was 'Yarn' which I obviously didn't stick to. I had intended to have a go at macrame but didn't manage to get organised in time so that's going to be next month's project instead - I've got grand plans for that one!
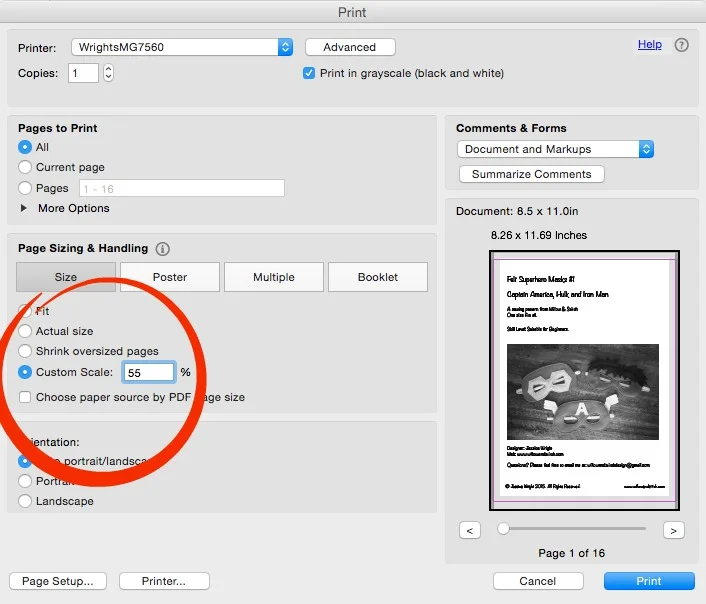
Instead I decided to have a go at Freezer paper stencilling which is one of those things that I have been meaning to try forever so it was great to finally have a reason to do it. The freezer paper really is pretty amazing - which is fortunate really given how ridiculously difficult it is to get hold of here in Australia. I had no luck in 3 of my local craft / fabric stores and then spent what felt like an eternity on the phone to another trying to get them to understand exactly what I wanted and then being passed from department to department while they tried to figure out whether they actually had any.... Still, we got there in the end and I bought a ton of it so that I hopefully never have to go through that palarver again!

Superheroes are very serious...

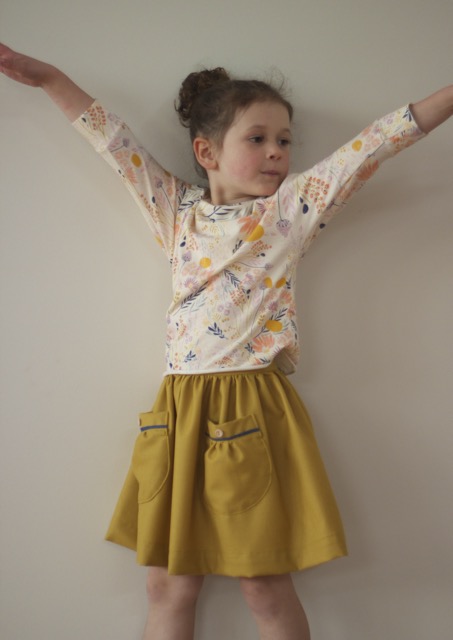
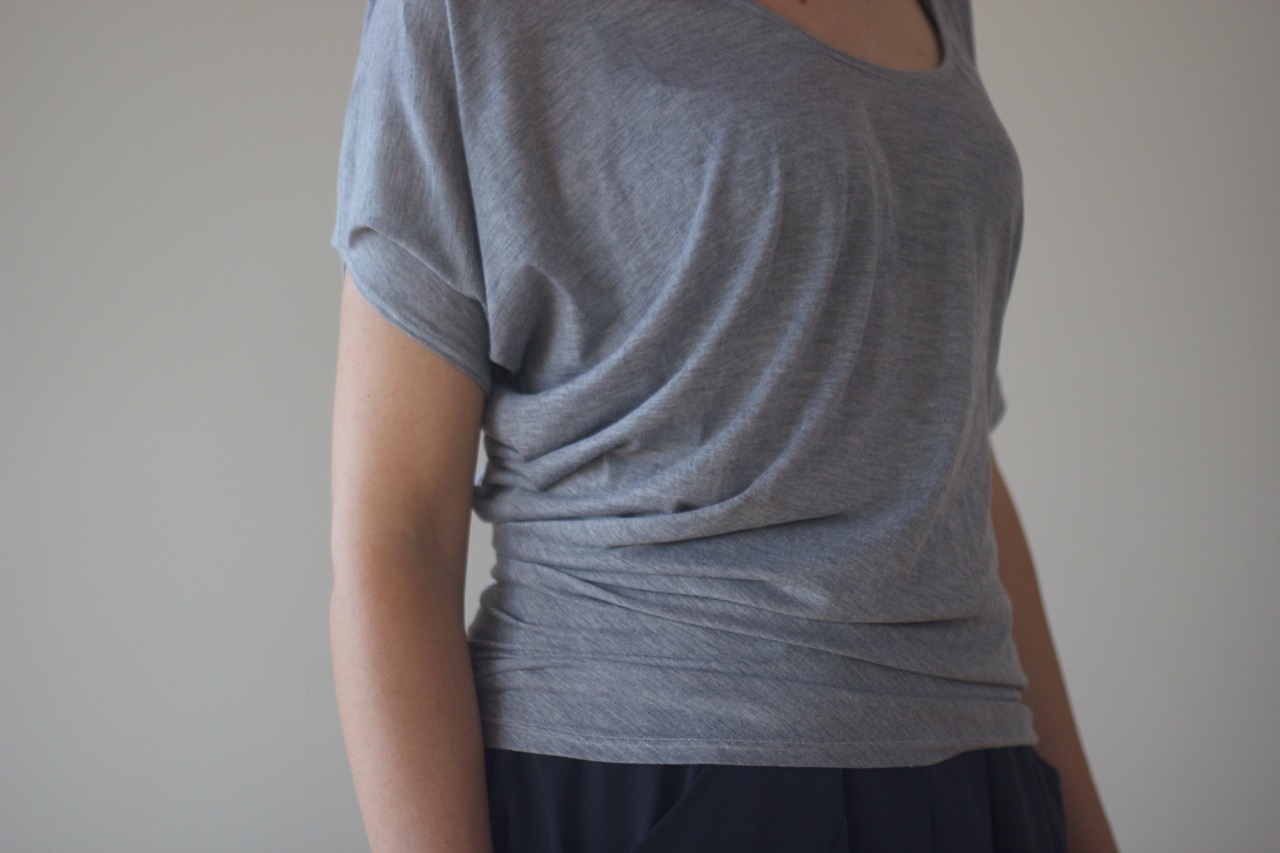
Check out that awesomely wide gold elastic waistband - thanks Jimmy Buttons!

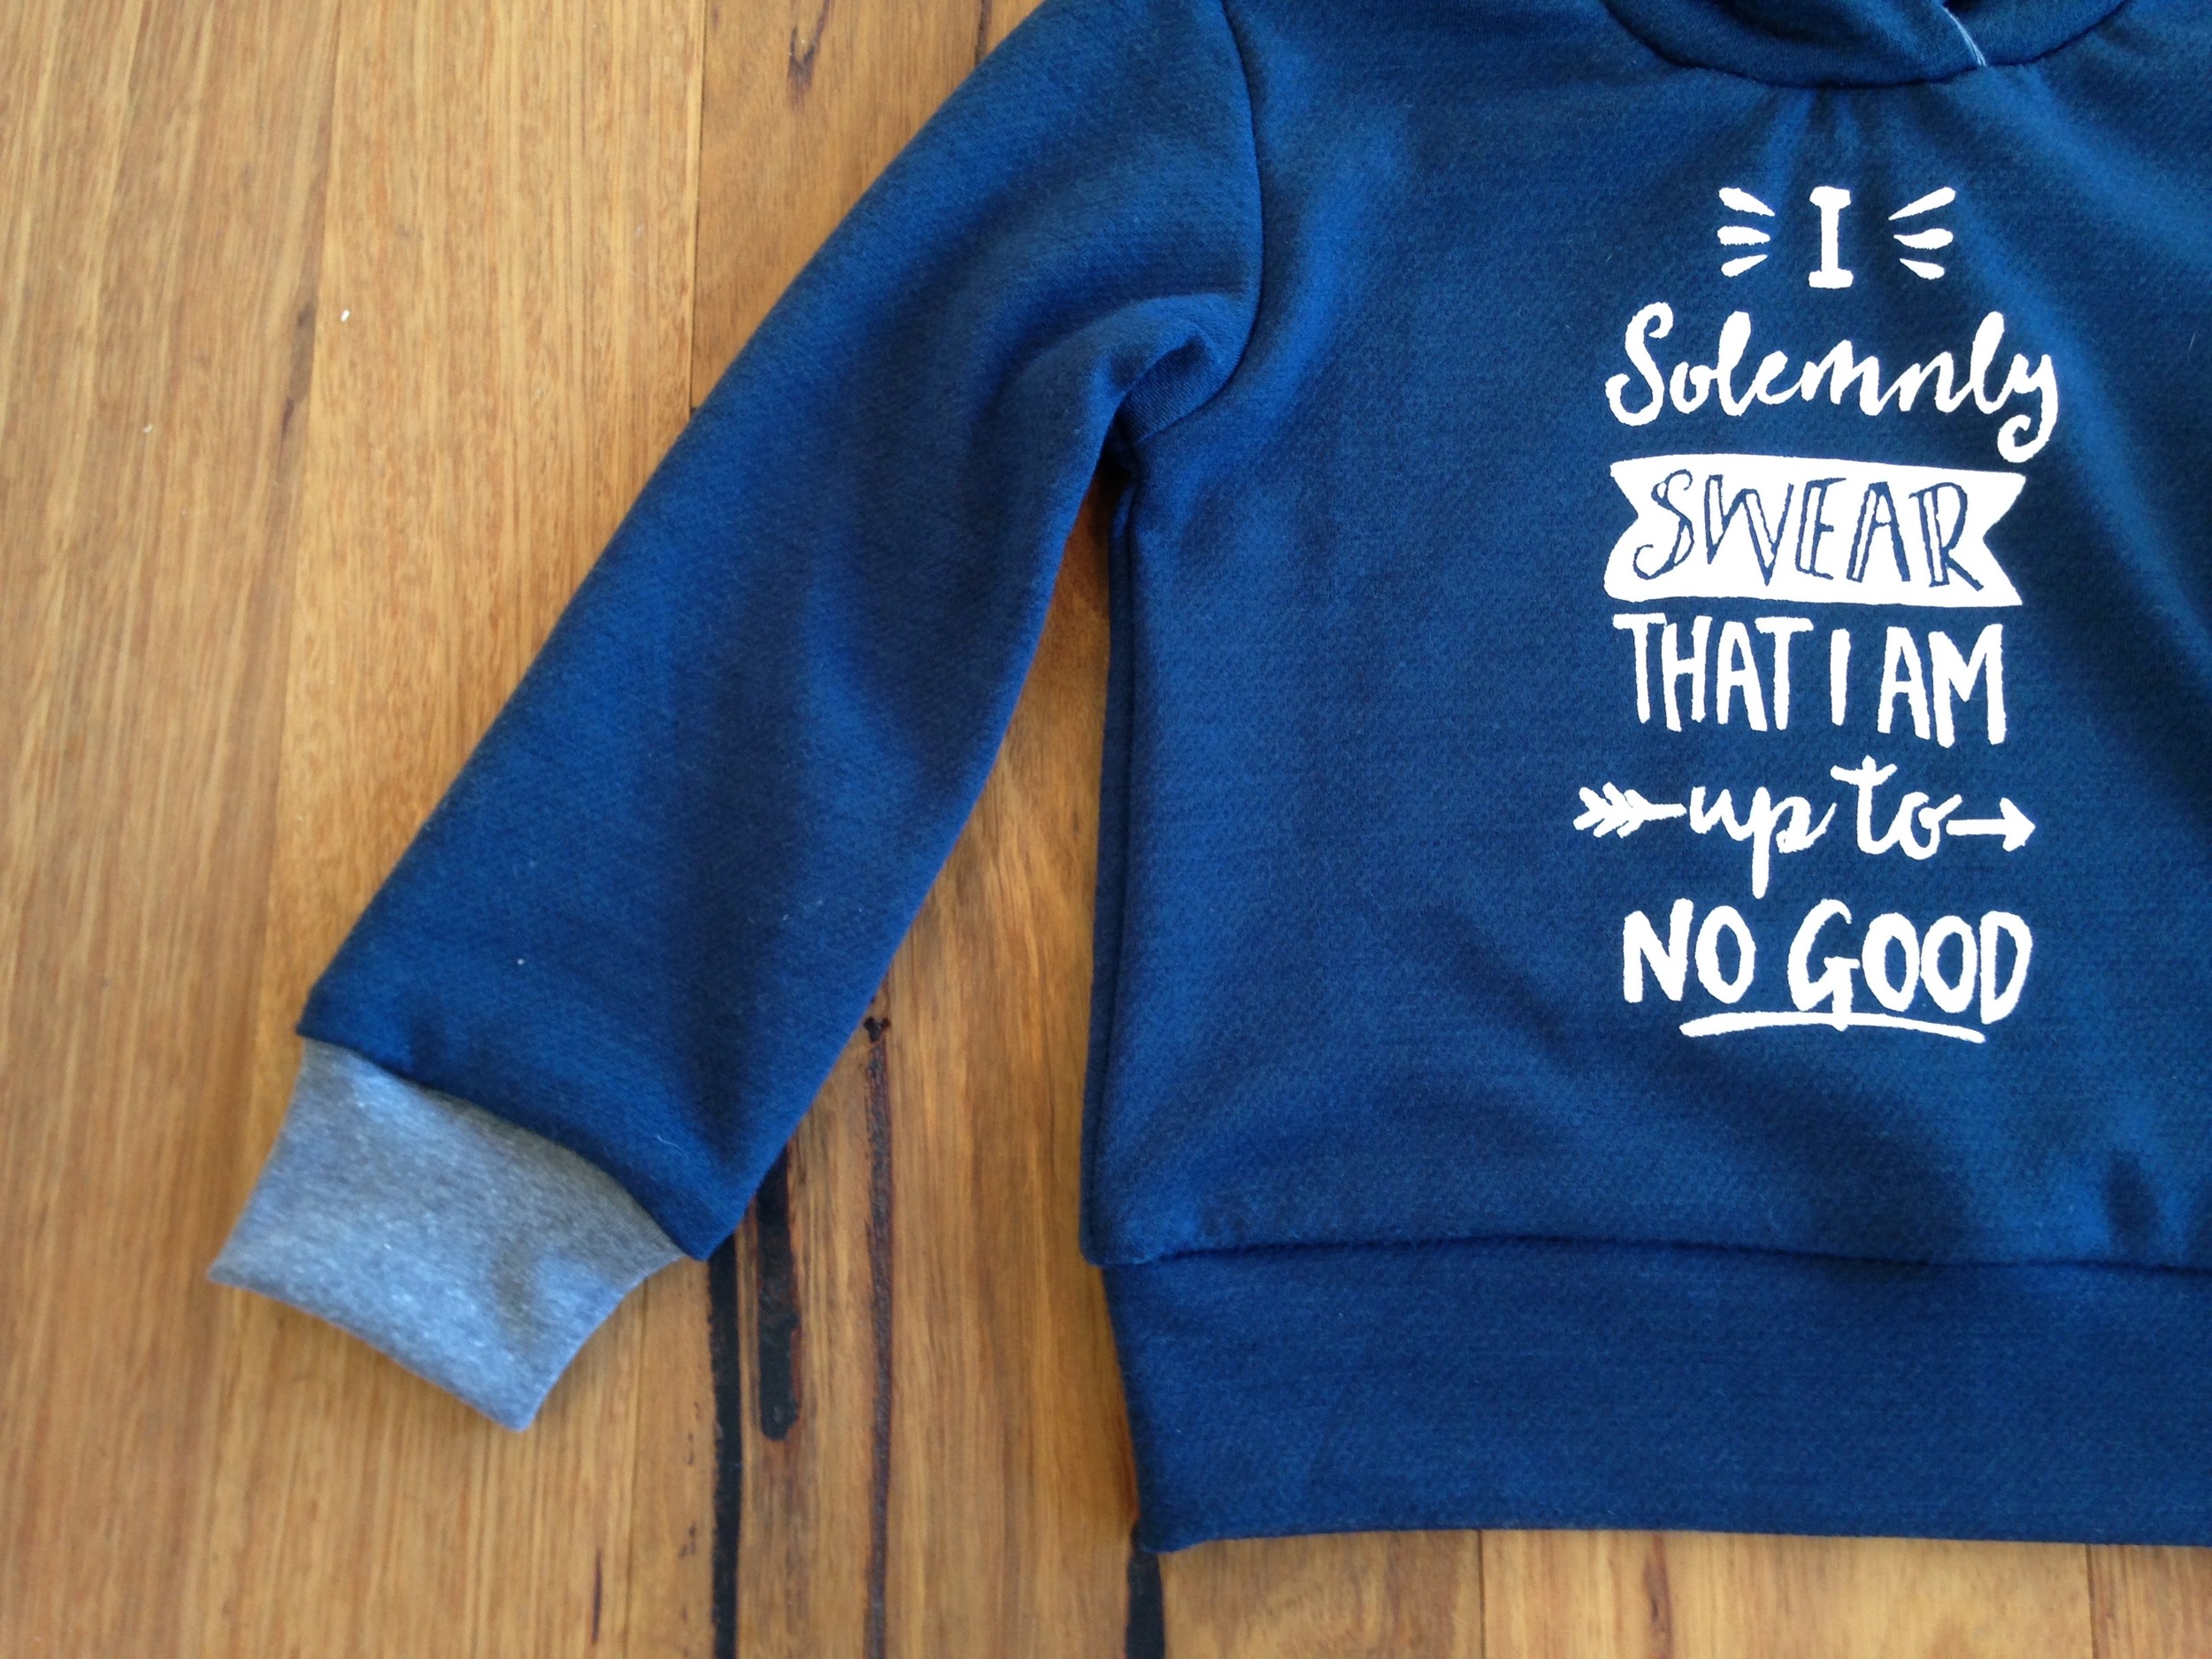
Having got the hang of Stencilling I decided to go for something wildly ambitious, because, well I'm ridiculous and I fell completely in love with this illustrated quote from Harry Potter by Rachel White Art.
I spent about 2 hours cutting this one out and then managed to stuff it up in several different ways! Firstly I melted my lovely merino wool while ironing on the freezer paper because I accidentally left my iron on very hot. So, I had to try to peel the freezer paper off and reaffix it to a new piece (It took forever to cut out so I wasn't about to start again!) Consequently it didn't adhere quite as well as it should have and I got a little bleeding under the paper in places.

I also used 3 coats of paint which was too much and made it really quite difficult to pull all the fiddly little bits around the letters off. Still, I got there in the end!
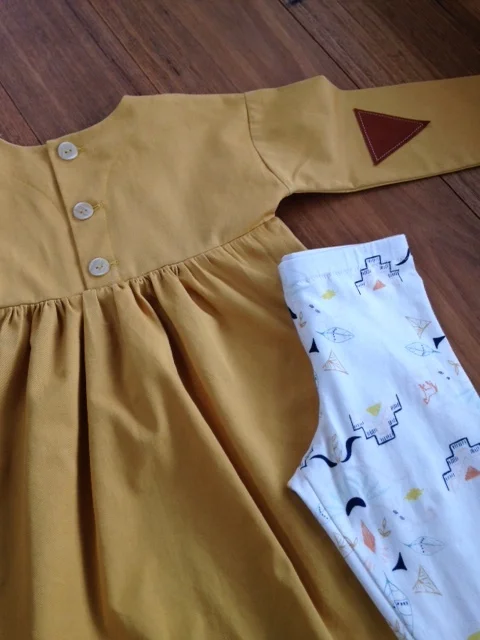
The pattern was just a generic pullover pattern from an old Ottobre Magazine which I modified to give sleeve cuffs and a waistband because, well, frankly I'm too lazy to be bothered with using the twin needle on my sewing machine to hem it! I also added a hood (arguably to avoid having to do the neck binding) but also because I really wanted to have a hood on it.
I can't help but think that this one was more for me than for the boy, but I did think the quote was very apt for such a cheeky little monkey! Being the cheeky monkey that he is however, the little toad refused flat out to put it on. This is his standard approach to jumpers at the moment but he usually comes up with some meandering excuse like 'I don't like red, I only like blue' or 'I don't want to wear it if it used to be so and so's' (the vast majority of his clothes are hand-me-downs). It was partly this which led me to make him a jumper in the first place - my logic being that if I made something especially for him, in a colour that i know he likes, he surely won't have any problems with wearing it, right?
WRONG.
What I failed to take into account with all my well applied logic, was that my darling 4 year old exists beyond the realms of reason, in a world where 'I don't want to try it on now, I want to try it on next Wednesday' is a perfectly valid argument and no amount of persuasion, bribery or threatening is going to change his mind. So. Here are some pretty flatlay photos for you.... I give up, I'm going to throw myself on the sofa and watch Outlander. Good night. xx

You May Also Like...