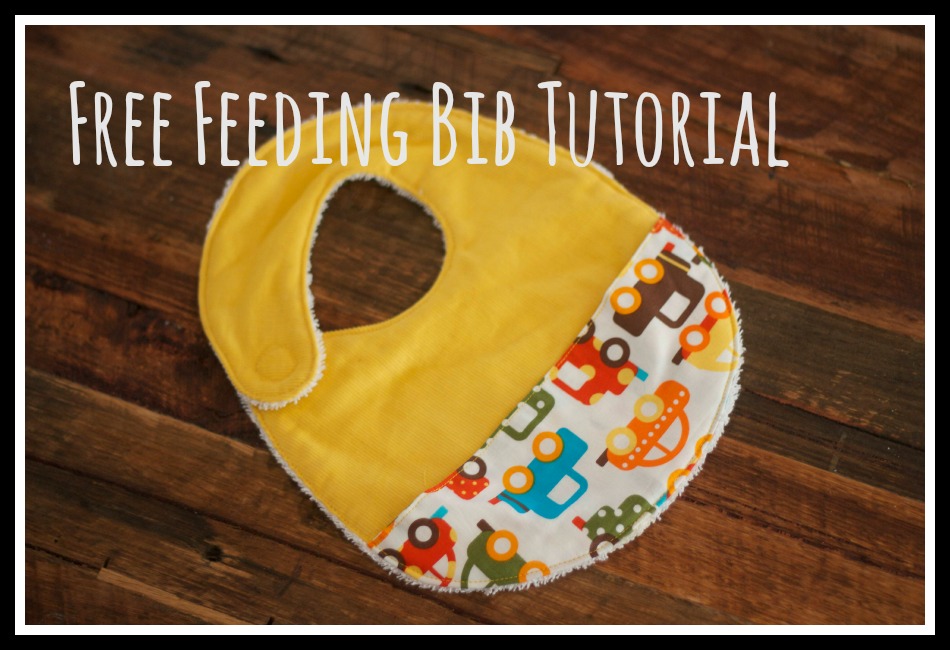
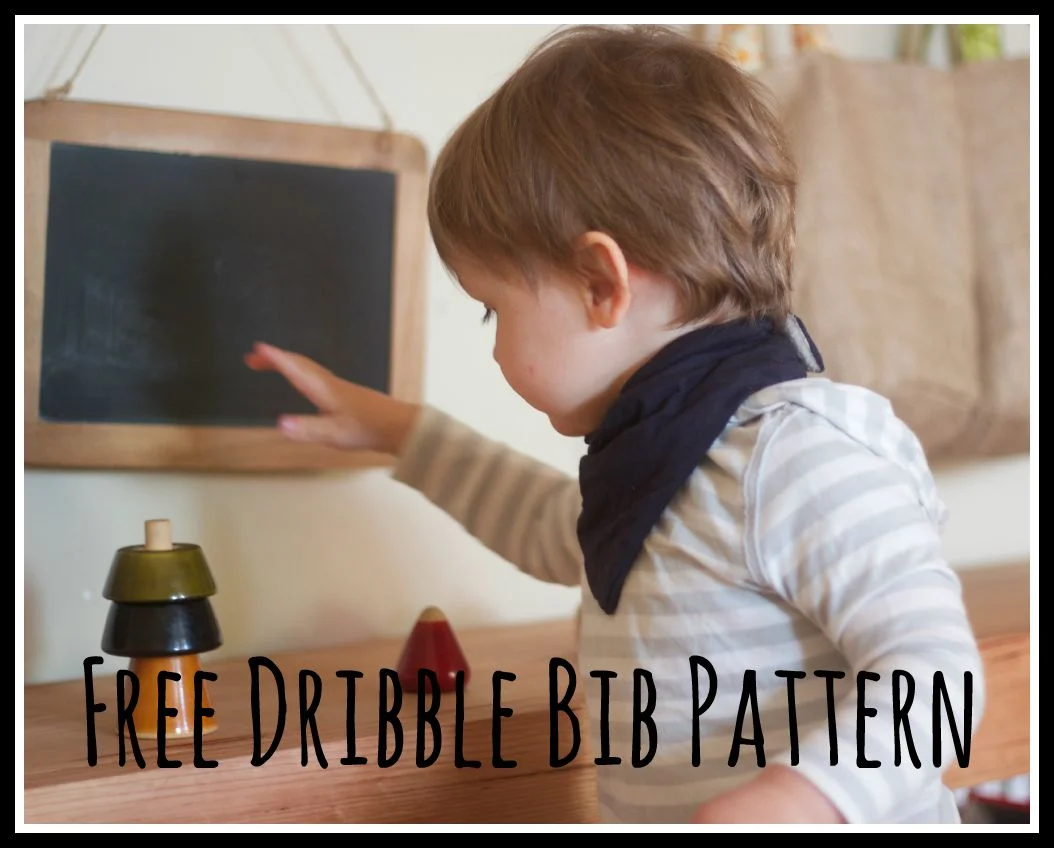
Free Dribble Bib Pattern and Tutorial

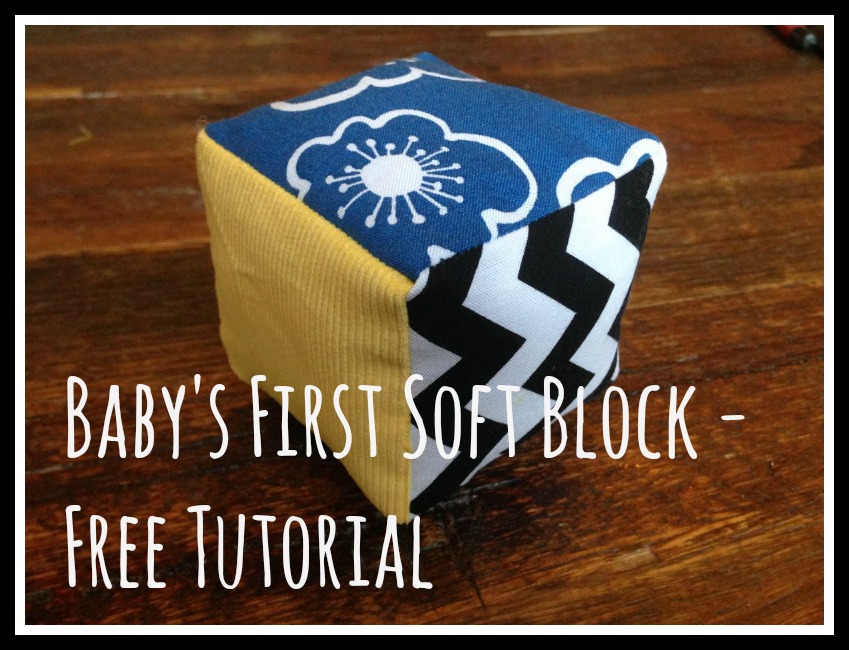
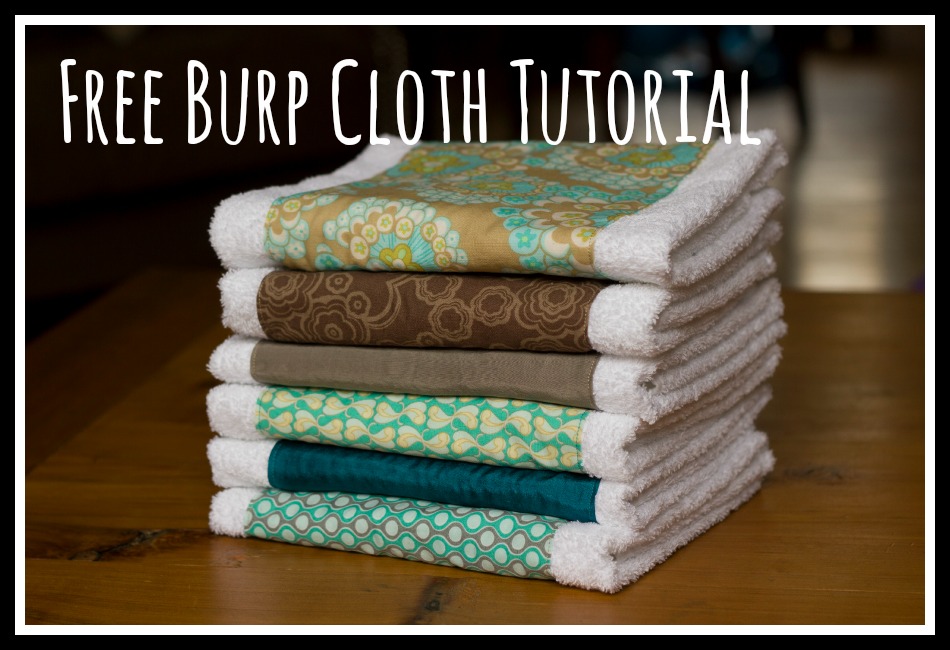
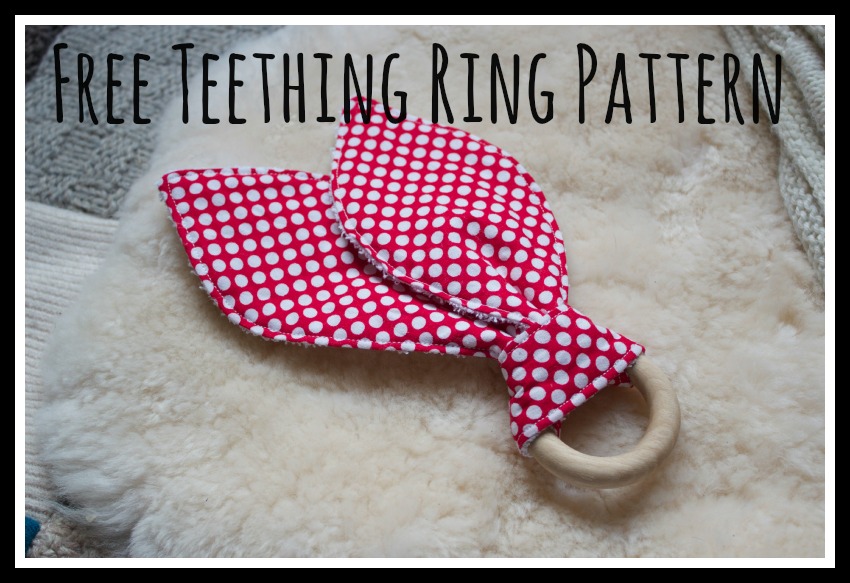
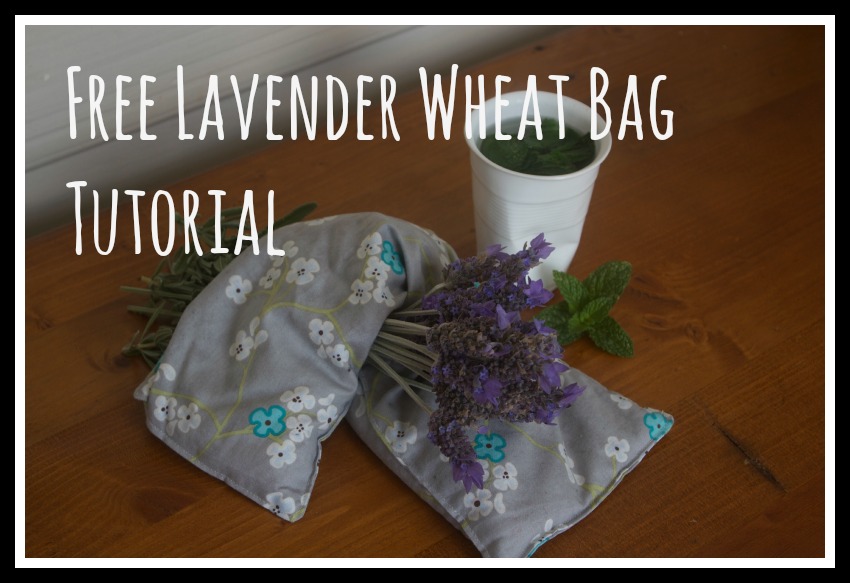
This is another project from the Mama and Baby sewing book which I wrote for my sister last year.  I'm still working on getting it ready to publish online but thought I'd share some of the projects beforehand.  Check out my Tutorials page for more free patterns and tutorials.

This little cowboy style neckerchief is fantastic for keeping your baby’s clothes dry, particularly as wet t-shirts can cause chaffing and soreness on their little chins and chests. The soft jersey fabric is very absorbent and the folds catch all the dribbles.  When it gets too wet or dirty you can just pop on a new one without needing a whole outfit change.  These are quick and simple to make and are the perfect project for using up scraps. Click on the image above to download the pattern.

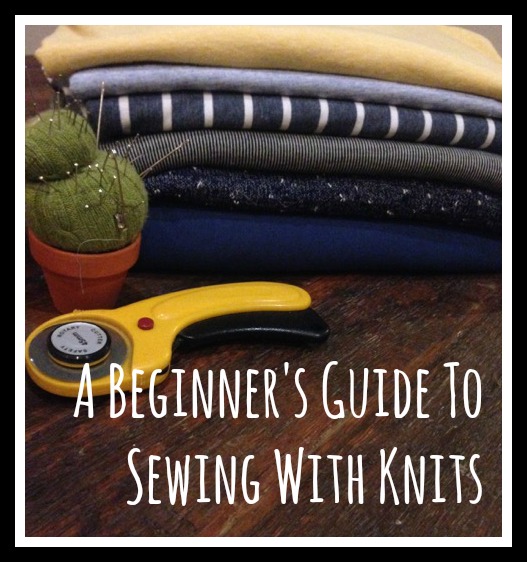
Many people are afraid of using stretch / knit fabrics – and I have to admit that I was one of them before I started playing around with them and discovered that they’re actually great to work with and really very easy once you understand a few basics.  If you're new to sewing with knits then I suggest you check out my 'Beginner's Guide to Knits'.

In any case, don’t panic, all you need to remember is not to stretch the fabric when cutting it (a rotary cutter and mat is perfect for this) and to use a ball point (stretch) needle for your sewing machine. A ball point needle (as the name suggests) is a needle with a slightly rounded tip, meaning that it can pass between woven fibres without cutting them and potentially causing runs in knit fabrics.


You will need:

25cm x 50cm of Jersey knit (you can up-cycle an old t-shirt if you like)

25cm x 40cm of fleece / bamboo / towelling or similar for backing.

2 press studs

Dribble bib pattern pieces - click on the image at the top of the page to download them. Pattern pieces include a 1cm (1/2") seam allowance.


Directions:

1. Cut 1 of the bib front from your knit fabric, and 1 of the bib back from your fleece or bamboo backing fabric. Be sure to transfer all pattern markings. Markings for press stud positions should be copied onto the RIGHT side of the bib backing.

Press and sew the pleats:

2. With the bib front right side up, fold bib right sides together so that one of the outer pleat markings is matched to the middle mark.  Pin through both layers of fabric where the mark is, then fold bib back to the right side to form a pleat. Press the pleat away from the centre of the bib and pin in place. Repeat for the other side of the bib. Baste along the top edge of the bib front to hold pleats in place.

Willow & Stitch | Free Dribble Bib Tutorial

Join the bib front and back:

3. With bib front and back right sides together, match central notches along the top edge of the bib. Pin in place. Next, match and pin the notches at the pointed tip of the bib (the bottom).  Now align the corners of the bib front and back and pin these in place.  Ease the knit fabric into place so that it matches the edge of the bib back, taking care not to stretch either piece as you do so and allowing the excess knit fabric to form gentle folds in the middle of the bib.  Continue pinning the top and side edges.

4. Using a ball point needle on your sewing machine, join the two pieces with a 1cm (1/2") seam allowance. Sew right around the big, leaving a 5cm (2") turning hole on one of the side edges and backstitching at either side of your turning hole to secure the stitches.

Clip seams and Topstitch bib:

5. Trim seams at corners and tip of bib to 5mm.  Clip seams every 2 cm along sides and top of bib, taking care not to cut through your line of stitching.  Do not clip seam allowance at your turning hole.

6. Turn the bib to the right side, using your fingers or a knitting needle / chopstick to push out the corners. Use your fingers to pinch seams along the edges and pin them in place. Allow your knit fabric to extend a few mm (1/8") past the bib backing so that if you look at the bib from the back you can see a very narrow band of the bib front right around the edge. This will give the bib a better shape by ensuring that the backing fabric is not stretched too tight which would cause the bib tip to curl upwards.

7. Topstitch 5mm (1/4") from the edge, right around the bib, closing the turning hole at the same time. Remove pins as you sew, taking them out just before you reach them to allow fabric to relax into shape.

Attach press studs:

8. Attach your poppers according to the manufacturers instructions. The pattern includes positions for 2 press studs so that you can adjust the size of the bib as your baby grows.

Free Dribble Bib Pattern | Willow and Stitch

Look at that dribble bib in action, soaking up all that goo - Isn't it a beautiful thing?!  Is there a dribbly baby in your life who needs one (or two or three?) of these?

You May Also Like...

Drape Drape 2 - Asymmetrical Scoop Neck Tee: Pattern Review

Drape Drape 2 - Asymmetrical Scoop Neck Tee: Pattern Review |  Willow & Stitch

I've been flouncing around the house today in my favourite new me-made.  I am completely in love with this Asymmetrical Scoop Neck Tee from Drape Drape 2.  Despite having borrowed the original Drape Drape book from my friend about a year ago, I hadn't got around to making anything from it yet so this was the first of Hisako Sato's pattern's that I have actually worked with.  If I'm honest I had flicked through the first book and felt a little bit intimidated by (what appeared to be) some very fiddly patterns and hadn't managed to find the time, or the enthusiasm, to tackle any of them.  

BUT.  Then I saw a picture of this tee on Instagram and impulsively bought Drape Drape 2 purely so that I could make one.  I'm really glad I did.  It was the perfect first pattern to start with.  Ridiculously simple (It's just a single pattern piece) but with some really lovely details.  I love the way the fabric drapes at the waist and I particularly like the shape of the fitted sleeve on the right side.  The left sleeve is loose and the shoulder has a lapped seam which just looks really nice.  The neckline is lovely, if a little wide - certainly not ideal for grovelling around on the floor picking up toys / shoes / bits of banana. Unless, of course, you happen to be wearing a particularly lovely (handmade?) bra that you want to show off.  But let's face it, if you're grovelling around on the floor cleaning up discarded bits of old banana no one's really going to fancy you anyway, even if you are flashing your pretty undies at them. Probably best to just save this tee for a civilised evening with friends once the kids are in bed.

Drape Drape 2 - Asymmetrical Scoop Neck Tee: Pattern Review |  Willow & Stitch

One more thing I should mention about this book is the sizing.  I know it's a Japanese pattern book, but still, I can't pretend my ego wasn't slightly dented by the fact that I was measuring as a size XL when I usually wear a small or medium!  I can't help but wonder how many people have bought the book and then discovered that nothing much will fit them.... Of course you'd probably all have the sense to check things like that, rather than just buying a book of patterns on a mere whim like I did...

Still, there are at least 3 other patterns in this book that I'm dying to try and on the whole I like Drape Drape 2 much more than Drape Drape 1 - there seem to be many more wearable items in it, although to be honest several of them would still be pretty obscenely revealing if wore them like the models in the book do (i.e. without anything underneath). I think layering is going to be key...  But that's a problem for another day and in the meantime I'm going to continue crushing on my new tee and flouncing around the house.  

Drape Drape 2 - Asymmetrical Scoop Neck Tee: Pattern Review |  Willow & Stitch

You May Also Like...

Kids Clothes Week - Going Japanese

Wildflower Kimono and Japanese Pants
Wildflower Kimono

It's Kids Clothes Week again! I'm not sure why I love Kid's Clothes Week so much; I mean it's not like I can't just sew for my kids whenever I feel like it; I think it's the feeling of participating in something bigger; of sharing my experiences and making connections with new people.

The theme this time is 'Travelling'; a bit of a tricky one don't you think?  I'm on a mission to sew only with fabric from my stash at the moment so going out and buying some 'travel' themed fabric is not an option.  Also, I don't really get much time to just sit down and sew for my kids so when I do I want to make sure that I'm sewing things that will get lots of use, and not just sew novelty items.

When I saw the Wildflower Kimono Cardigan from Striped Swallow Designs on Instagram this week I fell in love with it instantly and thought the Japanese style would fit perfectly with the 'Travelling' theme of Kid's Clothes Week.  It's a pretty great pattern, with no pieces to print and stick - It's just made out of rectangles! You've got to love that!

Dana at Sew Thrifty wrote a great post recently on how to decide whether a pattern is worth purchasing and this one definitely ticked several boxes for me; It comes in Sizes Newborn to Women's XXXL so I'm pretty sure that neither Ella or I will ever (hopefully!) grow out of It. Also, I love it so much that right now I want to make one for pretty much everyone I know!   I'm sure its going to be great value.  Actually, for the first time ever, I'm bummed that it's kids clothes week because all I want to do is sew about 10 for myself.  Next week is going to have to be Mama's Clothes Week...

Wildflower Kimono and Japanese Pants

The Wildflower Kimono was a pretty quick sew, I managed to cut the pieces and sew it in one evening, but most importantly It was a BIG hit with the girl who loved it because it's so big and soft and snuggly; perfect for winter in Australia.  She also discovered within about a nanosecond that if she spreads her arms she gets WINGS!!  Or she can be a superhero.  Or cover herself up entirely.  Big bonus points for that!

Wildflower Kimono

In keeping with the Japanese theme I decided to make this pair of Japanese Inspired pants from a (slightly modified) Ottobre Pattern.  I really loved how they turned out and thought that they looked great, but unfortunately the little lady had other ideas and instantly hated them.  I really had no idea why! Kids can be so irrational sometimes.  Fortunately they're also really easy to buy and I managed to bribe her with a few smarties to get these photos! Mwah ha ha ha ha ha....


Gumnut Dress Pattern Launch! (and ANOTHER giveaway!)

It's time!  Time to send my baby (erm, dress pattern...) off out into the world alone.  I'm so excited to be able finally release this pattern. It's been a whole lot of work to get to this point, let me tell you!  One day perhaps I will be able to do this full time but until then it's a lot of late nights.  Not that I'm complaining; I have had so much fun designing this pattern and I have learnt so much over these past few months.

I'm so proud of this dress pattern and I hope you'll love it as much as I do.  What's not to love really; Twirly skirt, comfy knit top, huge pockets for collecting treasures.... Cute enough for parties, and comfy enough to wear all day long it's the only dress pattern you'll need this summer! 

Thank you to everyone who signed up before the pattern release.  I'll be sending out your free copies shortly.  Sorry to those who missed the deadline.  But don't despair - the pattern is now available for purchase via Craftsy and also in my Etsy store.  

By happy coincidence today is also Sew Mama Sew's Giveaway Day!  So, to celebrate the launch I'm giving you another chance to win a free copy! I have 2 free Gumnut Dress PDF Patterns to give away.  To enter simply leave a comment below. I blogged yesterday about some of the things I love about sewing; How about you - why do you love to sew?

If you follow me on Instagram then you can have an extra entry, just leave two comments - easy peasy!

If you're new here why not take a look at the Patterns and Tutorials page - there are lots of free patterns that you can download instantly!  Or scroll down the side bar for some of my favourite blog posts.

Winners will be chosen at random and announced on Monday 11th May. Good luck and thanks for stopping by!

UPDATE:  This giveaway is now closed.  Thank you everyone who left a comment.  I really loved reading them all and hearing your thoughts.  Winners were drawn by random number generator.

Winners of the Free Gumnut Dress pattern were:

Comment #4: Cheryl

Comment #88: Cherie

Congratulations ladies! Please email me at willowandstitchdesign@gmail.com so that I can send you your prize!

Sorry to all of those who didn't win.  I've very grateful for your kind words about my Gumnut Dress Pattern.  If you would like to purchase a copy you can do so via Craftsy or Etsy for just $9 USD. 

Gumnut giveaway competition winner #1
Gumnut Dress Givaway winner number #2

Gumnut Dress Pattern Giveaway

I love my Gumnut dress

I love Instagram.  I love the way we use it to highlight the beautiful parts of ordinary days.  I love the way that it makes me view the world differently.  And most of all I love this wonderful community that I have discovered, of people who love to sew as much as I do.  I think there must be few industries in the world which are so positive, supportive and caring as this one that I feel so lucky to be part of.  

For me sewing is about more than just being creative.  It's about slowing down, stepping away from the culture of frantic consumerism that has become the norm and practicing mindfullness.  I believe that taking time to make something by hand, pouring love and effort into creating something unique is the ultimate antidote to everything that has gone wrong with our modern society. 

I am so very grateful to have discovered the joy that sewing brings and to be on the road to making it a much bigger part of my life, that I want to give something back.  I want to say thank you to all the people who inspire and encourage this passion in me and I want to begin my new venture with a wonderful bang!

The Gumnut dress is the first graded dress pattern that I've designed and developed.  It has taken a lot of my time and effort and love and dedication to get to this point.  It feels a little like my baby - I love it dearly and I'm so proud of it and I am a little afraid of letting it out into the world alone.  So this has been a difficult decision for me and it's a little bit scary too, but I have noticed that the scary decisions are often the right ones don't you think?

I expect that by this point you're thinking 'Enough already! What ARE you on about?!' It's a fair question.  I've decided that I'm going to give this pattern away for free.  Totally free to anyone who registers their interest before the pattern release: 9pm Australian Eastern Standard time on the 6th May (7am EST if you're in the States.) In other words you have 24 hours.  When the pattern is released I will send you a free copy.

This is the first pattern that I've put out there for sale so I'm hoping that you will all act as reviewers for me.  I know there are a lot of Indie designers out there and I'm well aware that the quality can vary dramatically.  You don't know me yet and I don't know you so I want you to know that my patterns are good.  That they work. That they are easy to follow. That the end products are great.  I want to earn your trust.

All I ask in return is that you don't distribute your free copy amongst your friends and family.  I rely on your honesty to protect my business.  Knowing what a great community we have I feel confident that the majority of you will respect this.  If you love the dress and the pattern please tell people about it.  Most of all I just hope that you have fun making this and that the little one you are sewing for loves it!


UPDATE:  The free dress pattern giveaway is now closed.  Sorry if you missed out.  Why not subscribe to my newsletter anyway (link in the side bar) then you'll always be the first to know when there's a special offer.

If you'd like another chance to win a free copy then you can enter my 'Sew Mama Sew Giveaway Day' promotion.  See previous blog post for details.


Gumnut Dress Photo Shoot

Gumnut Dress Photo Shoot
Gumnut Dress Willow and Stitch

We had such a beautiful afternoon down by the creek yesterday.  It was one of those heavenly days where the sunbeams turn everything gold.

The girls had so much fun playing in the bush.  Running, jumping, twirling, turning their skirts into butterfly wings, feeling like princesses and playing like tomboys! What could be better?

Pattern release is set for Wednesday 6th May and I can't wait!

Gumnut Dress Pattern Testers Wanted!

Gumnut Dress
Gumnut Dress

My Gumnut dress pattern is finally finished! I'm so pleased with how it's turned out and I really love this Cotton and Steel with stripes combo.  I'm also very happy about how much Ella loves it, the knit top makes it super comfy, it has huge pockets for storing treasures and a skirt that's perfect for twirling!

I've spent the weekend perfecting and testing and now it's your turn!  I need pattern testers for all sizes from 1 to 8 years.  You don't need to be an expert to pattern test, confident beginners should be able to sew this pattern.  There's a pretty short deadline on this one, testers need to have completed that pattern and submitted their feedback by Friday 1st May.  All testers will receive free copies of the finished pattern and my eternal gratitude for their help!

If you're interested and able to meet the deadline then please either email me at willowandstitchdesign@gmail.com or enter your details below.  Be sure to hit 'Submit'

UPDATE:  Applications for pattern testing are now closed.  I'm hoping to release the Gumnut Dress Pattern in the first week of May and I've got a MASSIVE givaway planned so if you'd like to be updated enter your details below:

Gumnut Dress
Gumnut Dress


Thursday Tee (or another Tuesday Tee)

I haven't been feeling all that well today so I thought I wouldn't try to stretch myself too far. So instead of coming up with a new Tee, I went and made another Tuesday Tee. I couldn't help myself, I just love this Tee so much it's so comfy and fits really well.  I did however manage to get the pattern up for you this time.  You can find the link here.

Please note that this pattern is untested by anyone except me and is one size (small) only.  If you make this Tee I would be very grateful of any feedback so that I can improve the pattern for the next person.

For this second Tuesday Tee I sewed the Hems with a zigzag stitch instead of a twin needle. Let's say that I did this to show you that it looks just as good and not because I couldn't be bothered to fit the twin needle and wind another bobbing of lemon coloured thread! Okay?!

I also topstitched the back seam this time.  I think it looks great with the added detail.

Wednesday Tee

Wednesday Tee

Another day, another Tee.  This is Wednesday's offering.  A symmetrical hem line, simple sleeves, loose fit and wide neckline that slips off the shoulder.

I'm pretty pleased with this one.  The fabric (a Gorman designer remnant) is soooo soft and so comfy that wearing this tee actually feels like wearing pyjamas!  On the down side i think the fabric is a little light weight for this style - It seems to cling a bit and doesn't quite hang properly - It was clinging a little when we took these photos (although that could just have been because I was wearing a tank top under it..) Either way, I'm pretty sure that I'm going to be wearing this one a LOT especially as the days get cooler over here on the other side of the world.

I also have a pattern for this Tee but didn't manage to get the photos taken for a tutorial so I'll add that this weekend if I can manage it.  It does mean i'll have to make another... shucks! 

It wouldn't be right not to leave you with a couple of photos of one of my cheeky little photo bombers!