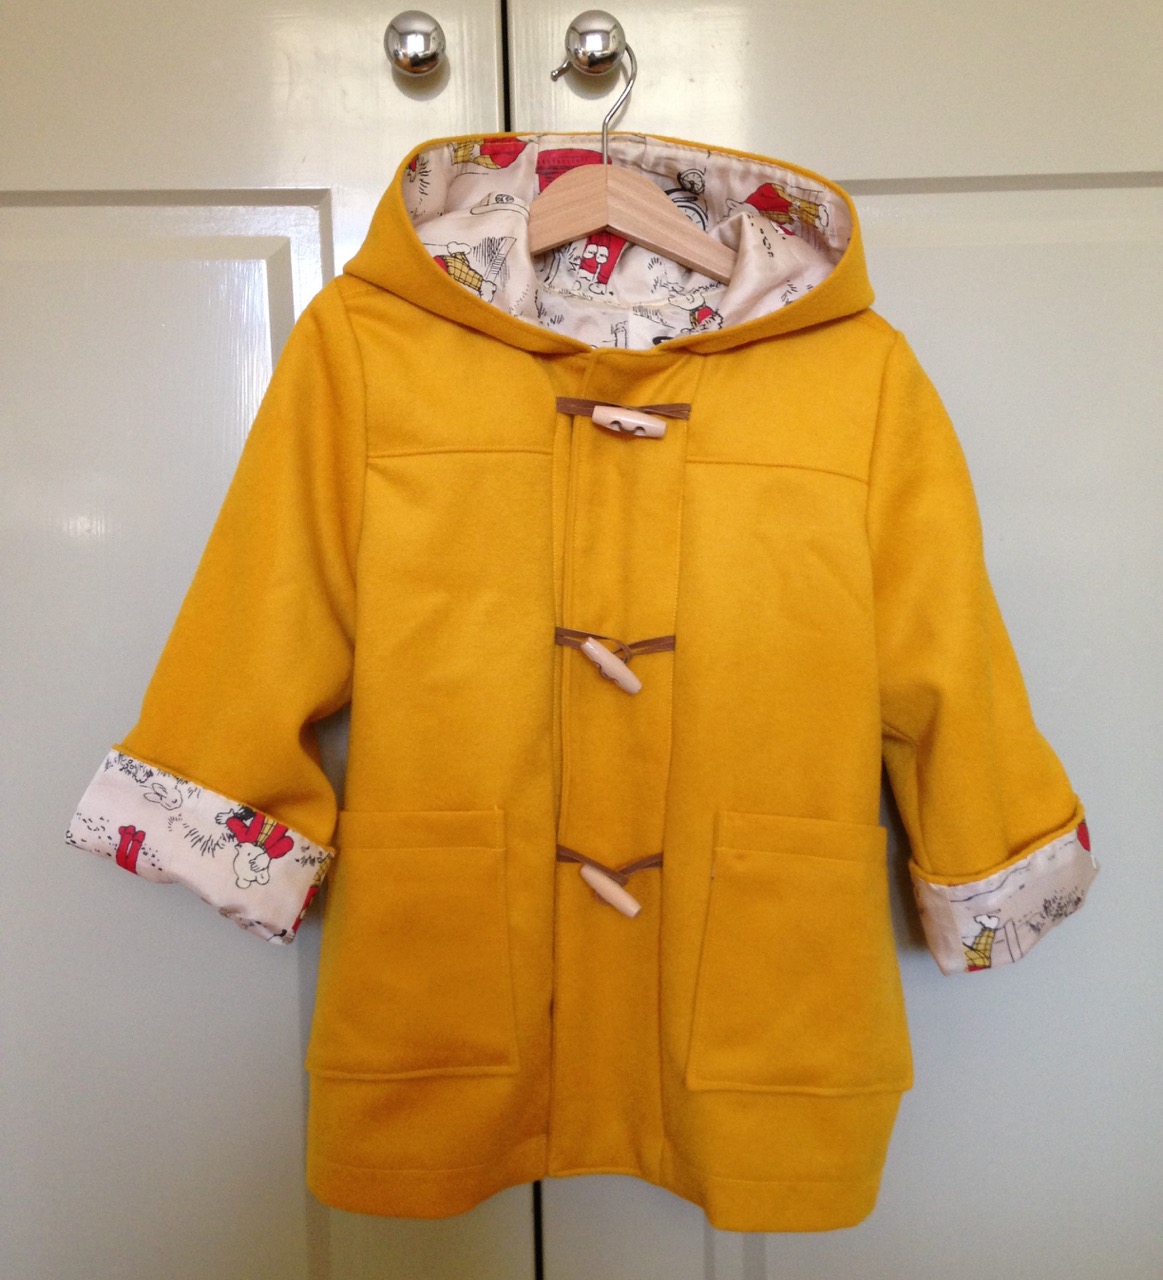
The Secret Beauty of Mistakes

A few months ago I got on a plane bound for England. I was taking my little Australian children back ‘home’ to meet a new baby cousin and to spend some time with my family.  I decided that I would take some knitting projects on the flight and get a (very) early start on some Christmas presents as a way to make the epically long flight go faster.  I did get plenty of knitting done, both on the plane and in the days afterwards, but because of the tiredness and the jet lag I made a couple of mistakes. Not terrible ones. But the sort that once spotted can’t be un-seen.  I could have gone back and fixed them but I decided not to and not only because I didn't want to have to face unravelling a lot of work, It was because the mistakes said something. They spoke to me of the circumstances surrounding their occurrence.  They said ‘Oh, hey, remember that time you flew to England to meet your new niece and you were exhausted but you couldn’t sleep on the plane because you were too excited to see your family again and you couldn’t stop thinking about how lovely it would be to spend some time with them…?’ And I realised that I didn’t want to erase that.

So I left them there and I wrote a little letter to go with the gift.  I wrote about how it wasn’t perfect, and how there were mistakes. But I also wrote about how I was feeling as I made it, about my tiredness and my excitement and about how there was love and anticipation knitted into every stitch. I wrote of how I hoped that the recipient too would treasure those mistakes as a reminder of the time that I flew halfway across the world with two small children in tow, just because I loved them so.


Making Flower Crowns - and a Fairy Birthday Party

Handmade Flower Crowns

I've been dying to have a go at making these gorgeous flower crowns ever since I saw Siobahn Rogers' beautiful crowns on instagram.  So, when my big girl announced that she wanted a Fairy party for her 6th Birthday it seemed like a good opportunity to give them a go. 

Handmade Flower Crowns

Given that it's the middle of winter here I didn't have a massive choice of flowers at the market, but I managed to find some pretty pinks and yellows and some lovely native Australian greenery to go with them.

I didn't think that Ella's party guests' attention would stretch to making the crowns from scratch so I wanted to prepare as much of it as possible in advance.  There is a great tutorial here on Siobhan's website.  I bent the wires into shape and made loops at the ends through which they could be fastened with ribbon and I trimmed all the stems and arranged the flowers into little bunches so that the girls could choose 5 or 6 to wind onto their crowns. (This was the point at which I began to regret the whole exercise...!)  Anyway, finally, about 2 hours later I had enough bunches for all of our little fairy friends to make a themselves a crown.  

Handmade Flower Crowns

We even had a few bunches left over which I popped onto the top of the birthday cake.  I'm going to be doing this for every little (and big!) girl's birthday cake from now on.  It was quite incredible - the cake went from being very ordinary to amazingly special in about 10 seconds flat!

Just put a flower on it.

Just put a flower on it.

A happy little Birthday Fairy in her Flower Crown.

A happy little Birthday Fairy in her Flower Crown.

As one of the party games we had about 50 balloons which we filled with confetti and silver stars. We gave each of the children a pin and let them go nuts.  Literally.  It was complete madness.  The balloons lasted about 10 seconds, vanishing in an explosion of pops, bangs, glitter, confetti and delighted squeals.  

Confetti Filled Balloons

I had thought I might get some cute photos of children being showered in confetti.  Wrong. What I actually got was 10 seconds of insanity.  When I looked up from comforting the poor kid in the corner who turned out to be terrified of balloons popping, all that remained was a few shrivelled pieces of rubber and an almighty mess.

Confetti Filled Balloons - the aftermath
One of our little fairy's handmade birthday presents - her very own fairy garden.

One of our little fairy's handmade birthday presents - her very own fairy garden.

I really loved this project, it made me wish I was 6 years old so that I could run around wearing flower crowns every day. We'll definitely be making these again, particularly now that I have all the supplies, perhaps we'll go for a nature walk and try making one out of wildflowers next time.

Handmade Flower Crowns

You May Also Like...

Paying it forward

Acrylic painted rope bowl.

Acrylic painted rope bowl.

I’ve been busy making recently (too busy making to blog anything apparently!) and it’s been all about sharing the love around here at the moment.  

I’ve been working on some gifts for a pay it forward initiative.  I agreed to do this months and months ago with the idea that the 5 people who volunteered would get a gift from me in return for paying it forward to 5 others.  It was really interesting to see who responded to my message, some were dear family members, some close friends, others I haven’t seen since high school.  

The agreement was that I would send them something over the next year, when inspiration struck and I found something that I thought they would like. It’s taken me the better part of the year to get around to sending out gifts, but I had resolved that I wanted to send handmade gifts and I also struggled to decide exactly what would make a nice gift for some of the people I was supposed to be sending to. I have occasionally felt a little guilty for taking so long to get around to doing it, but mostly, unexpectedly, I have enjoyed taking my time over this. I’ve found myself thinking about my recipients a lot over the last 9 months, wondering about their lives, their challenges and what I can do or send that will make them smile.  I wonder if they have sensed it at all.  

Open wide zippered pouch - free pattern from Noodlehead

Open wide zippered pouch - free pattern from Noodlehead

The most unexpected thing has been how much I have enjoyed the whole process. It has been fun creating these things and wrapping them up - Imagining the surprise when the parcels arrive and hoping that they will brighten someone's day.  I can’t help thinking that I may have gained more from this experience than the people to whom I am sending gifts, although I hope they will disagree!

Painted Rope Bowl

I’m going to try to keep on paying it forward, to think about ways I can incorporate random (or not so random) acts of kindness into my everyday, I’m totally hooked on feeling like one of santa’s elves!  Do you have any ways that you like to pay it forward or favourite random acts of kindness?


You May Also Like...

Sewing Rope Baskets | Try Something New Every Month

Sewing Rope Baskets | Try something new every month by Willow & Stitch

I had SO much fun with this month's project.  I've been dying to try my hand at making these lovely rope bowls for months so TSNEM was just the nudge I needed to get started.  

I can't begin to explain just how satisfying these are to make.  Once I'd got the hang of it I found that the small / medium sized baskets only took around 20 minutes each to make.  There's something very meditative about sewing them, I think it's partly because you're going round and round in circles, and partly because they're so simple that there's really not much thinking involved.  So fun, but goodness me - you wouldn't believe how much thread you'll go through - I've never wound so many bobbins in my life!

Sewing Rope Baskets | Try something new every month by Willow & Stitch

But the thing that I really loved about sewing these baskets is that it isn't really like sewing at all. To me it feels more like sculpting; the angle that you hold the bowl at, the tension on the rope, the variations between different types of rope all contribute to the shape. No two baskets turn out the same (no matter how hard I try) and when I start I often have no idea what the finished thing is going to look like.  It's always lovely surprise to see what comes out the other end.

Sewing Rope Baskets | Try something new every month by Willow & Stitch

I made several baskets using coloured thread to add interest and also had a lot of fun experimenting with paint - both painting the finished baskets and painting the rope before sewing - a la Gemma Patford who has a wonderful little instructional video in case you want to have a go at making some of these beauties yourself!

Sewing Rope Baskets | Try something new every month by Willow & Stitch

I had enormously high hopes for this huge rope market basket, but despite it taking me hours and hours to sew I couldn't help but be a little disappointed with the end result, it turned out pretty wonky and misshapen.  I was all ready to pull it apart and begin again (there must be 30 metres of rope in there!) but actually it's beginning to grow on me and I'm starting to love it despite (or perhaps because of) it's wonkiness. 

Sewing Rope Baskets | Try something new every month by Willow & Stitch

It would be remiss of me not to mention that making these baskets is insanely addictive! Seriously; do not try this if you're not prepared to go out and buy a giant 250 metre roll of rope once you're finished your first basket!  It isn't just me who loves them either - the whole family is obsessed.  Hubby was making requests for baskets to prove his bread in, the kids keep nagging me to make more for them / commandeering my finished baskets.  I found this one full of Jacob's treasures.

Consider yourself warned!

Sewing Rope Baskets | Try something new every month by Willow & Stitch

Have you had a go at making baskets like these? Did you get as addicted as I did?  Want to share any top tips or your favourite uses for them?

You May Also Like...

An Eco Friendly Fabric Lunch Bag Tutorial (and Happy New Year!)

Eco Friendly Reusable Fabric Lunch / Snack bags | Free Tutorial from Willow & Stitch

Happy New Year!  It's been such a long time since I wrote anything here that it feels like I may have forgotten how!  I rather wore myself out at the end of last year sewing (what felt like) 1000's of dress up masks for Christmas markets. So; I've been taking a well earned break to relax and enjoy the summer, enjoy a visit from my Mum and get myself physically and emotionally prepared for my big girl starting school this week!  I can hardly believe she's starting school and I definitely can't believe the amount of things there are to do to get ready for it! There's uniform shopping, shoe shopping, choosing a bag, choosing a lunch box, labelling clothes, filling in forms, gathering paperwork, attending orientations, information evenings, play dates, etc etc etc... It's overwhelming and we haven't even started school yet!

Eco Friendly Reusable Fabric Lunch / Snack bags | Free Tutorial from Willow and Stitch

Since my world is so fully consumed with this 'starting school' business at the moment, it will probably come as no surprise that my first blog post and first tutorial of this year is a school related one.  I've been sewing up a big pile of these reusable fabric lunch bags to pop into Ella's lunchbox.  I thought they'd work really well for carrot and cucumber sticks. cheese and crackers. biscuits, grapes, apple slices etc.   I even made a couple of larger ones which will fit a sandwich so that I don't need to wrap it in cling film!

Eco Friendly Reusable Fabric Lunch / Snack bags | Free Tutorial from Willow and Stitch

Ella was really thrilled with her new snack bags - particularly the one with the Narwhale fabric - I think it would be fair to say that the thing she's looking forward to most about school is her lunch box (just like her mama that one - always thinking about what's to eat!)

These lunch bags are super quick and easy to sew and are perfect for using up small pieces of your favourite fabrics.  I lined them with some PUL which I had left over from my (failed) attempt to sew Modern Cloth Nappies - I'm glad it finally came in handy for something!  

Eco-Friendly Reusable Fabric Lunch bags - a free tutorial from Willow & Stitch

You will need: (for a medium sides snack bag)

18 x 37 cm (7 x 14.5") Cotton fabric

18 x 37 cm (7 x 14.5") Polyurethane Laminate (PUL) or similar waterproof fabric

12 cm (5") velcro

A Serger / Overlocker


How to make:

Decide on the size that you want your finished lunch bag to be.  Mine is going to be 16 x 16 cm. Calculate the sizes of the rectangles that you need for you bag:

The width of your fabric will need to be Width + 2cm,

The length will be (Length x 2) + 5cm. 

i.e for a 16 x 16 lunch bag:  Width = 16 + 2 = 18cm,  Length = (16 x 2) + 5 = 37cm

Cut one piece each of your cotton and your PUL and lay them on top of one another with the wrong side of the cotton and the right (non shiny) side of the PUL together.

Eco Friendly Reusable Fabric Lunch / Snack bags | Free Tutorial from Willow and Stitch

Serge along each of the short ends, sewing with a 1 cm seam allowance.

Eco Friendly Reusable Fabric Lunch / Snack bags | Free Tutorial from Willow and Stitch

Cut a piece of velcro which is 2 cm shorter than the finished width of the bag. Centre the loop (soft) side of the velcro 1 cm from the top (front) of the fabric, on the cotton side.  Sew right around the velcro twice for strength.

Centre the hook (rough) side of the velcro 1 cm from the bottom of your fabric, on the PUL side.  This will be folded up over the top to form the closure / flap.  Sew right around the edge of the velcro twice, remembering that this stitching will be visible from the front so use a coordinating thread and try to sew as neatly as you can!

Eco Friendly Reusable Fabric Lunch / Snack bags | Free Tutorial from Willow and Stitch

Fold the fabric so that the PUL is on the inside, and the front of the bag sits just under the velcro on the lining, like this:

Eco Friendly Reusable Fabric Lunch / Snack bags | Free Tutorial from Willow and Stitch

Serge along both side seams, beginning at the folded edge and continuing to the edge of the fold over flap.  Leave long tails on your cotton so that you can thread it into the seams to secure the ends like so:

Eco Friendly Reusable Fabric Lunch / Snack bags | Free Tutorial from Willow and Stitch

Hopefully your bags will be a little straighter than mine.  I guess that's what happens when you mix wine and sewing....!

Eco Friendly Reusable Fabric Lunch / Snack bags | Free Tutorial from Willow and Stitch
IMG_0994.jpg

Trim the loose threads and you're all done! 

You can make these in any size at all, make them tiny for a cute little snack of sultanas or make them huge as a wet bag for swimming things.  I always put one in my son's playschool bag to seal away soggy undies if he has an accident, or wet clothes after waterplay.  Use them instead of plastic bags to contain wet or dirty nappies which can then be disposed of when you get home.  

Eco Friendly Reusable Fabric Lunch / Snack bags | Free Tutorial from Willow and Stitch

I hope you found this tutorial useful.  What would you use your bags for?

You May Also Like..

A Handmade Birthday

My little boy, my baby, turns 3 on Saturday.  I almost literally cannot believe it. So I have been trying to distract myself this week by pouring my love for this little man into some handmade birthday presents for him.

I've been meaning to make a duffel coat ever since I found these amazing wool remnants in the bargain bin at my favourite fabric store on Brunswick Street.  I struggled to find a pattern for a while but settled on this Oliver & S one in the end.  It's their Schooldays Jacket / Coat.  I'm pretty pleased with how it turned out.  It's going to be much too big of course - as everything I make generally is - I seem to live in fear of spending lots of time and effort making something only to find that it's too small.  I'd much rather it was too big and could be grown into.  In this case I had to make a size 4 because the pattern is sold in 2 sizes and I opted for the 4+ size so that I would be able to make more in the future.  

I originally had my heart set on lining it with a brown fabric with big white polka dots, but of course I couldn't find exactly what I had imagined so went with this Rupert Bear fabric which is actually really cute and Jacob will probably love it more than he would have liked brown anyway!

The Elephant is from a RicRac pattern that I spotted in my local fabric store.  I think he's rather lovely don't you?

Lavender Wheat Bag Tutorial

Lavender Wheat Bag Tutorial

I love wheat bags, they are a wonderful, natural way to soothe away aches and pains. I was first introduced to their magical properties when I was expecting my first baby because they are great for easing back pain during pregnancy, and also work wonders on early labour contractions and post-partum cramps. Since then I've found that they are perfect for relaxing tense shoulders caused by feeding or carrying a baby for hours on end. Also very useful when you're in pain from carrying preschoolers who are really much to big to be carried, or from spending 20 minutes on your knees trying to pick up all the lego which has been evenly distributed over the entire house.

These wheat bags contain dried lavender which has a soothing and calming effect. Lavender can be used to treat tension, depression, exhaustion, headaches and migraines – making it perfect for new mums and not so new mums alike.  I think these also make really nice gifts - for mums, grandmas, aunties, teachers - you name it.  They also have the added bonus that they take about 5 minutes to sew - perfect for last minute!

Warm your wheat bag by heating it in the microwave with a glass of water for 1-2 minutes. 

You will need:

  •  Two 42 x 18cm (16.5 x 7") rectangles of fabric
  • 900g (2 lb) of wheat
  • 2 tbsp dried lavender.
  • A funnel

You can buy wheat at most wholefood stores or even at some of the larger pet supplies stores. Dried lavender can also be bought in wholefood stores, online, or perhaps you have some lavender in the garden? Cut the stems and hang a bunch upside down to dry for a few weeks. 

Directions:

Place your two fabric rectangles on top of each other, right sides together. Join the pieces, sewing with a 1cm (1/2") seam allowance, right around all 4 edges. Leave a 5cm (2") turning / filling hole at one of the short ends. Remember to backstitch at either side of your turning hole.

Snip off the seam allowance at the corners, taking care not to cut through your stitching.

Turn fabric to the right side using a knitting needle or chopstick to push out the corners. Press with a warm steam iron.

Topstitch 5mm from the edge along both long sides of the wheat bag and along the short side without the turning hole.

Mix 2 tablespoons of dried lavender with 900g (2 lb) of wheat and use the funnel to pour it into the wheat bag through the turning hole.  Pour until the bag is about half full. Taking care not to spill the contents, pin and topstitch the remaining short edge to seal your turning / filling hole. 


The Best (And Easiest!) Burp Cloth Tutorial.

Burp Cloth Tutorial

There’s nothing that says ‘new mum chic’ like milky stains on your shoulder, and while we wear them like a badge of honour, it’s sometimes nice to have your clothes stay clean for more than 5 minutes; and it’s always nice to cut down on the laundry a little.  Protect your clothes and add a touch of beauty to your day at the same time with these lovely (and very functional) burp cloths.

This project is so, so easy. In fact, given that they are made from old-fashioned cloth nappies I’m not even sure it really counts as sewing, but I’ve spent a lot of time trying out different designs and I’m convinced that these are the best. They’re big enough to protect from largish pukes, super absorbent and soft for wiping little chins. The fact that they’re so easy is just an added bonus.


You will need:

1 packet of cloth towelling nappies (you can buy these online or from most baby supplies stores)

1 62cm x 20cm piece of printed cotton fabric per towel

Note: These measurements work for standard sized cloth nappies: 60x60cm. If your nappies are a different size then calculate the size of fabric needed as follows:

The length is the length of your nappy plus 2cm.

The width is the width of your nappy divided by 3.

Cutting mat, rotary cutter and ruler (optional)


Before you start:

Use a 1cm seam allowance unless otherwise stated.

Remember to wash, dry and press all fabrics (and the cloth nappies) before cutting.


Directions:

1. Cut your decorative cotton rectangle(s). It is easiest to do this using a rotary cutter and cutting mat as you can ensure that your edges are straight and your corners are right angles.

2. Using an iron, press 1 cm to the wrong side along each edge of your fabric. Measure and mark the midpoint of each short end with a pin. Fig 1.

Burp Cloth fig 1

3. Find and mark the midpoint of 2 opposite sides of your cloth nappy.  With both pieces right side up, centre the fabric rectangle on one of the cloth nappies, aligning the middle of the fabric with the mid point of each edge of the cloth nappy. Pin in place right around the fabric.

4. Using a complementary coloured thread on top and a white thread underneath, topstitch a few millimetres from the edge right around your decorative fabric to secure it to the nappy.

A Problem.. and a Solution

IMG_1149.jpg

So, this is my problem.  You all know the score.  You make dozens of felt masks and end up with a massive pile of offcuts that are too small to do anything with because you're incapable of throwing stuff away. Right?  No? Just me then… Oh well, that's fine because I've come up with a very nifty and frankly awesome way of using them up!

felt confetti

Cut them into small circles and use them to make gorgeous confetti garlands!  I know.. I'm a genius! And so modest too… *ahem!

Anyway; To celebrate this wonderful discovery and all of the new masks in my Etsy store, I'm going to give away one of these fantastic Rainbow Confetti Garlands! All you have to do is share my page and sign up for the Willow and Stitch newsletter (see sidebar).  The winner will be selected on Sunday 8th February. I promise not to bombard you with emails and will only send out a newsletter when something really exciting is happening (I'm anticipating every couple of months). Plus, if I start to bore you then you can, of course, unsubscribe at any time.

The Garlands measure approximately 2.5 metres in length and have extra long cotton at each end for fastening.  They make beautiful nursery decorations or hang them over a window, mirror or mantle piece, or anywhere really that could do with a splash of fun and colour.  If you don't happen to win this one then they are for sale in my Etsy shop for $19.95 AUD.

Link to my Etsy Store here and in the sidebar.

Thanks for visiting!

rainbow confetti garland